DIY Keychains & Backpack Fobs
I’ve been having so much fun making these simple keychain and backpack fobs lately. What started with a random yard sale find has turned into a creative project that’s perfect for gifts, stocking stuffers, or just adding a little personality to your bag or keys.
This post includes affiliate links. Some products may have been received to facilitate this post.
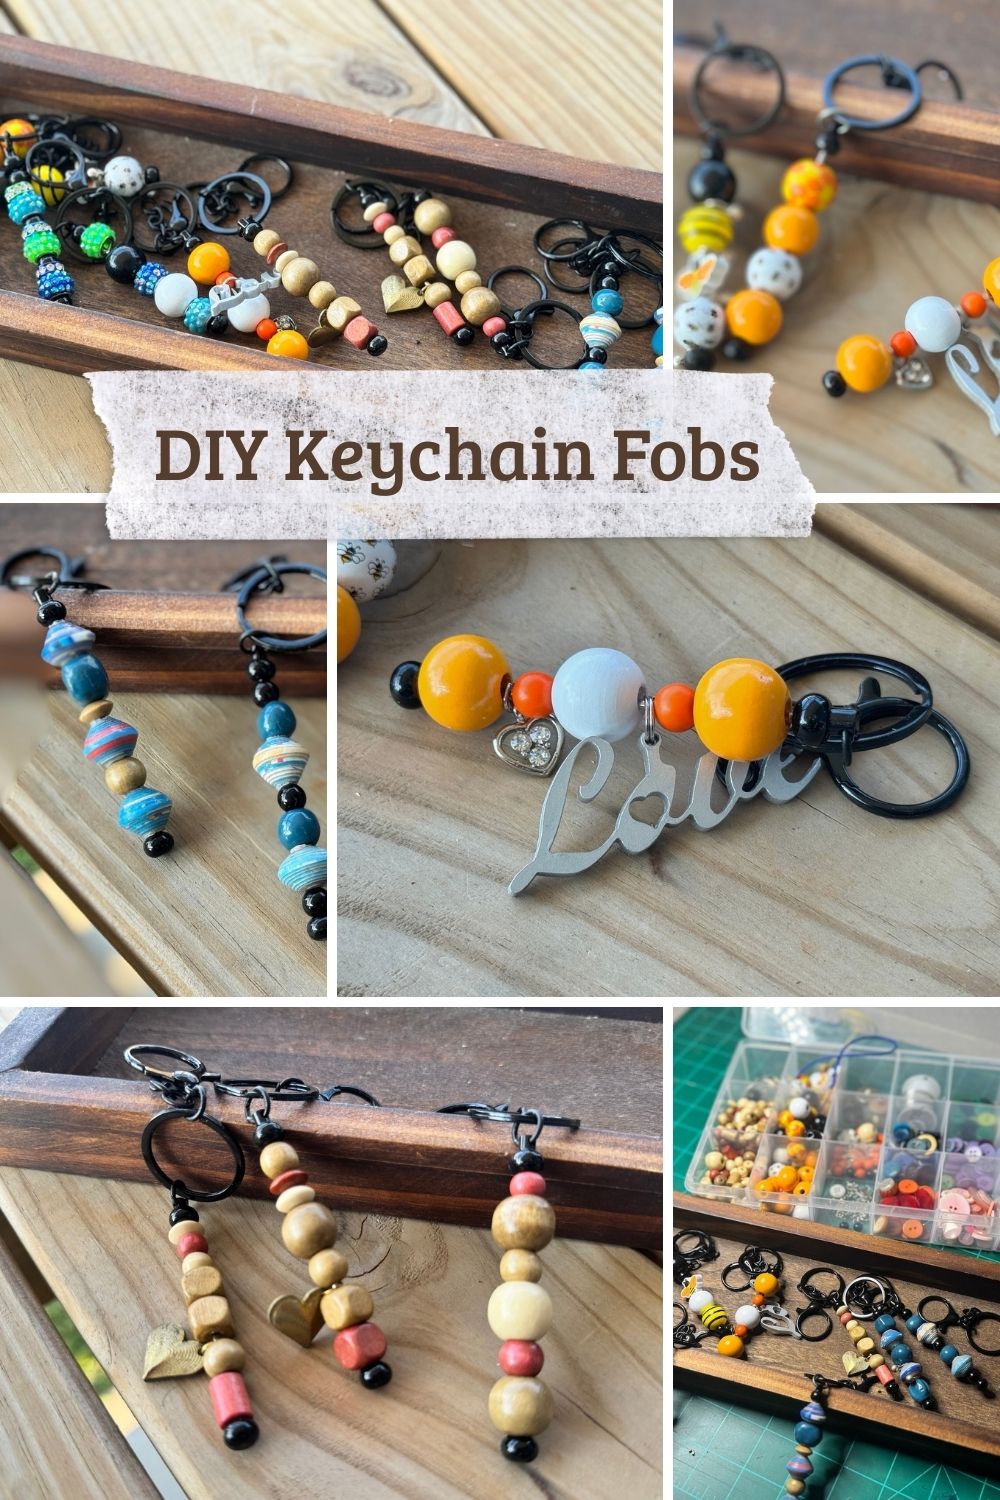
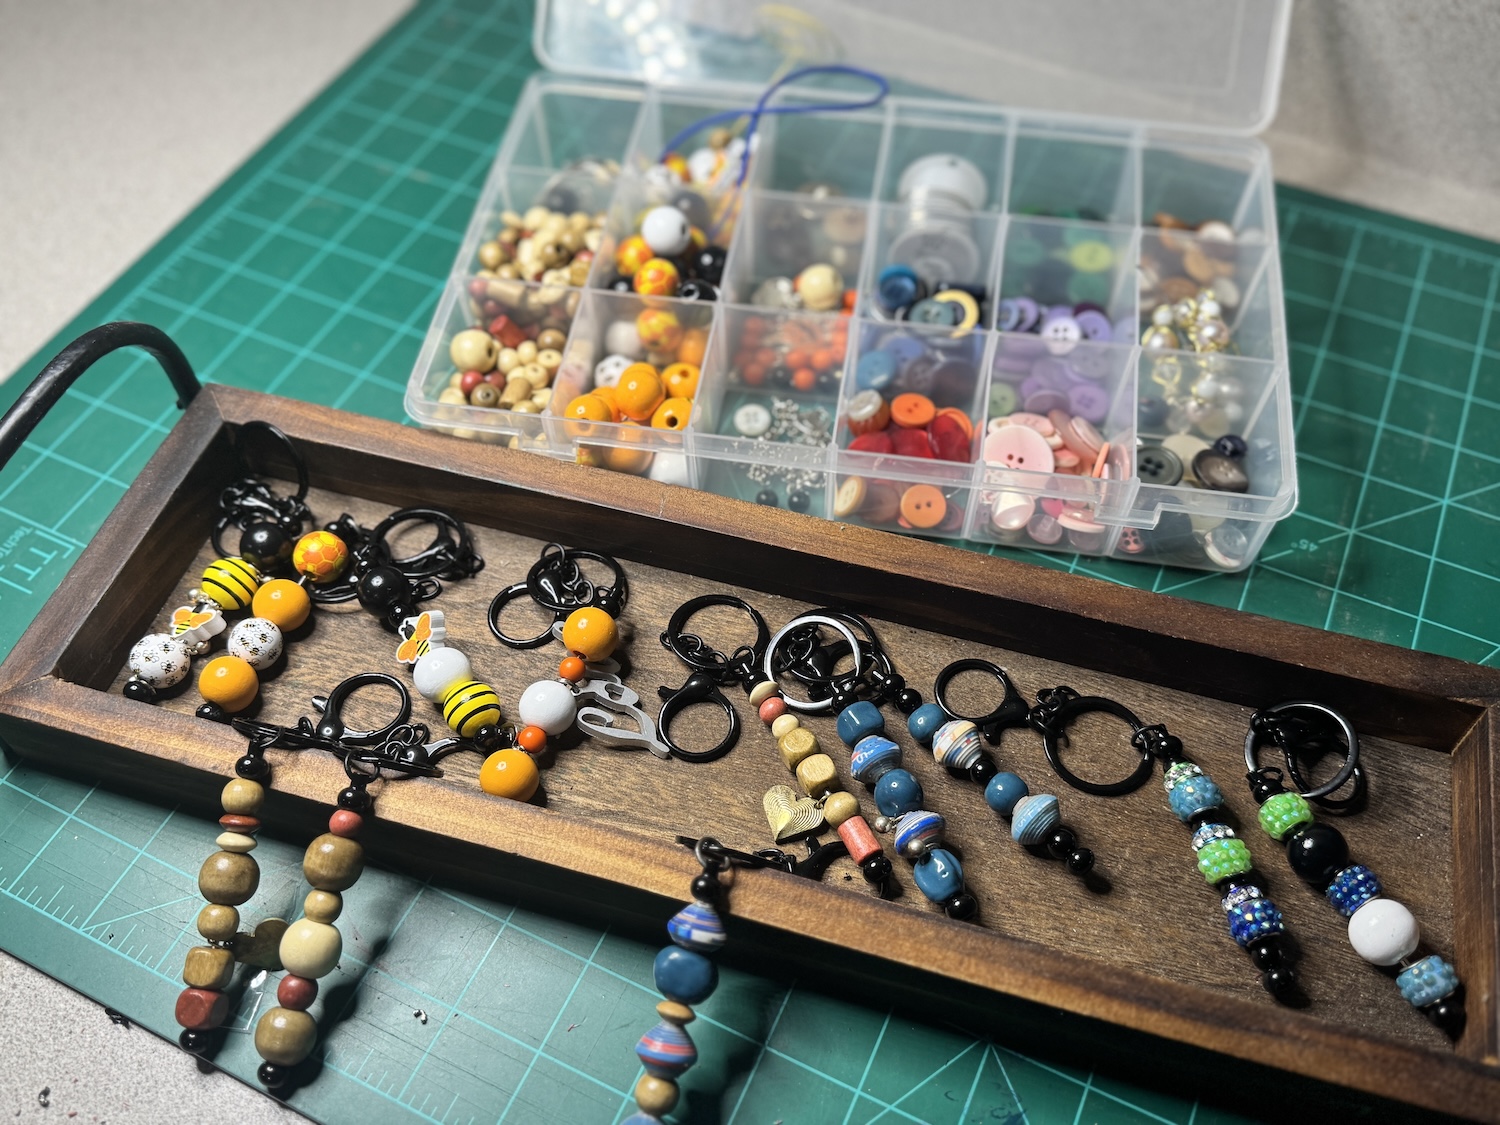
At one yard sale, I stumbled across a pile of plain keychain fobs and little charms for about $2. That was all I needed to get started. Since then, I’ve been on the lookout for broken jewelry, random beads, and small treasures that people are ready to toss. It’s amazing what you can find in bags of old buttons, bracelets that have snapped, or even jewelry grab-bags at thrift stores.
And here’s the fun part: these little fobs are endlessly customizable. I recently found a whole bag of black, yellow, and white bumblebee beads at a yard sale. You can bet those are going to be adorable when paired with the beeswax salves I love to make in the winter. I’m already imagining little gift sets—one jar of salve with a handmade bee keychain attached.
Materials You’ll Need
The best part about this project is how simple it is. You don’t need fancy tools or expensive supplies. Just gather a few basics and you’re ready to go.
- Keychain bars or clips – look for them at craft stores, online, or yard sales.
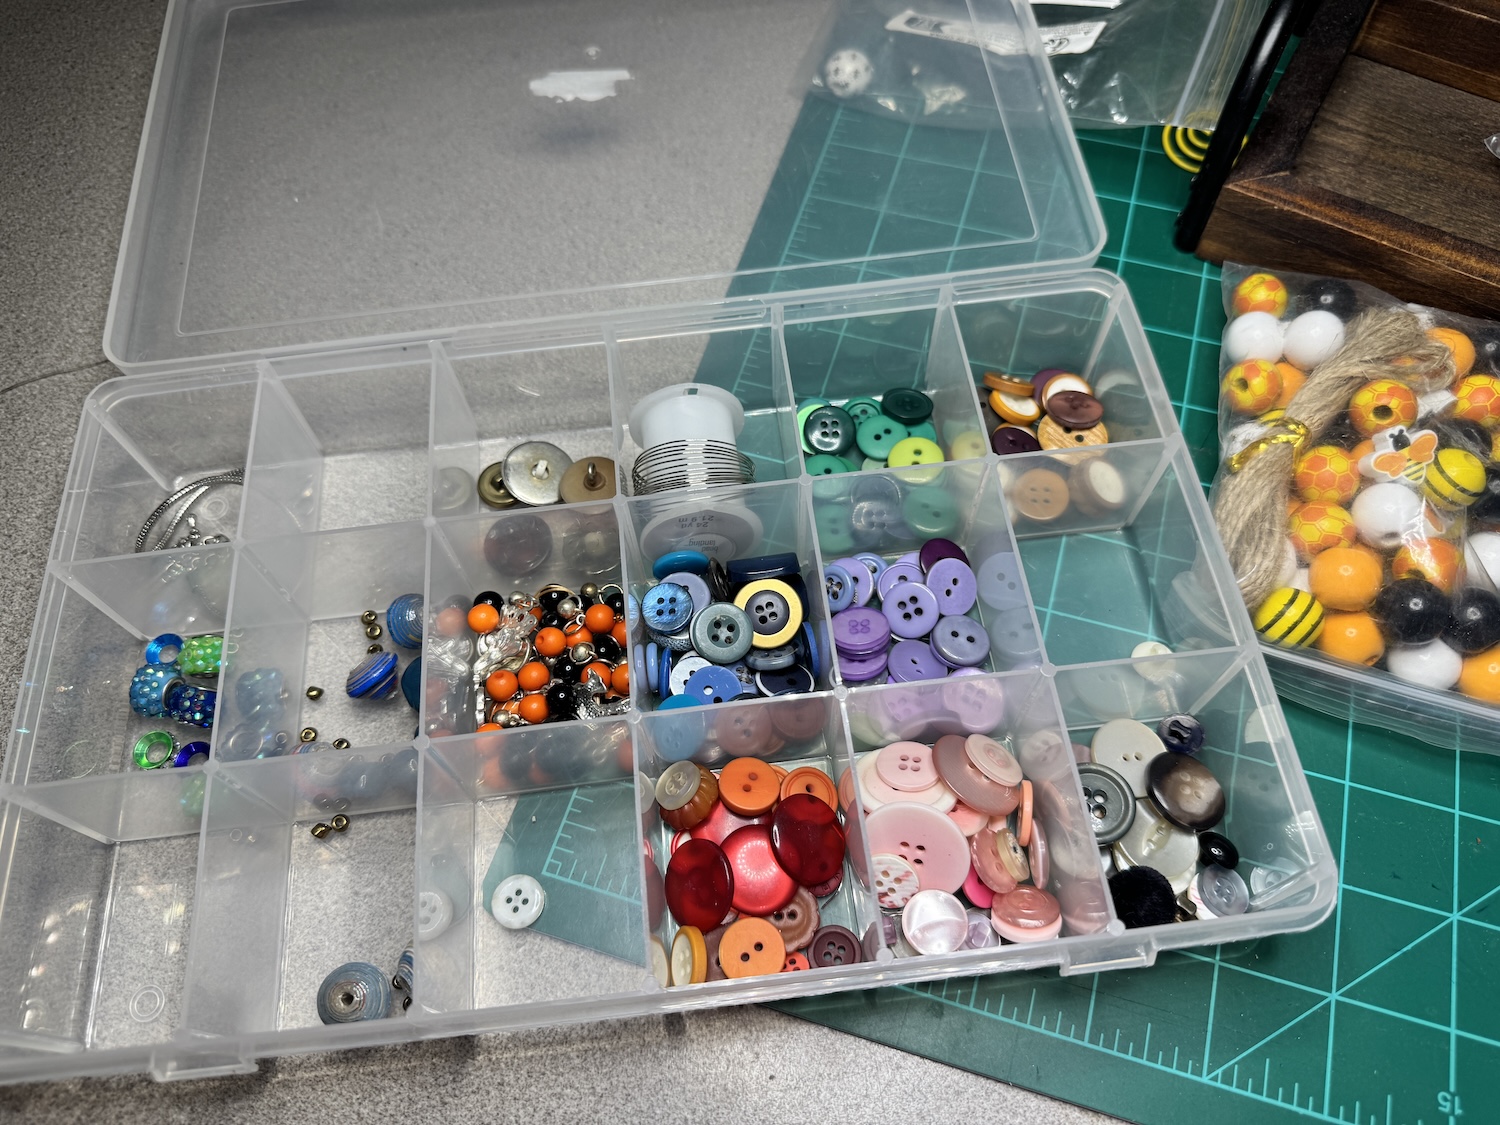
- Beads & charms – anything from glass beads to wooden beads, broken bracelets, or old jewelry.
- Sorting box – optional, but so helpful! I picked up a divided plastic storage box for just 50¢ at a yard sale this summer.
- Wire pins or beading rods – to string your beads together.
- Pliers or wire cutters – only needed if you want to trim or bend wire.
That’s it! Most of the time, you’re simply threading beads onto the wire, securing them at the ends, and clipping them onto your keychain fob.
The Process
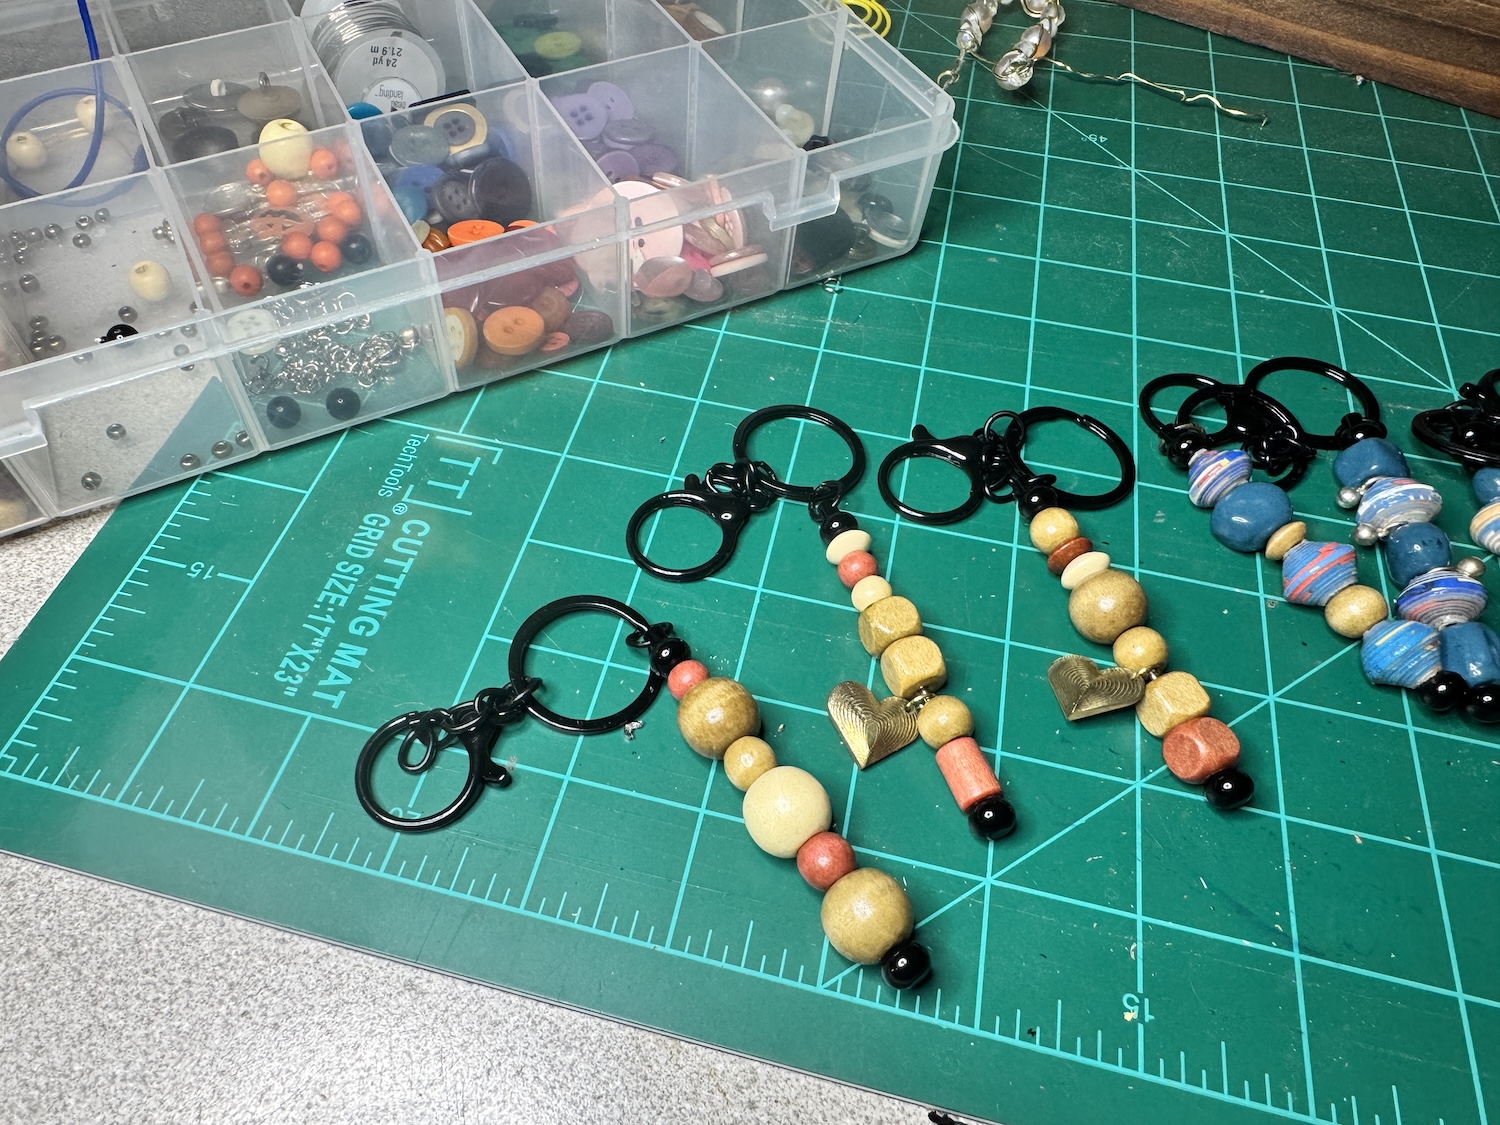
- Pick Your Theme – Do you want bold and colorful? Natural and earthy? Cute and whimsical? Grab beads that fit the mood.
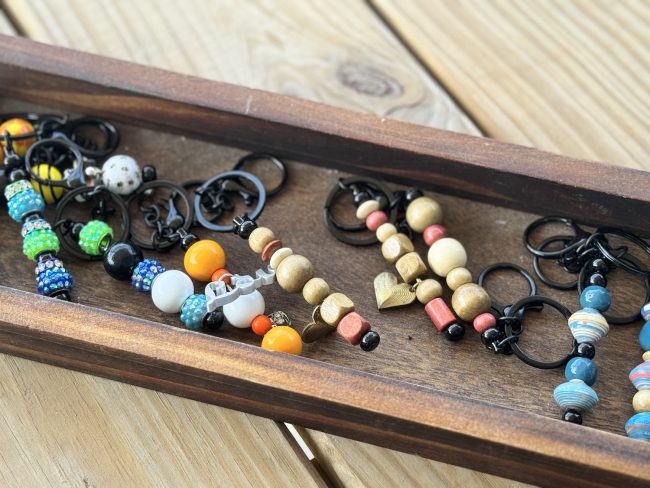
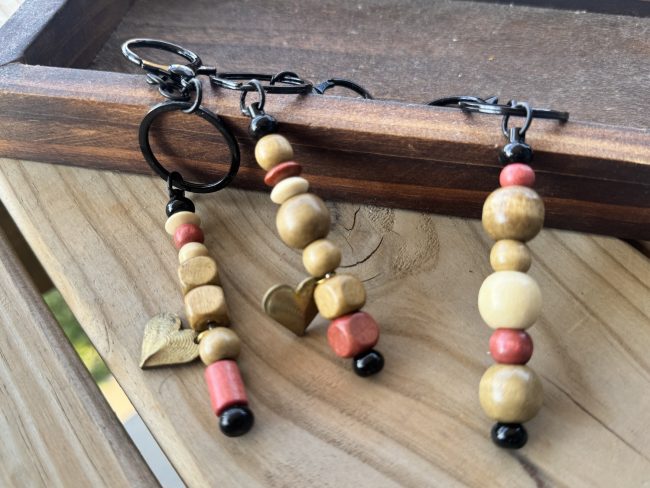
- Lay Out Your Beads – Before stringing, play around with the order. Sometimes you’ll find a perfect pattern just by moving things around.
- String the Beads – Slide them onto your wire or beading pin. Mix textures, colors, and sizes for the best look.
- Secure the Ends – Depending on the type of pin you’re using, add a stopper bead or bend the end with pliers so your beads stay in place.
- Attach to the Fob – Clip your beaded strand to the keychain ring or clasp. Done!
It really is that easy.
Ideas for Use
So what do you do with your new creations? Lots of things!
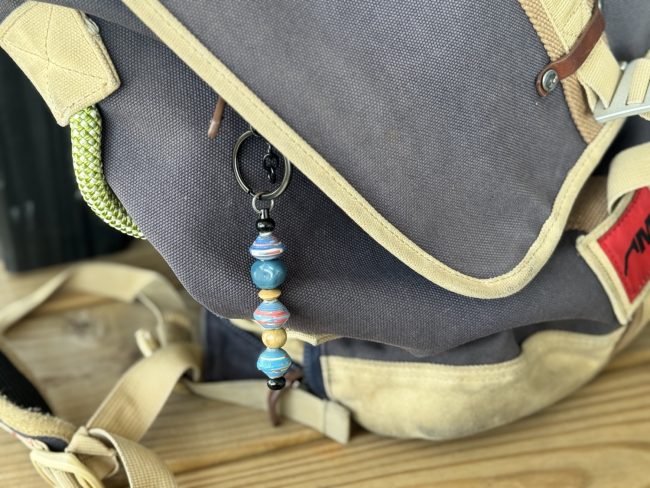
- Add them to backpacks for a splash of color.
- Use them as zipper pulls on jackets, purses, or lunch bags.
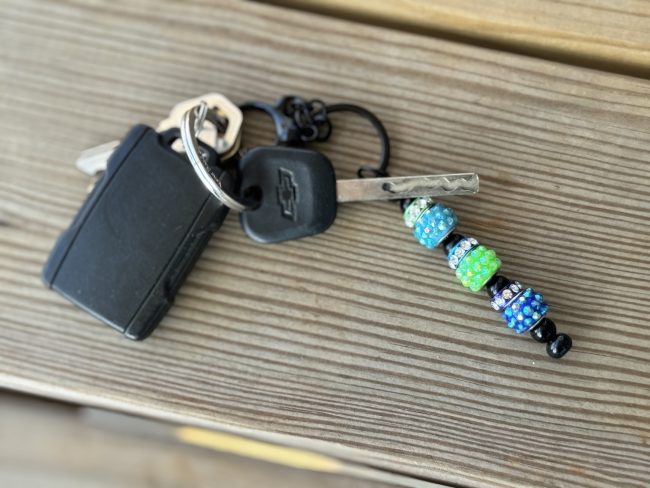
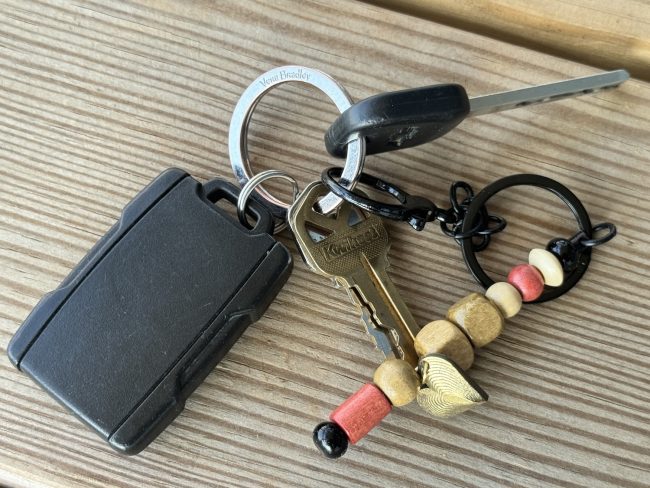
- Clip them onto your keys so they’re easier to find.
- Pair them with a jar of jelly, beeswax salve, or homemade gift for Christmas.
They make thoughtful little extras that are personal without being time-consuming.
Why I Love these Keychains
I’ve always loved simple crafts that don’t require a big investment of time, effort, or money. These keychains are exactly that. Each one is unique, and every one tells a story of where the beads came from—whether it was a broken necklace, a handful of yard sale treasures, or a few buttons rescued from a sewing box.
And yes, if you’re trying to clear out your stash of beads, buttons, or charms, I know a person who would be happy to take them off your hands!
I’m even thinking about adding these to the Hobbies on a Budget Almost Homemade Shop that’s coming soon. That way, if you love the look but don’t want to make them yourself, you can still snag one.
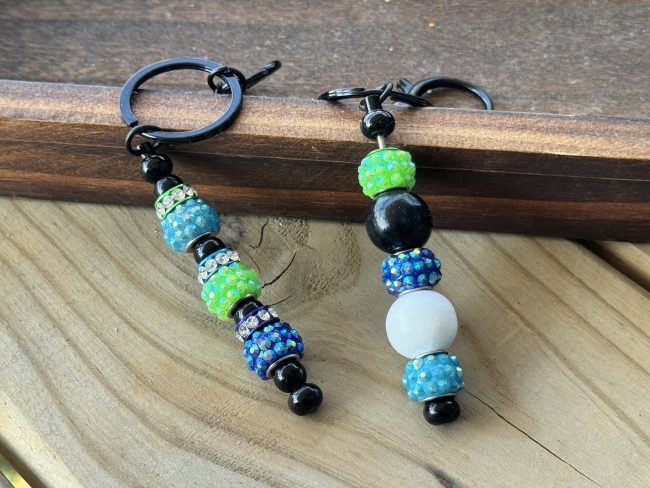
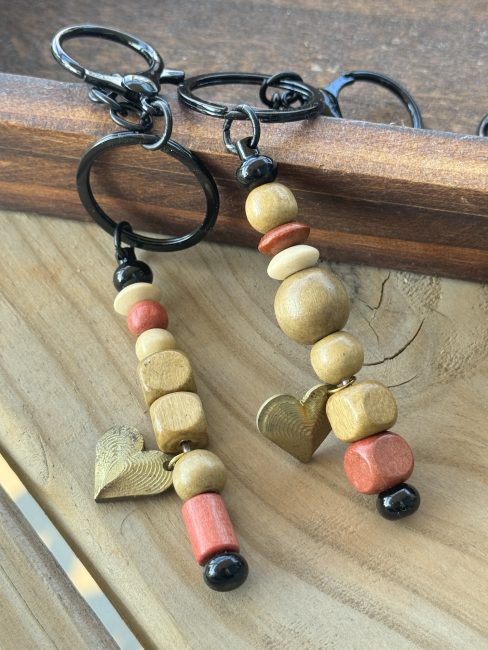
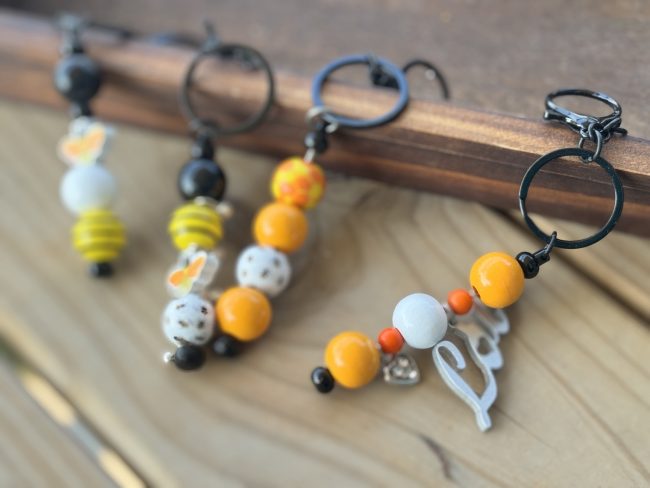
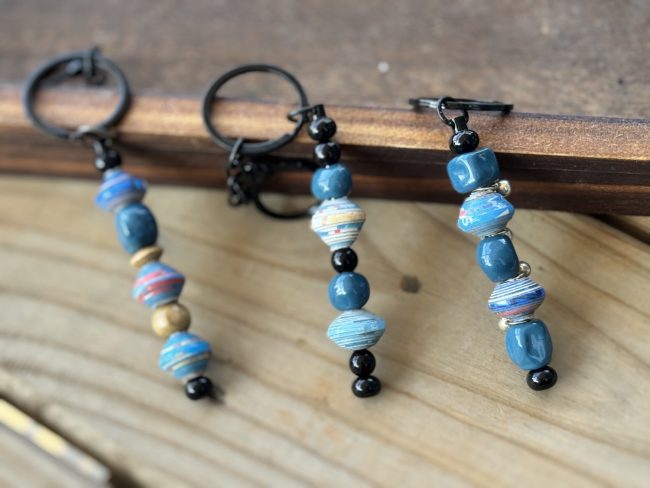
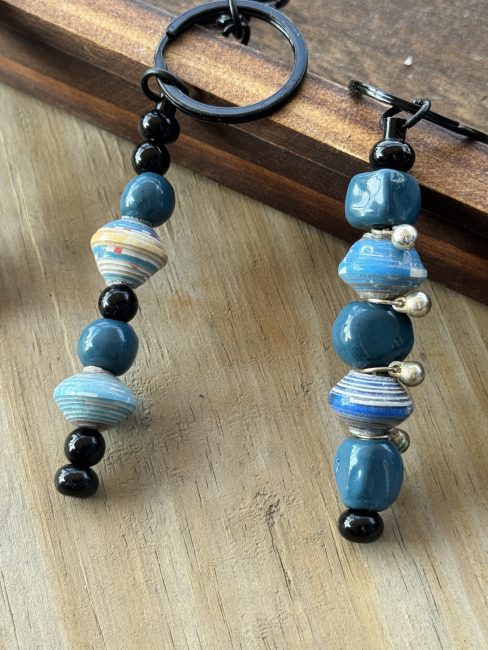
What do you think—would you clip one on your backpack, use it as a zipper pull, or attach it to your keys? I’d love to hear how you’d use them!