Easy Laminated Themed Bookmarks
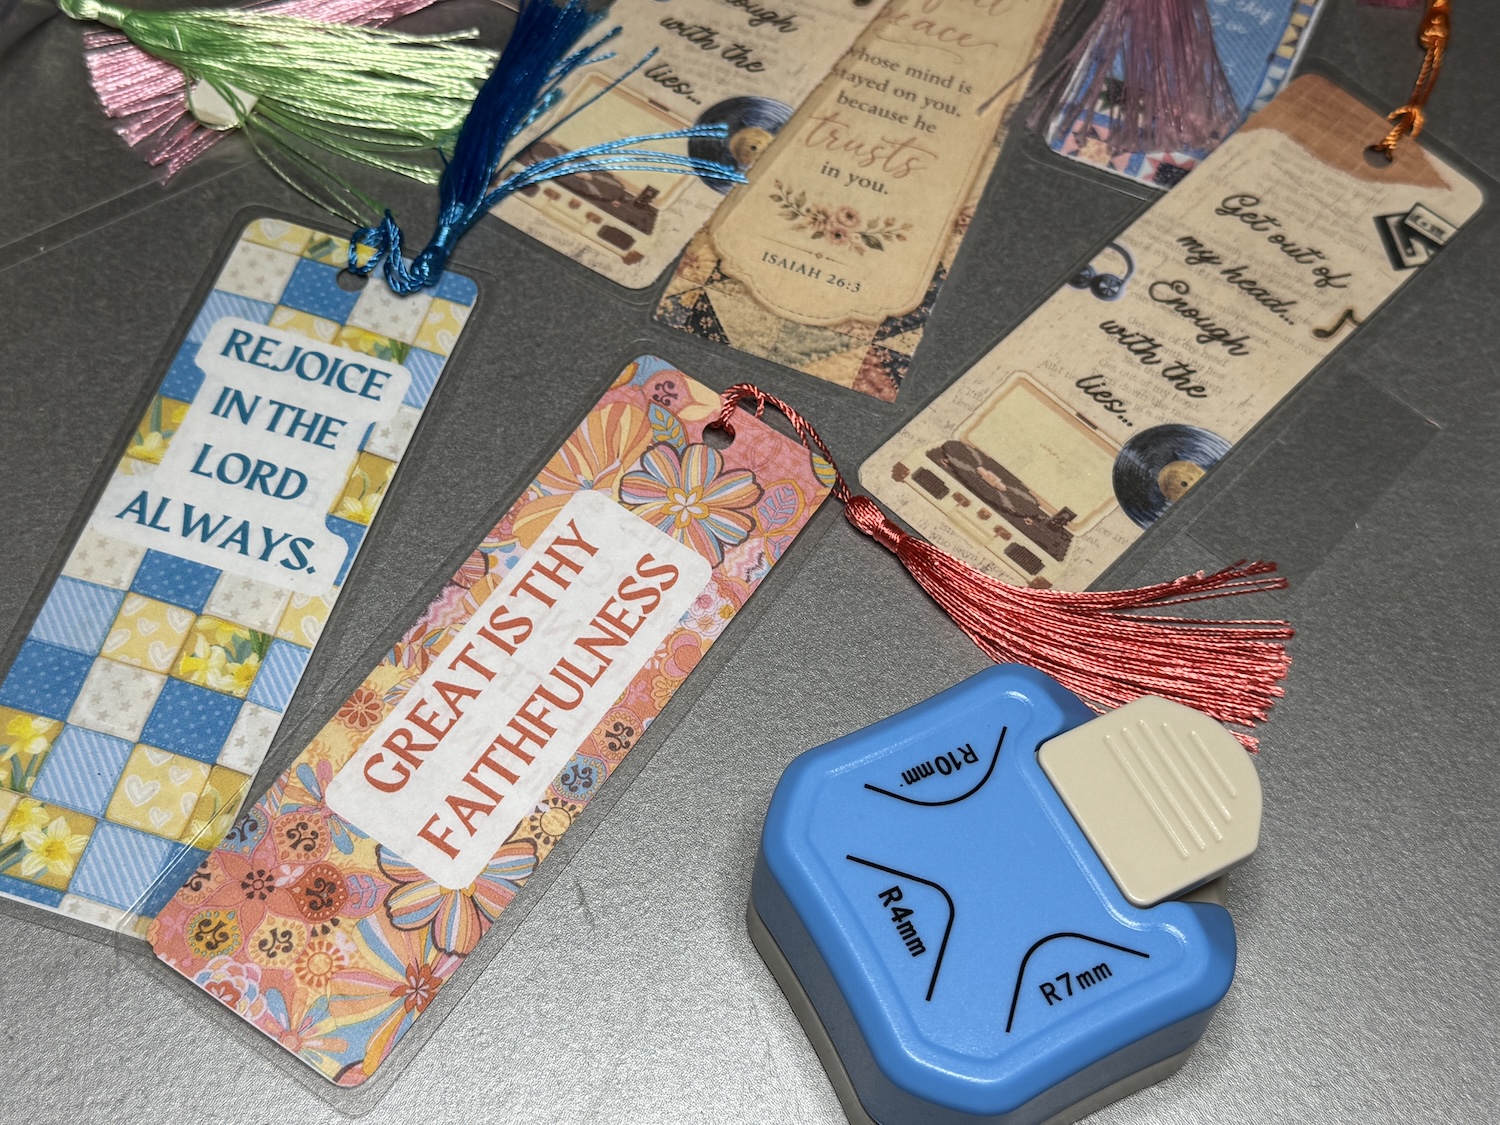
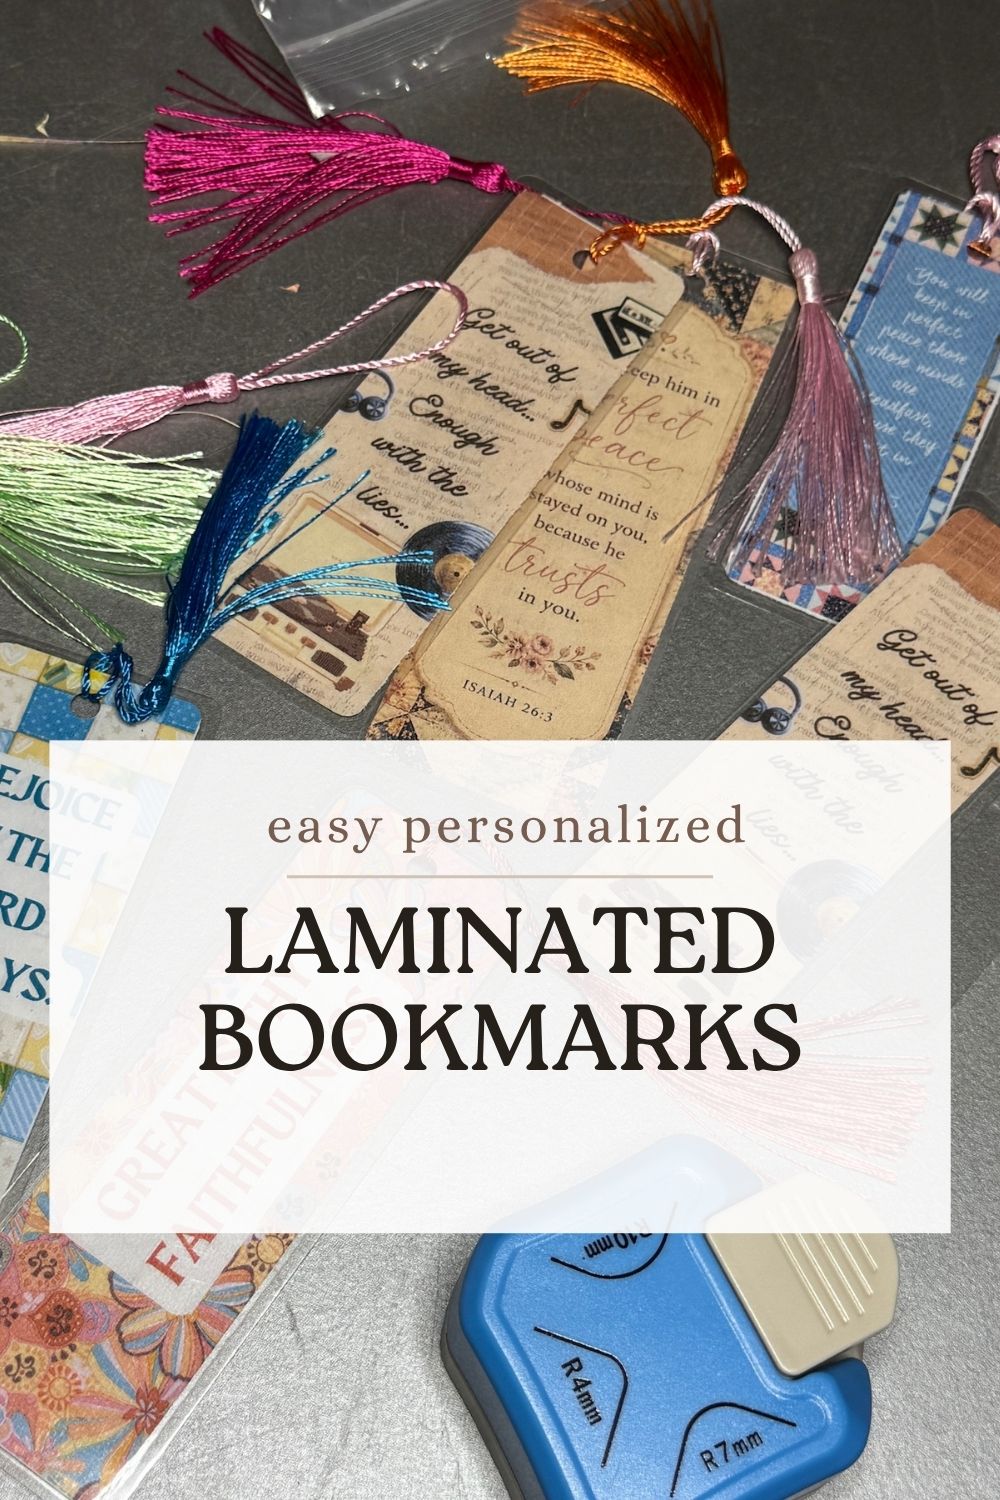
Do you have a favorite bookmark that you love using? I typically use whatever I have handy, whether it’s a receipt or a scrap of paper. But this past week, I decided to pull out the laminator and make a few custom bookmarks. With Canva, it’s easy to design and add your own phrases or Bible verses, and with a laminator, you can create the perfect bookmark in just a few minutes.
This post includes affiliate links.
Materials Needed:
- Scotch Laminating Machine
- Thermal laminating pouch
- Ribbon or tassel
- Design of your choice
- Scissors or cutting board
- Corner punch (optional)
- Hole punch
Directions:
- Create your design:
- If you are designing from scratch, I suggest 2″x6″ for a standard bookmark size.
- Print your design front and back.
- For my printer, I selected double-sided and 90% scale. You may have to experiment a bit to get your design to print the exact size.
- Cut your bookmark with scissors or a cutting board.
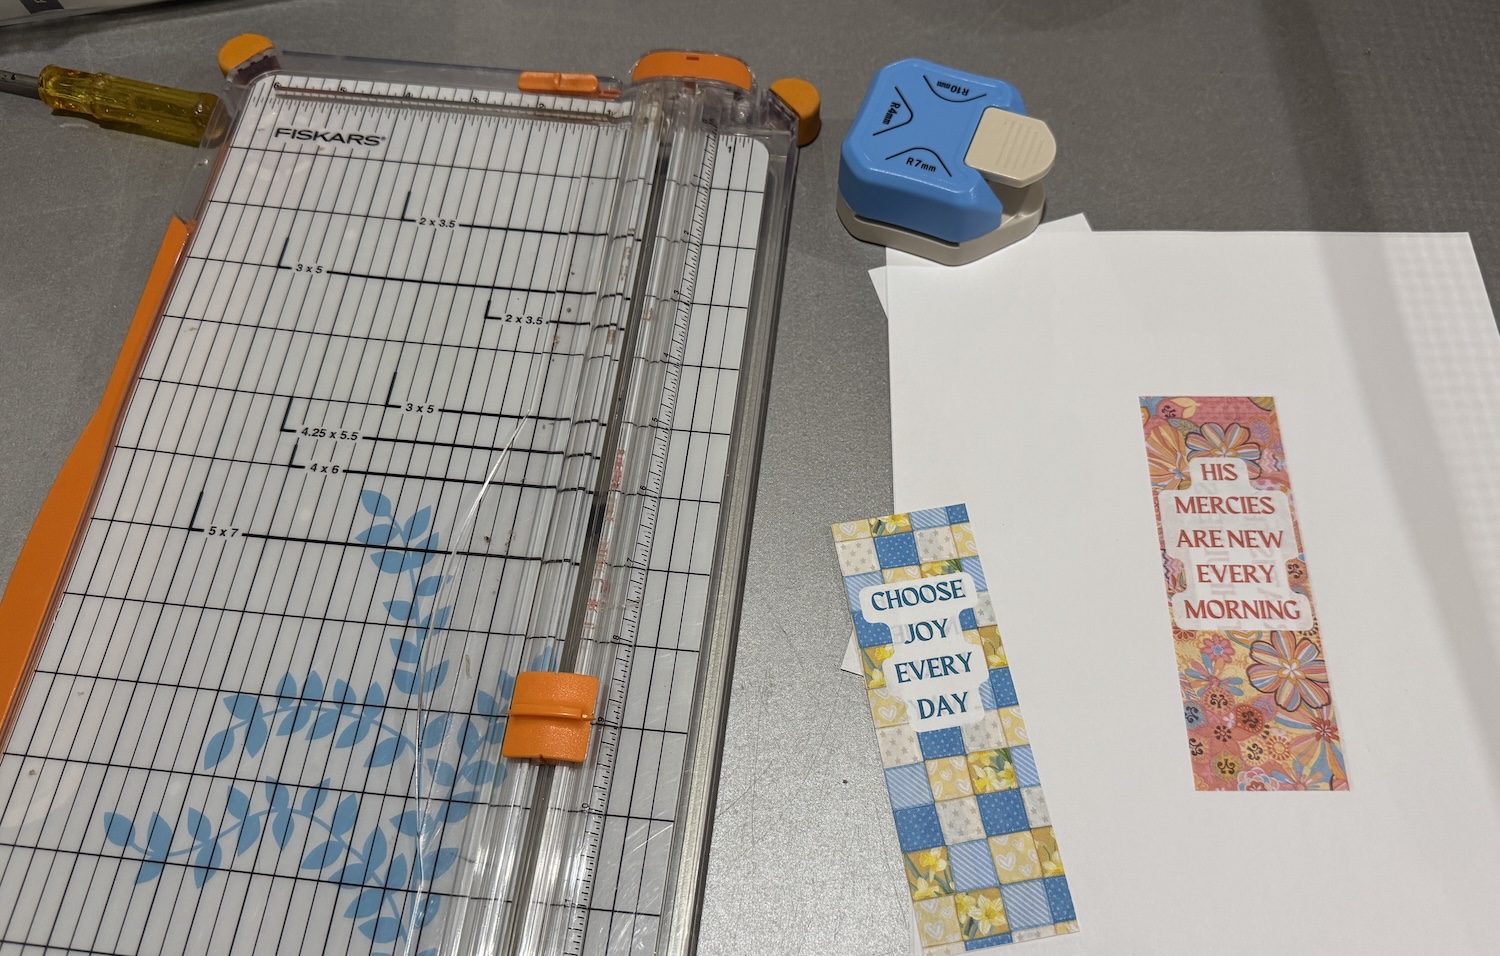
- If you have a corner punch, trim the corners to give the design rounded edges. (optional).
- Slide your paper design into the thermal pouch.
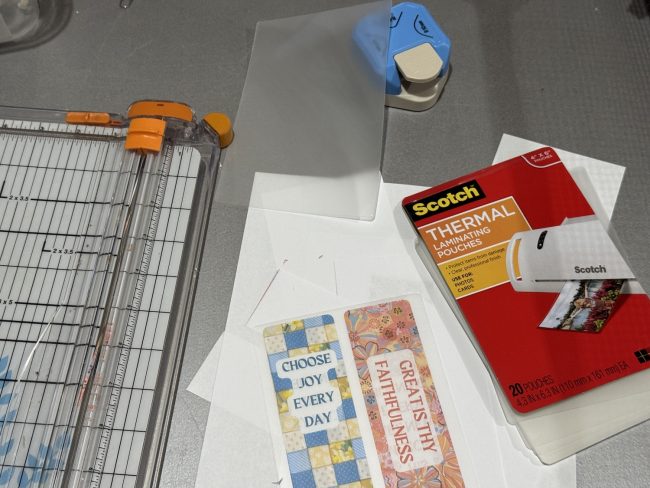
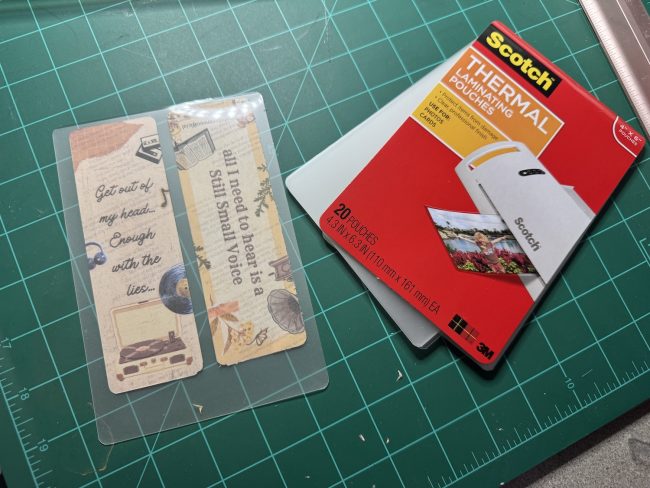
- Load the pouch into the back of the laminator.
- Remember to wait for the machine to warm up. On my machine, it takes about 3 minutes, and a green READY button lights up.
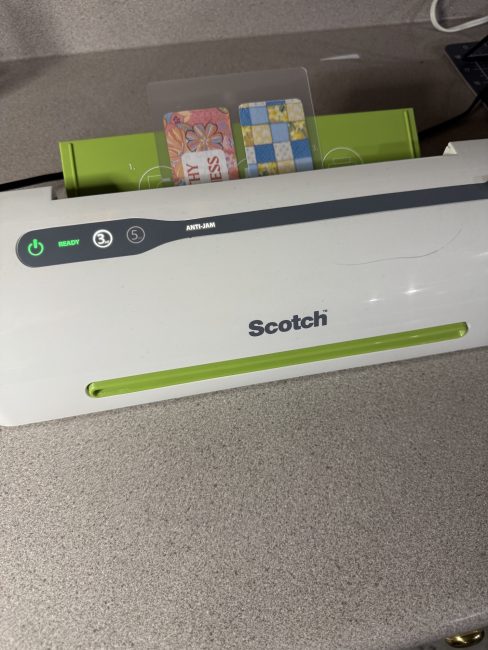
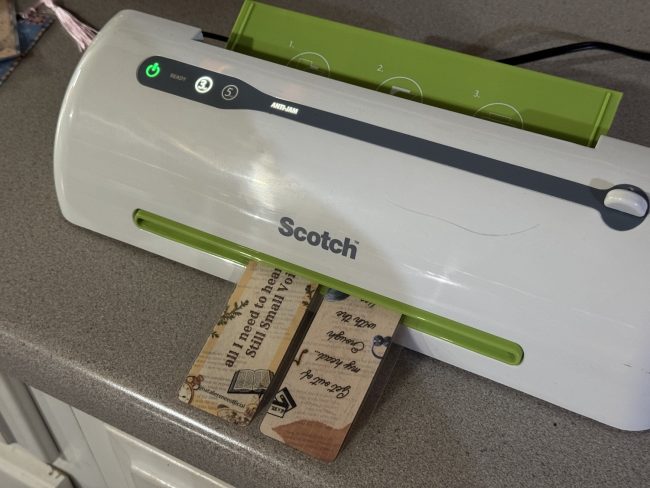
- Wait 2-3 minutes for the pouch to go through the machine.
- Cut the laminated bookmark with scissors or a cutting board.
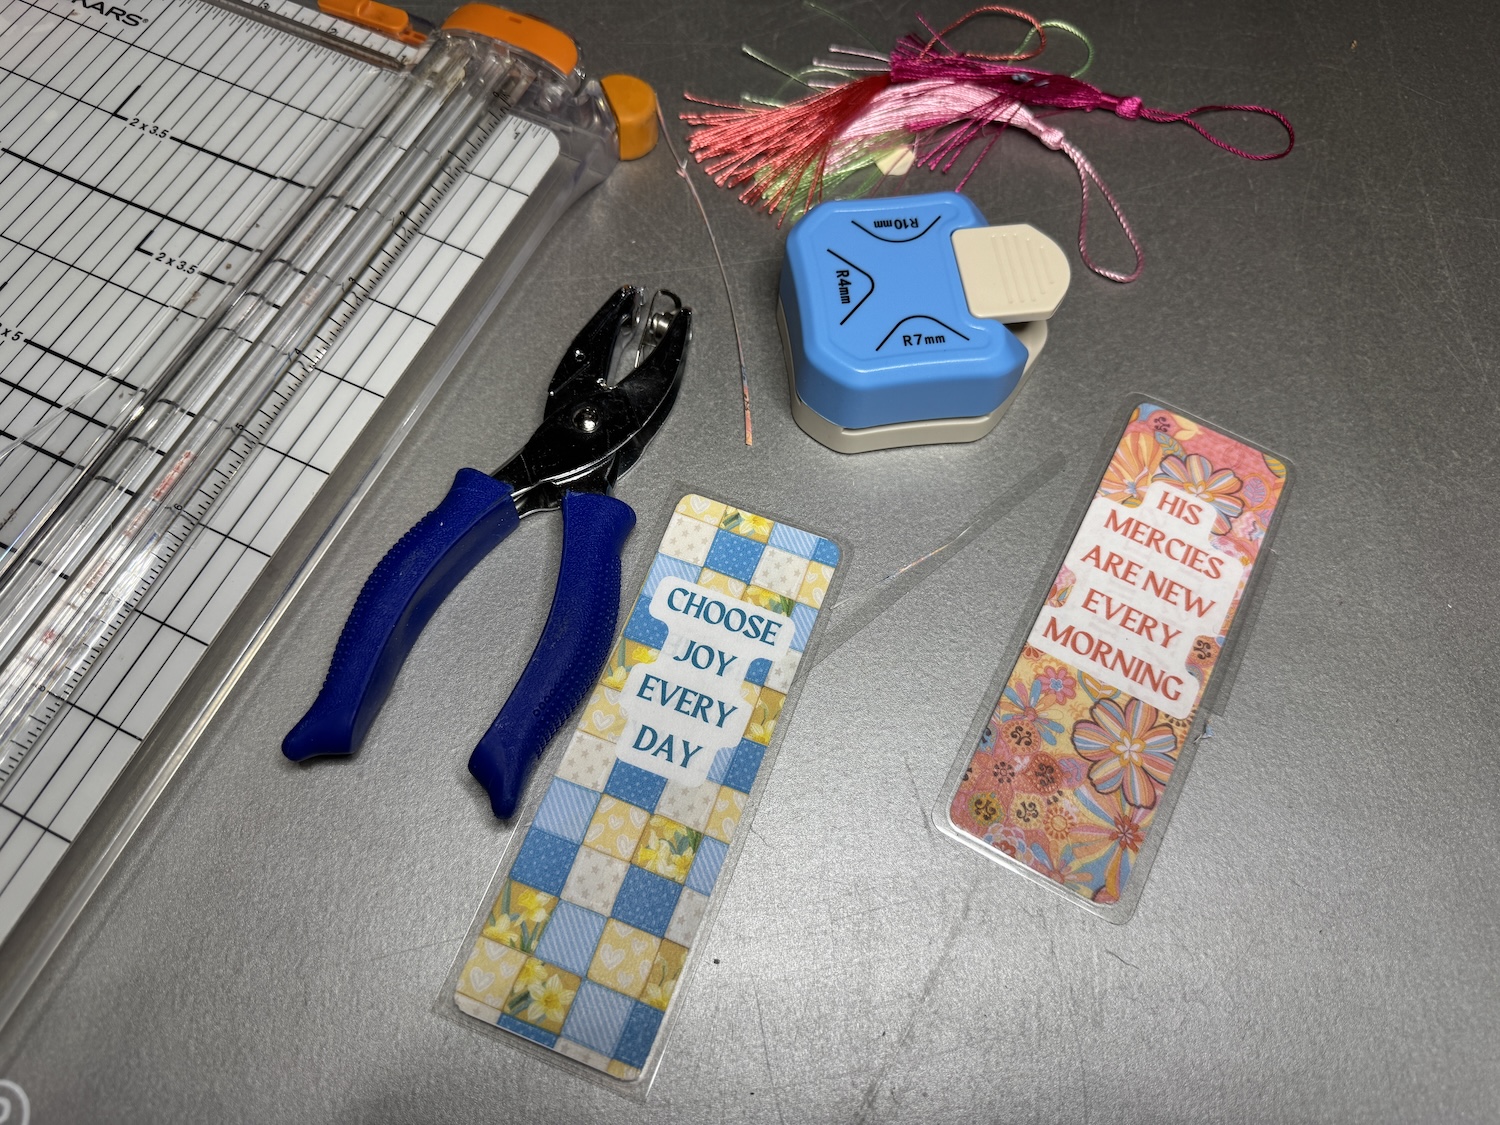
- Trim the laminated corners with your corner punch (optional).
- Punch a hole in the top for the tassel.
- Loop the tassel for the finished look.
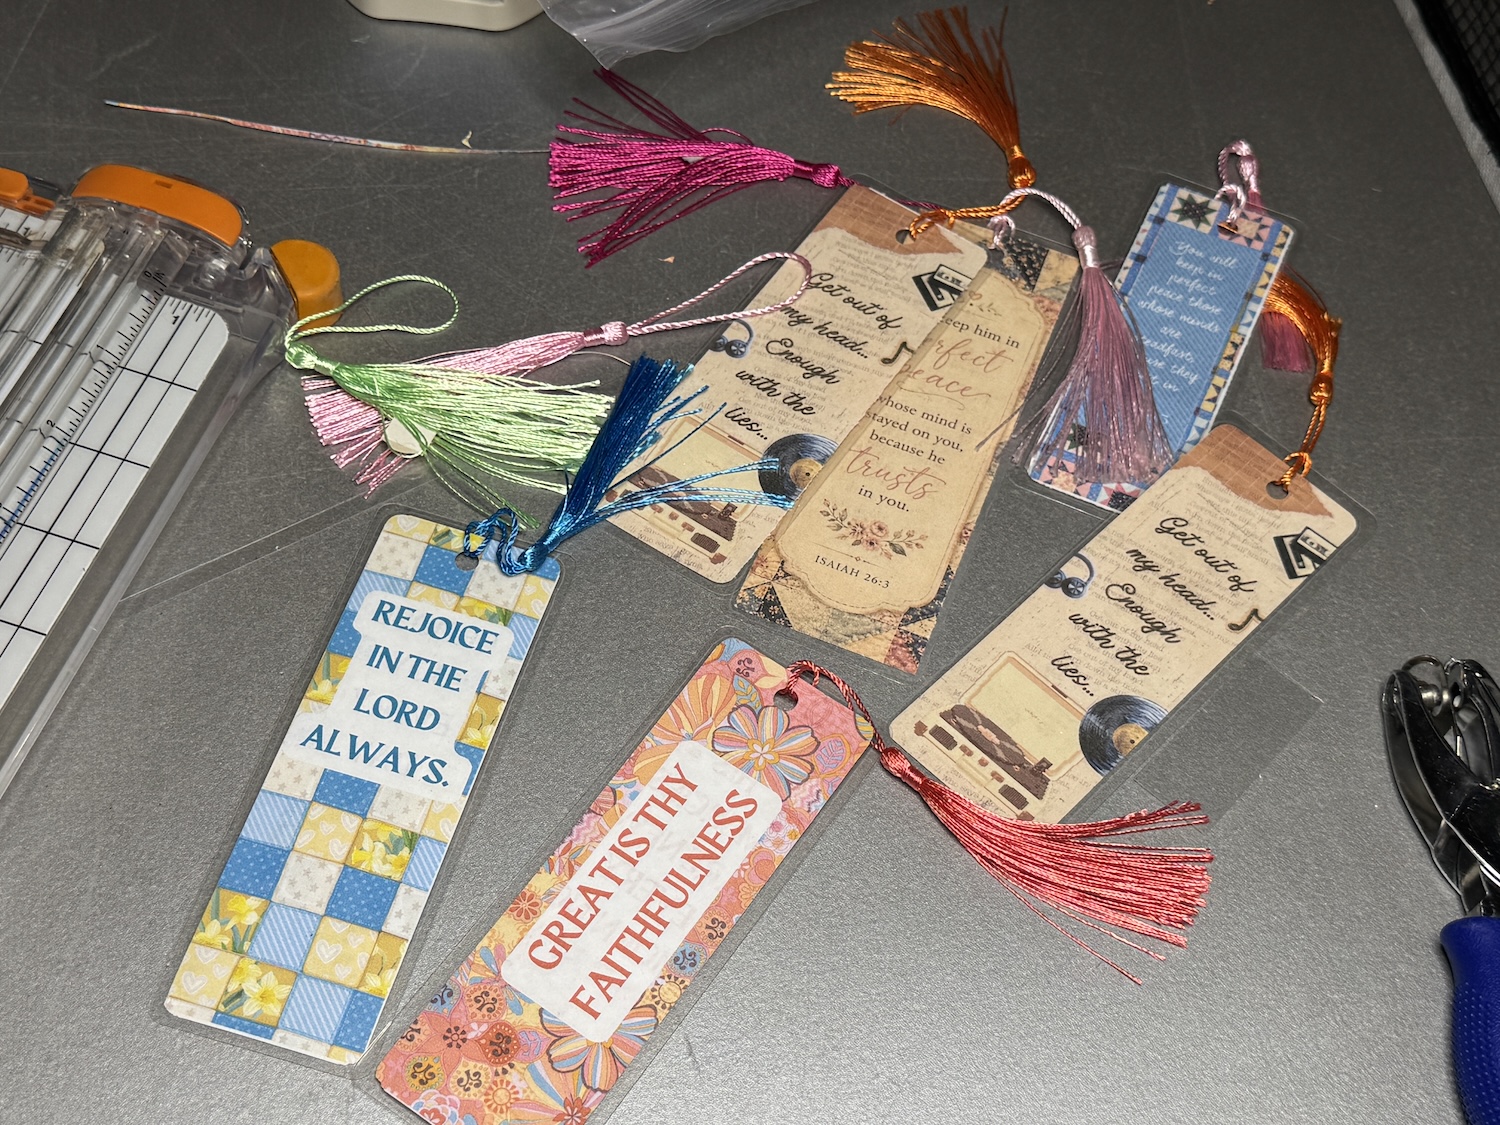
- Share with a friend or use this bookmark in your book on your shelf.
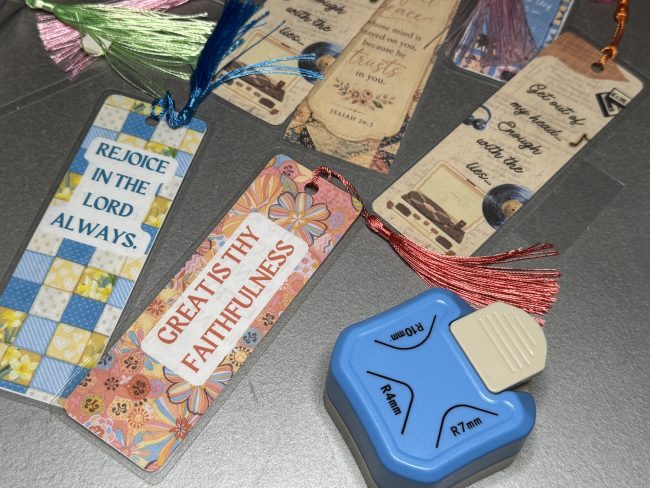
Have you ever used a laminator? What do you plan to create with your machine?
Spread the love