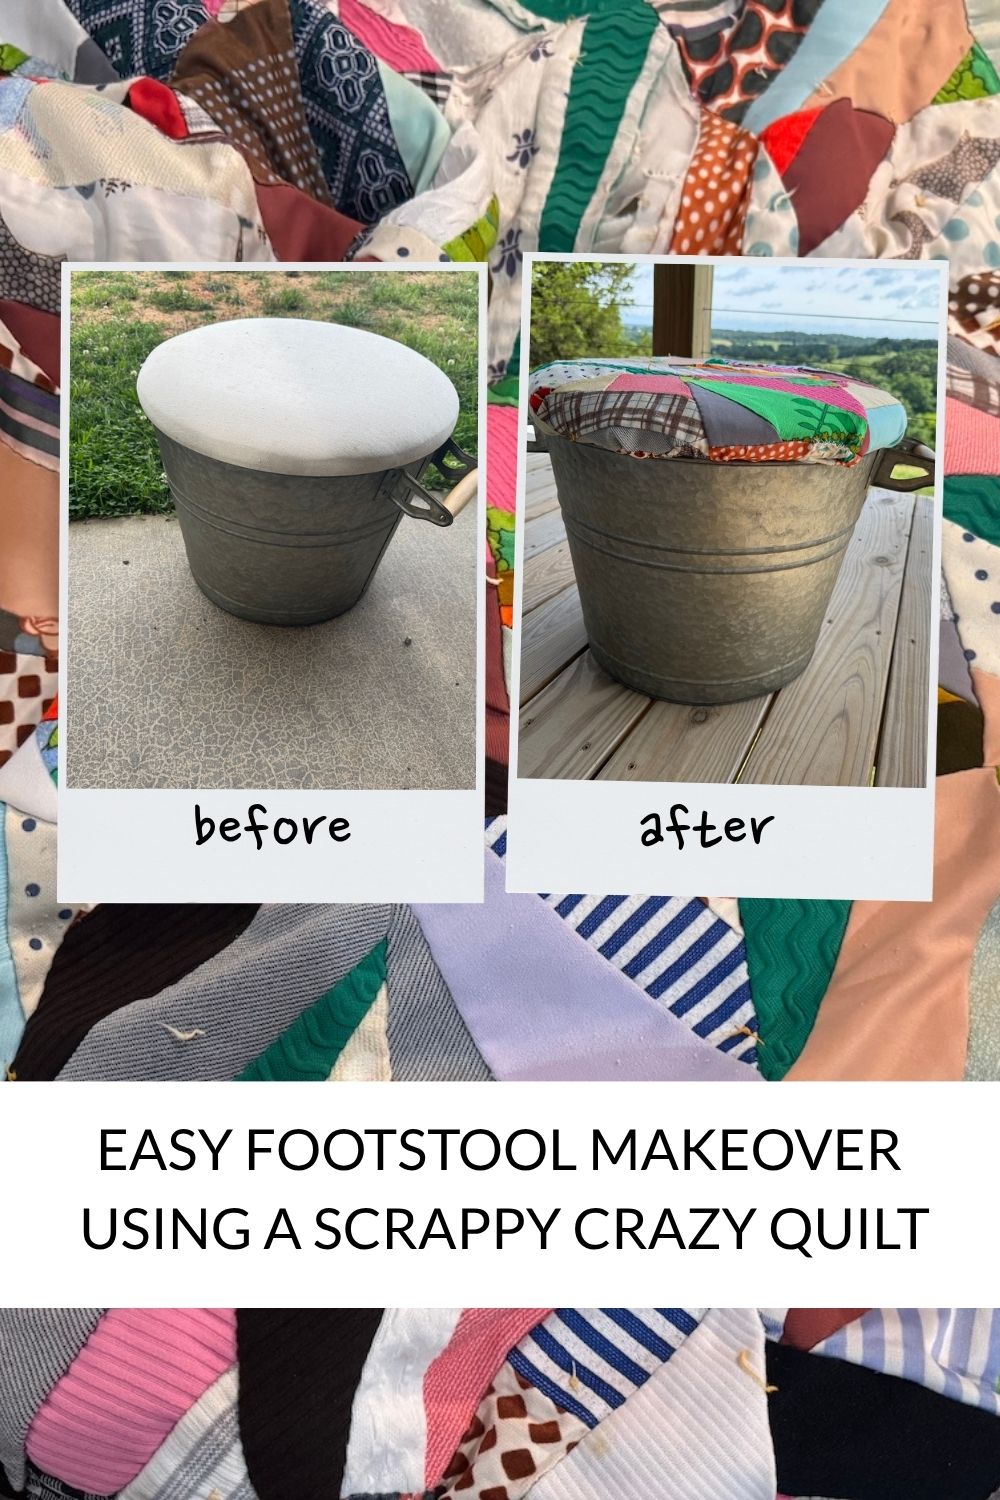
Easy Footstool Makeover Using a Scrappy Crazy Quilt
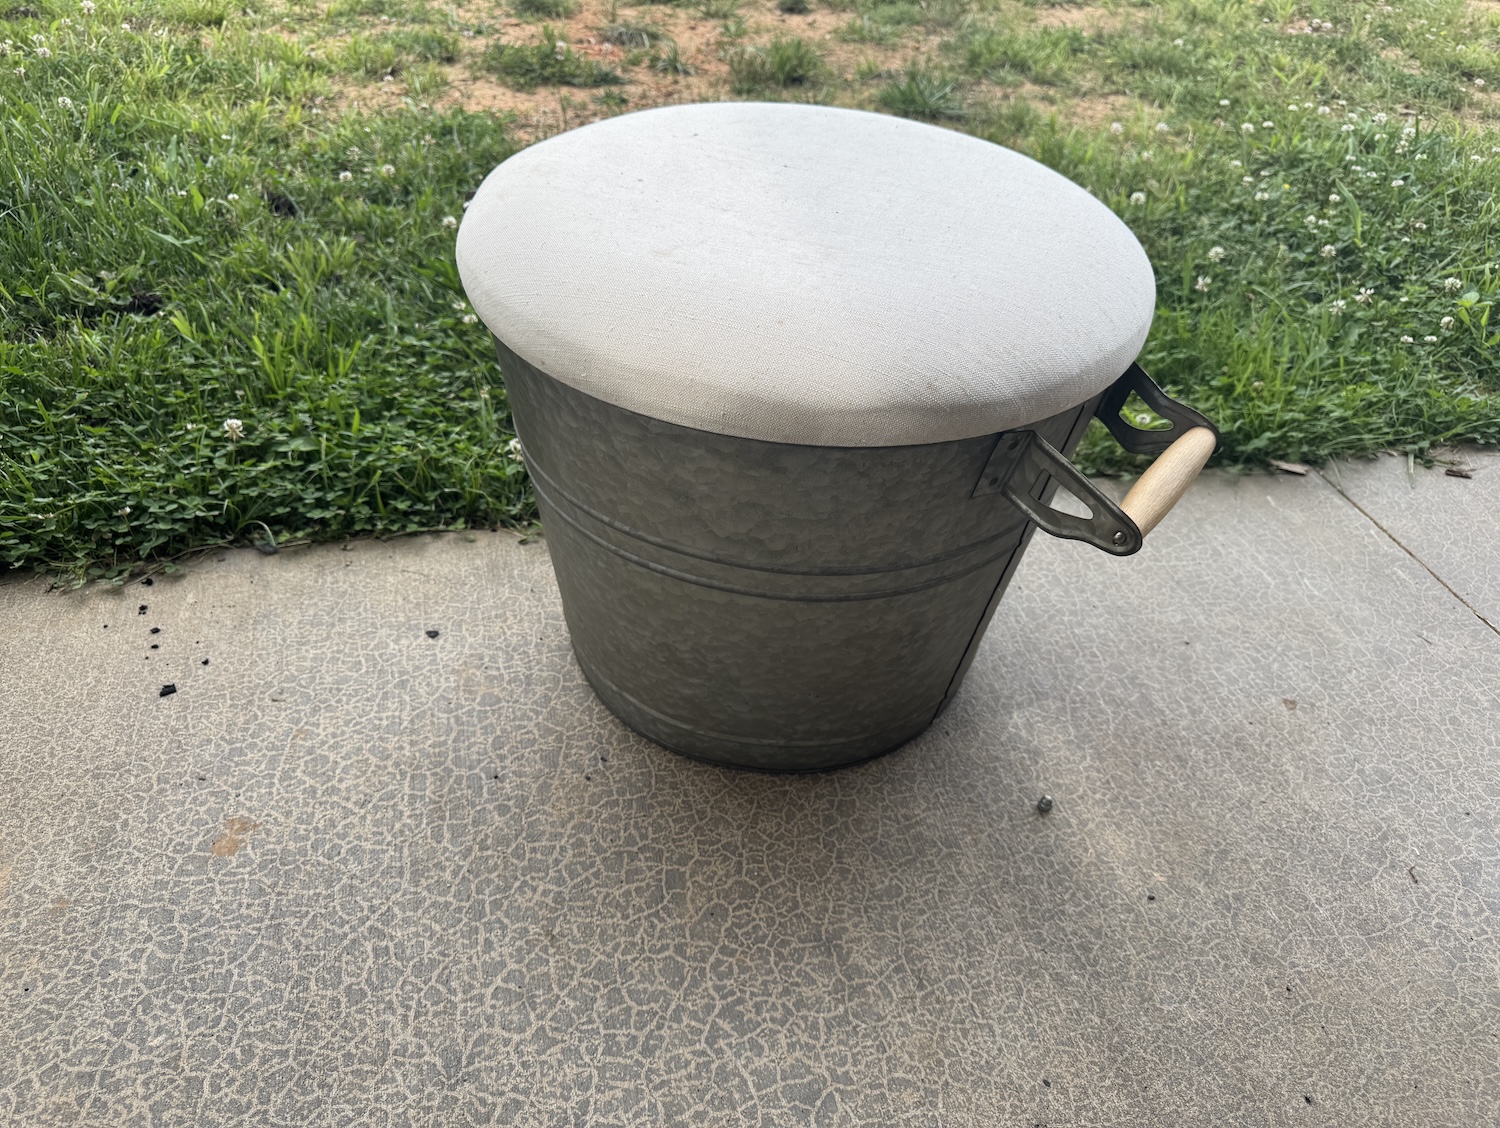
Recently, we went to a yard sale and saw the coolest footstool sitting out just waiting for someone to pick it up. I found it intriguing, but it was covered with pet hair, and I knew it just wouldn’t work in our house as it was. So I passed it up and left the sale.
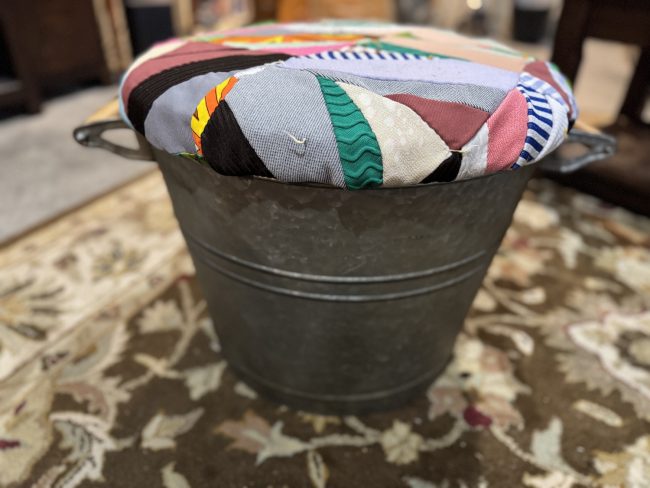
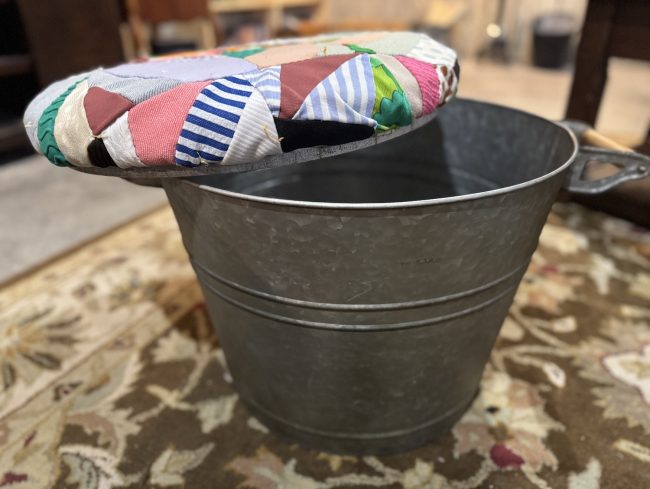
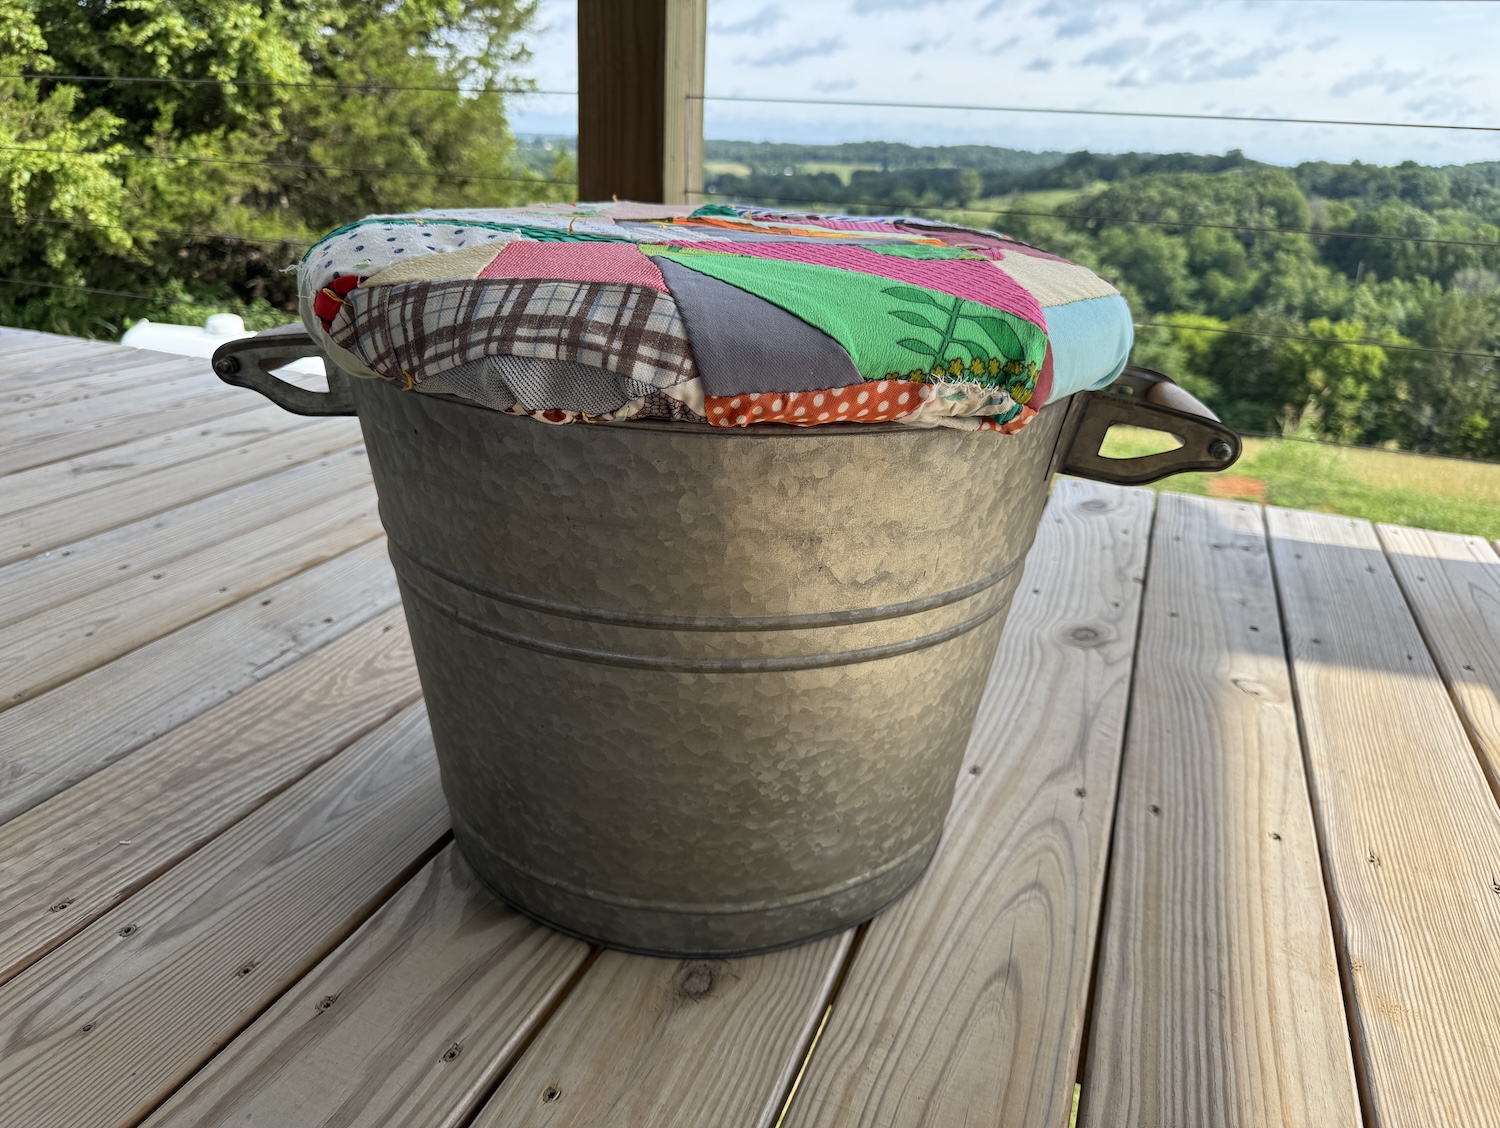
About 2 minutes down the road, my husband had an idea, and of course, we had to go back. When you’re at a yard sale, sometimes you have to see past the pet hair and the dirt and use your imagination. This fabric footstool on top of the metal bucket is the perfect addition to our basement now that I covered it with a scrappy quilt top.
This post includes affiliate links.
Easy Footstool Makeover Using a Scrappy Crazy Quilt
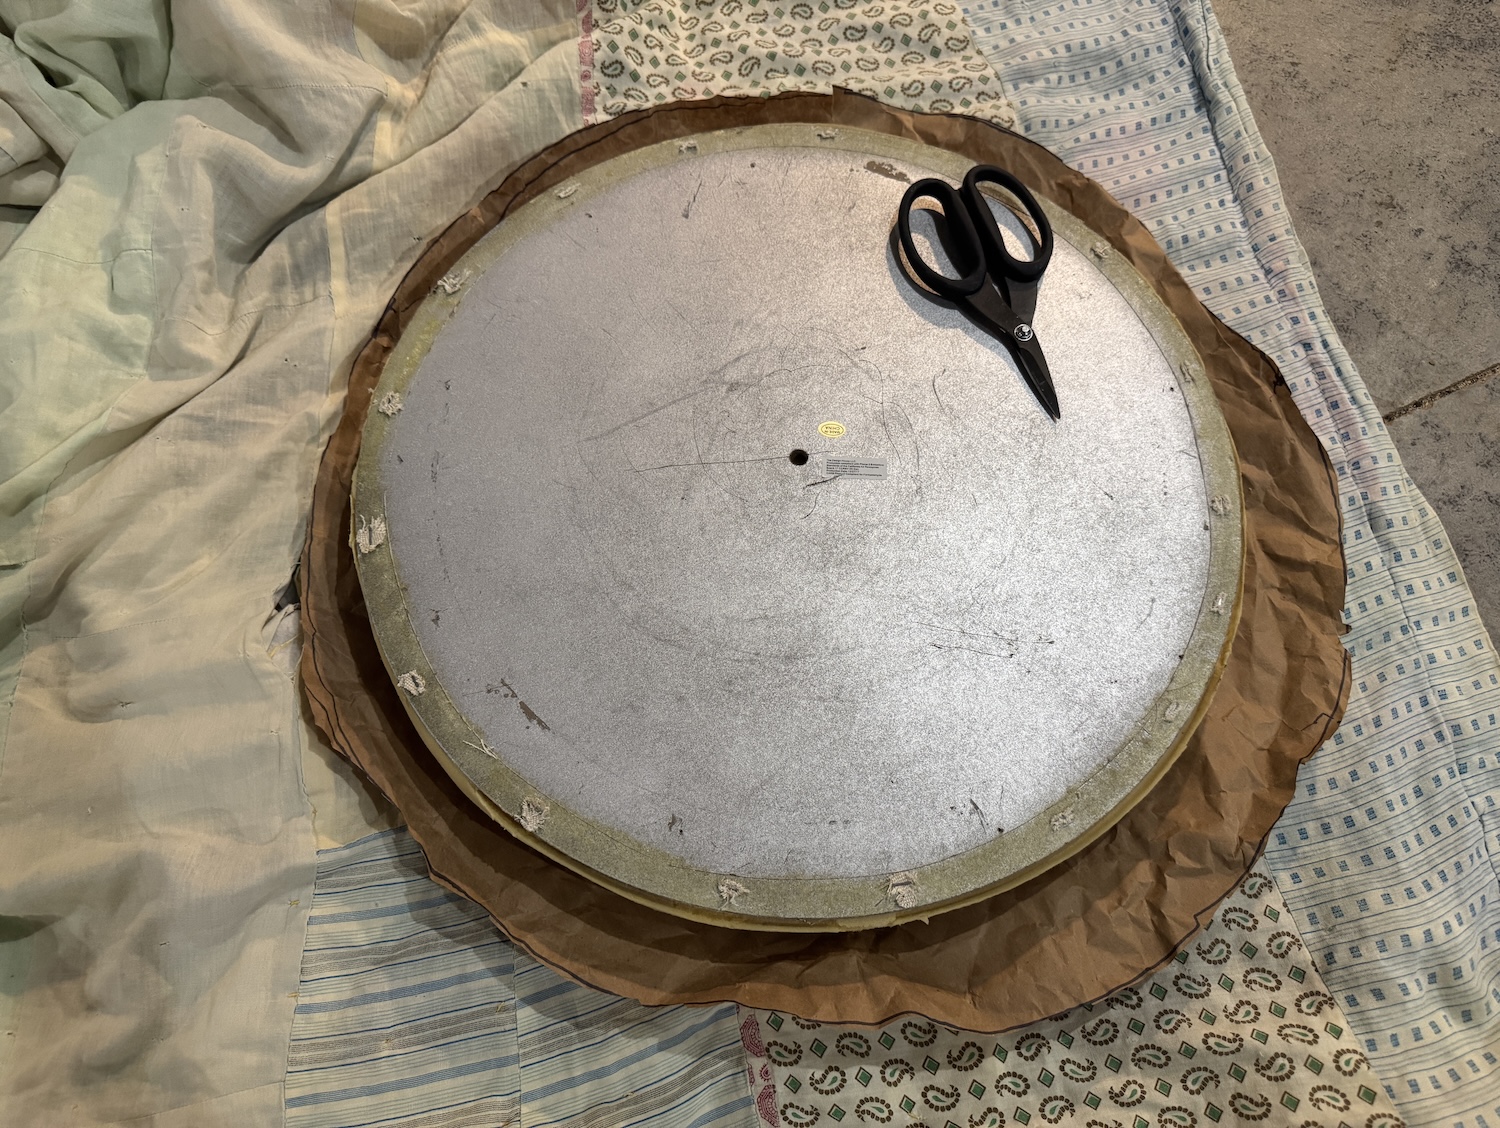
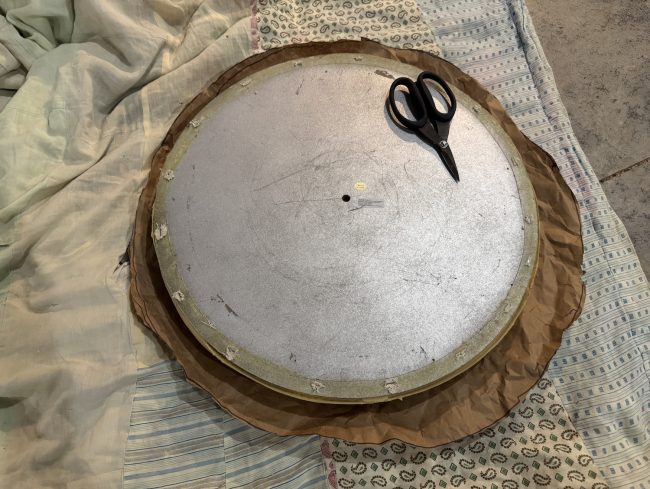
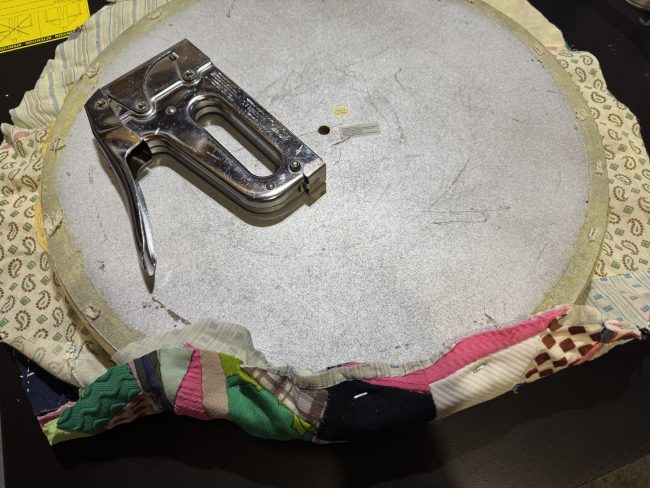
I’ve never done any sort of upholstery work or furniture rescue, so this was a brand-new adventure. I used a flat-head screwdriver and popped off the finishing trim around the base of the footstool. Then I started removing the fabric that was covered with pet hair. That was honestly the hardest part because the staples were so tight in the wood and fabric. Once I had that removed, I took a piece of packing paper and created a template so I could figure out how large the circle of quilt fabric should be.
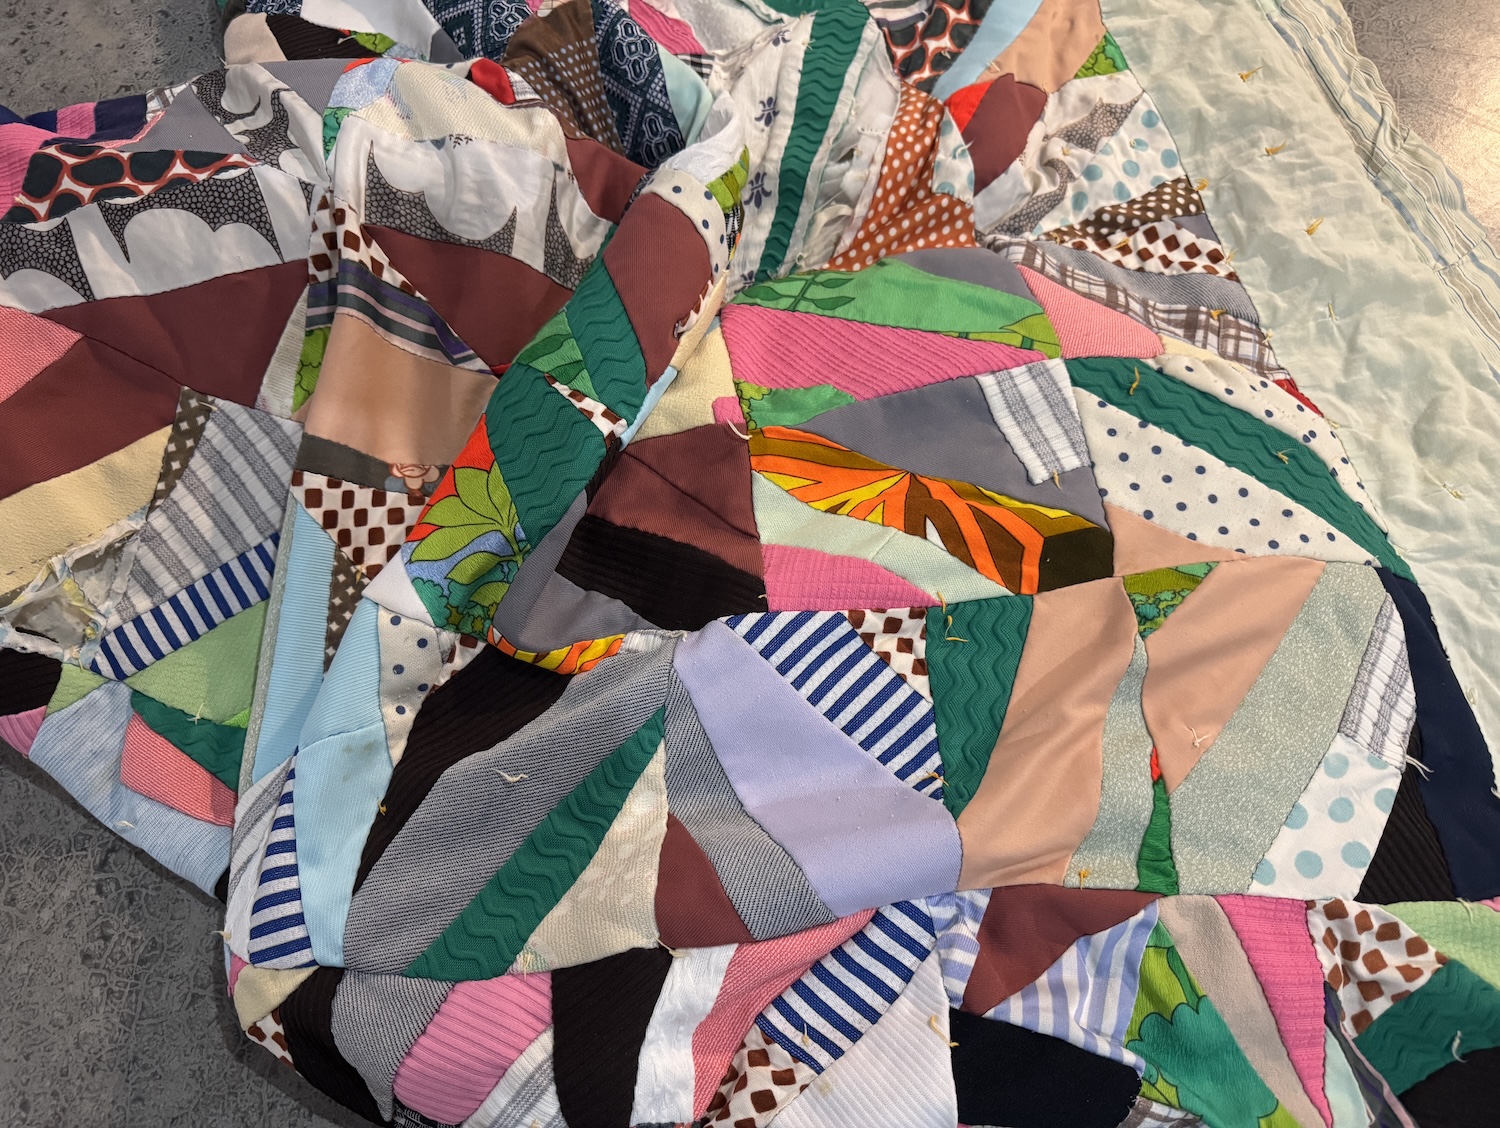
I had the perfect cutter quilt to use for this project. My mother-in-law had recently gifted me a scrappy, crazy quilt that had lots of torn pieces, holes in the top, and tears in the backing fabric. This is such a neat part of the family history because it was originally made by my husband’s great-grandmother. But it was doing nobody any good by sitting in a box in storage. Since it is no longer able to be used as a blanket and is past the point of repair, it is going to be repurposed into so many new projects, the first one being the footstool bucket.
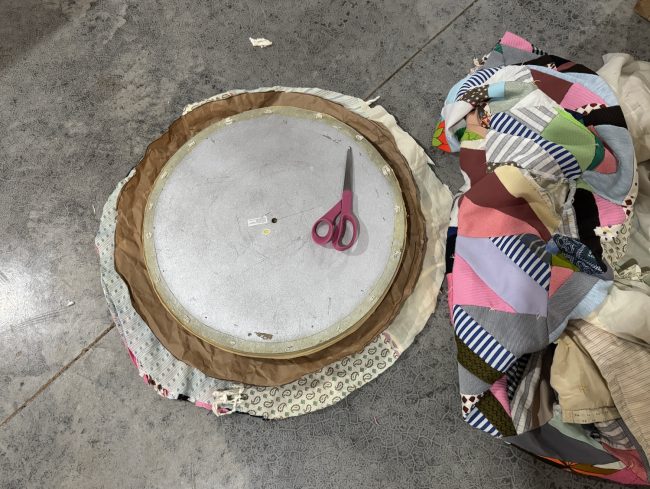
Once I knew how big the circle of fabric should be, I laid the wood and foam top on top of the quilt and used my sewing scissors to start cutting a circle larger than I anticipated needing. I positioned it to make sure that none of the holes, rips, or tears would be on the top of the footstool.
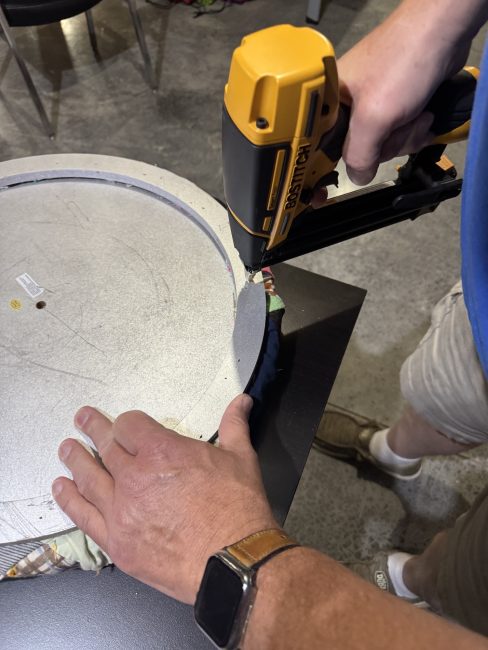
Once the cut was made, it was simply time to use the staple gun and attach it securely to the wood frame. I checked several times to ensure the finishing trim would cover up the staples. (I only missed a few, but they’re on the bottom, so who will see them, right?) I used a hammer to make sure the staples were flush with the wood and my husband used the air gun to finish the project.

This was such a simple project and a great first start at repurposing and rescuing something that didn’t quite fit my décor as it was but now is just perfect.
Have you done any upholstery? Got any tips? What do you think of my new scrappy, crazy quilt footstool?
I don’t think another one exists that is quite this fun and already so full of memories.