Vintage Window Frame Quilt Display
What do you do with a salvaged window frame and your favorite quilt blocks? You frame them, of course! One of the things I’ve had in mind for over a year is a vintage window frame quilt display for some of our family quilts that are too tattered to use as blankets. So today, I’m excited to share the process and the finished product!
This post includes affiliate links.
Vintage Window Frame Quilt Display
When we bought our farm a few years ago, there was an old log cabin that was falling down. There was no way to rescue or rebuild it so we salvaged what we could and scrapped what was left. One of the things that we saved from the rubble was the old vintage window frames. The glass had broken years ago, but there were several frames that we stacked to the side.
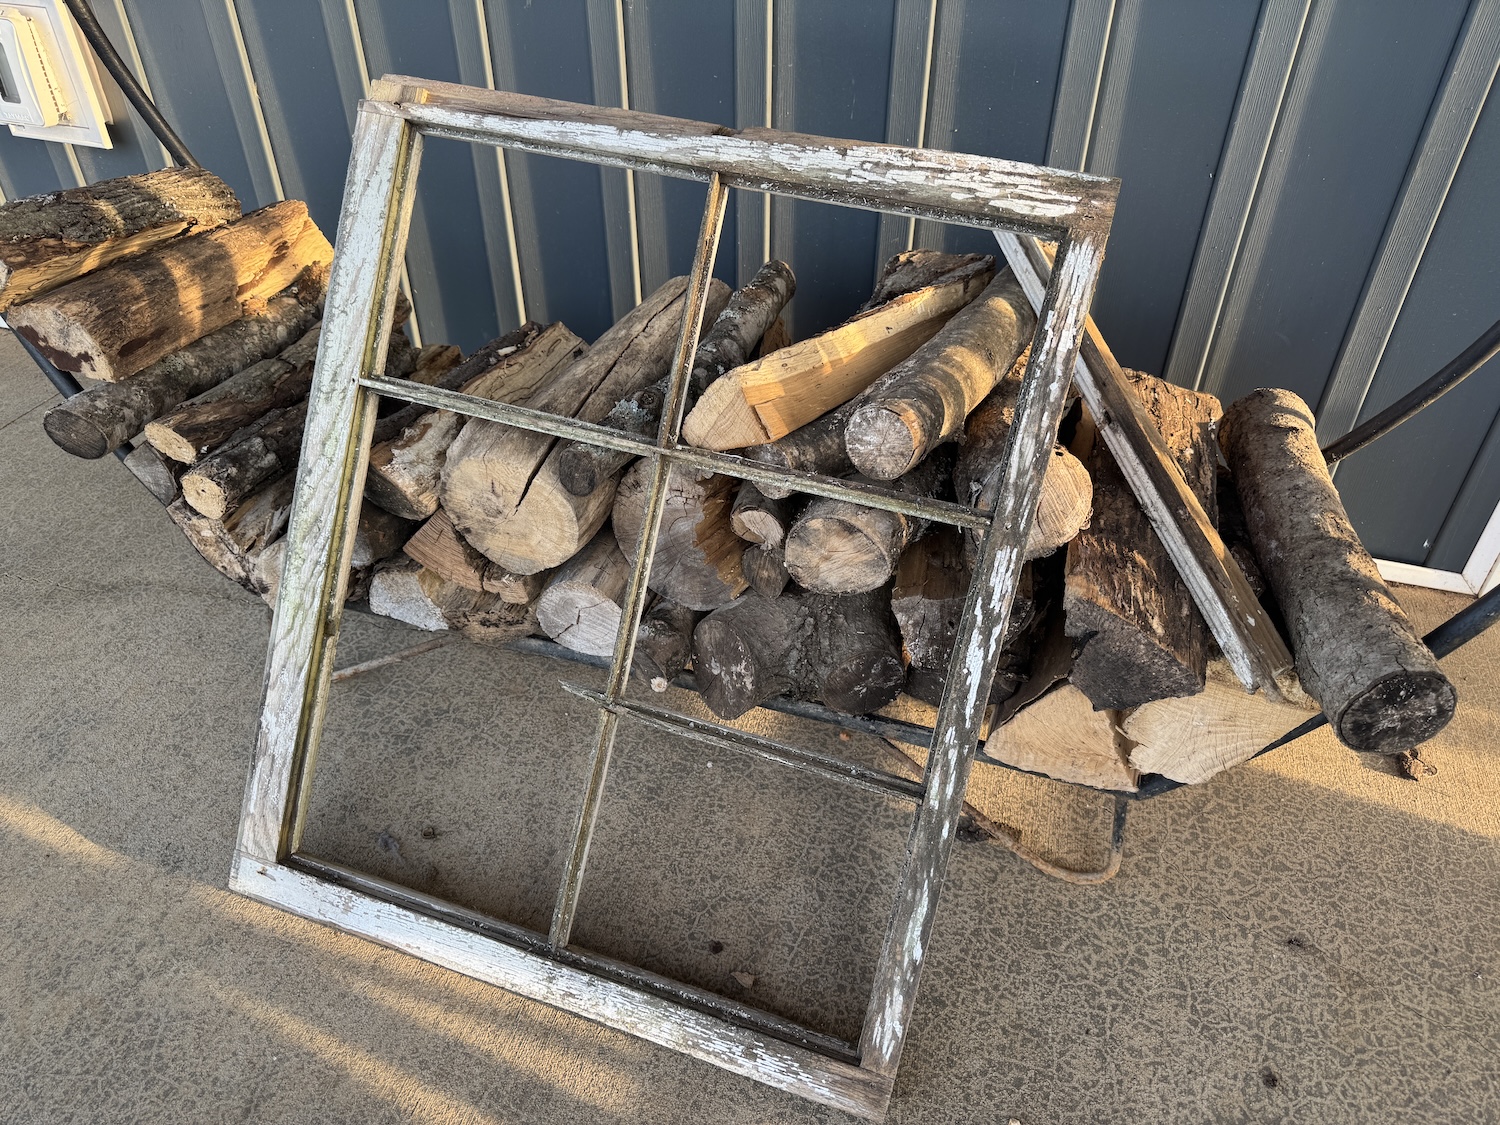
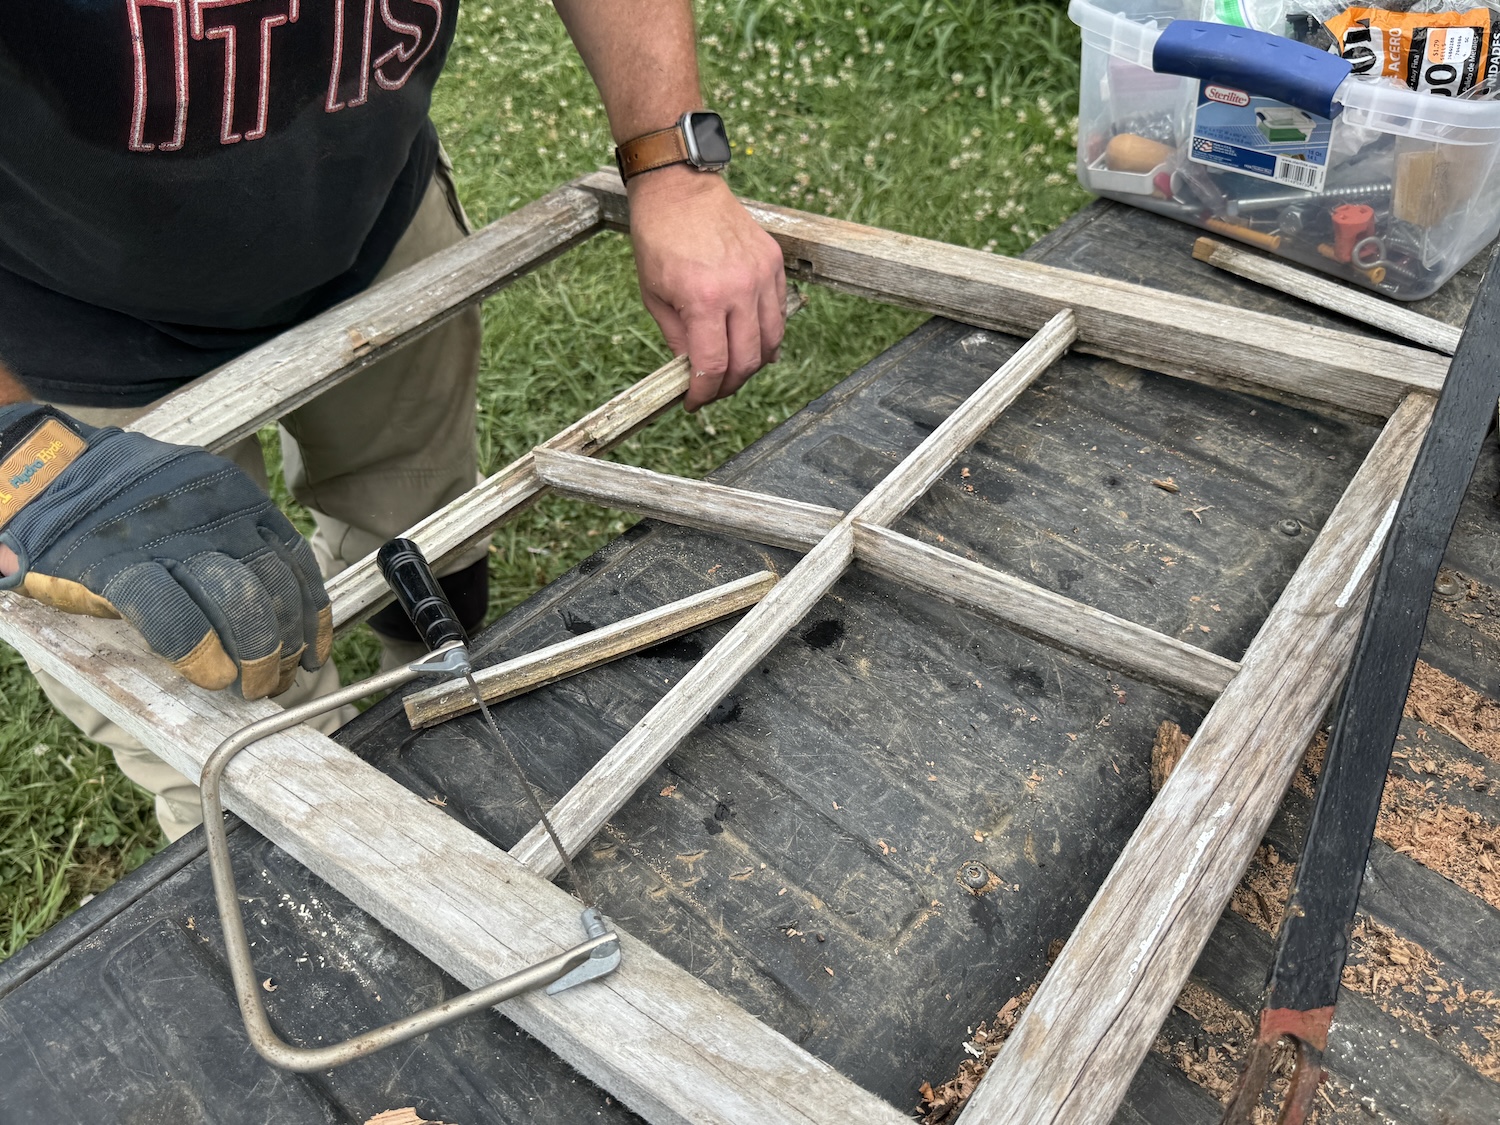
We pulled out the most promising frame, and my husband got to work repairing the broken pieces. A little sanding, sawing, and wood glue, and the frame was ready for the fun part.
Materials Needed:
- Wooden window frame
- Quilt blocks
- Fabric spray adhesive or painter’s tape
- Cardboard/Cardstock
- Backing board (i.e chipboard, foam board)
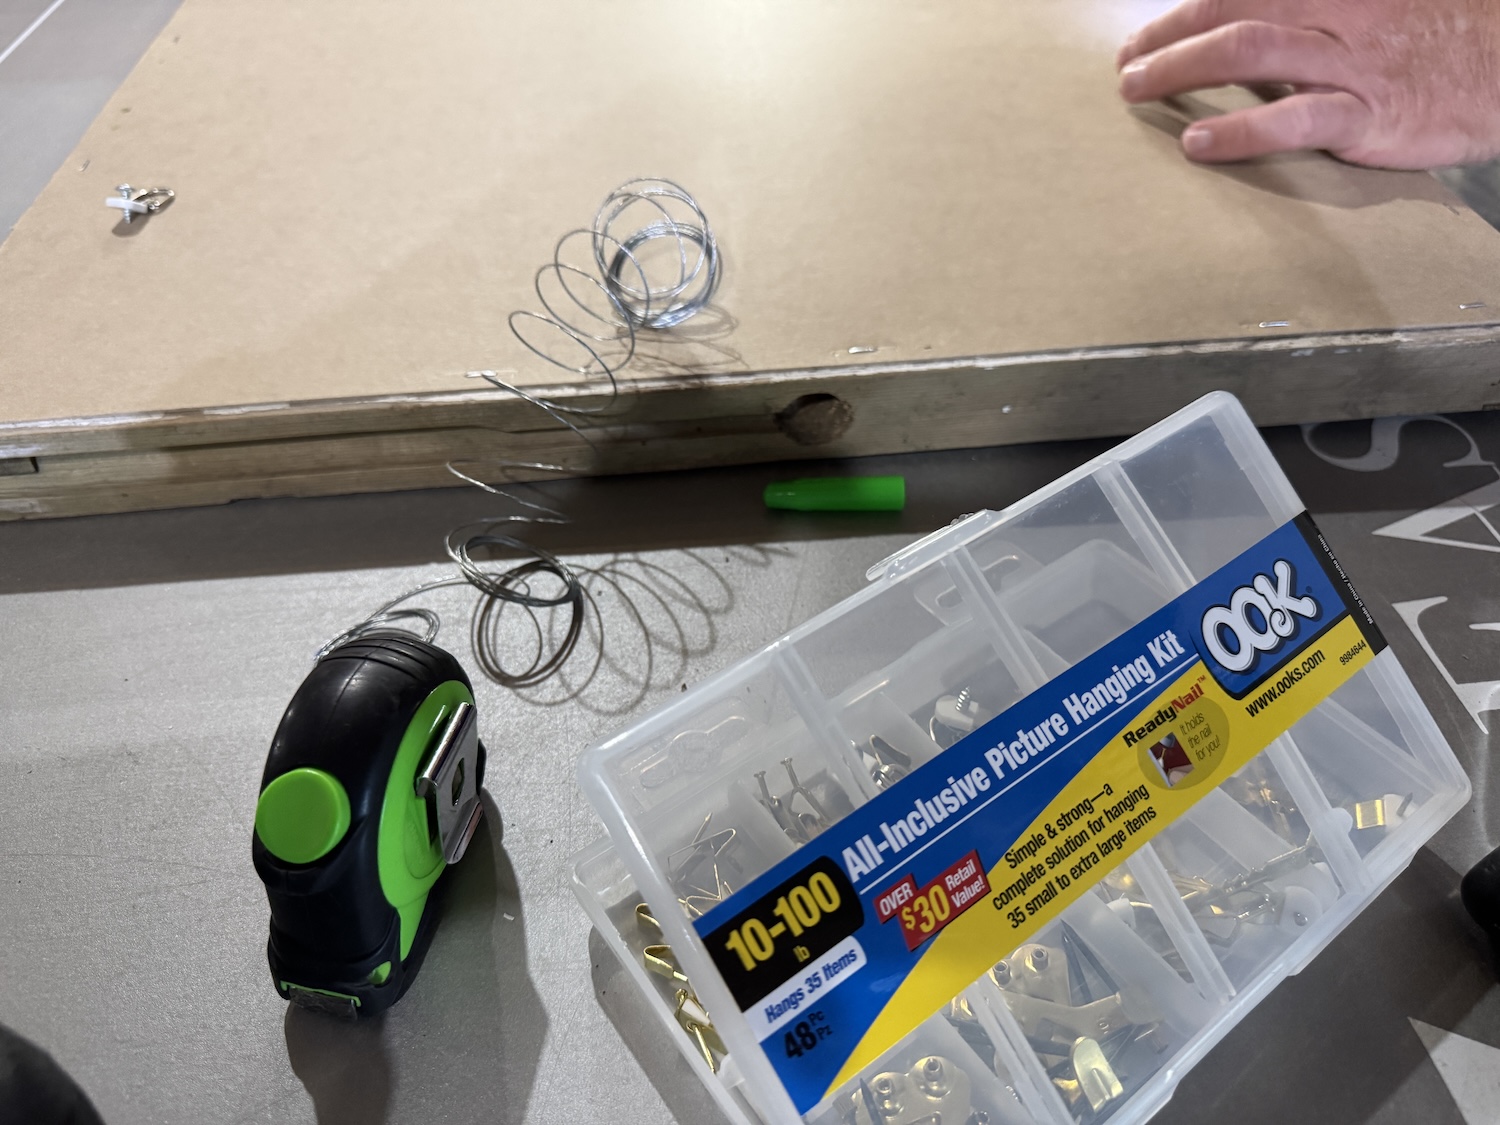
- Wall hanging kit
- Basic tools (hammer, scissors)
Directions:
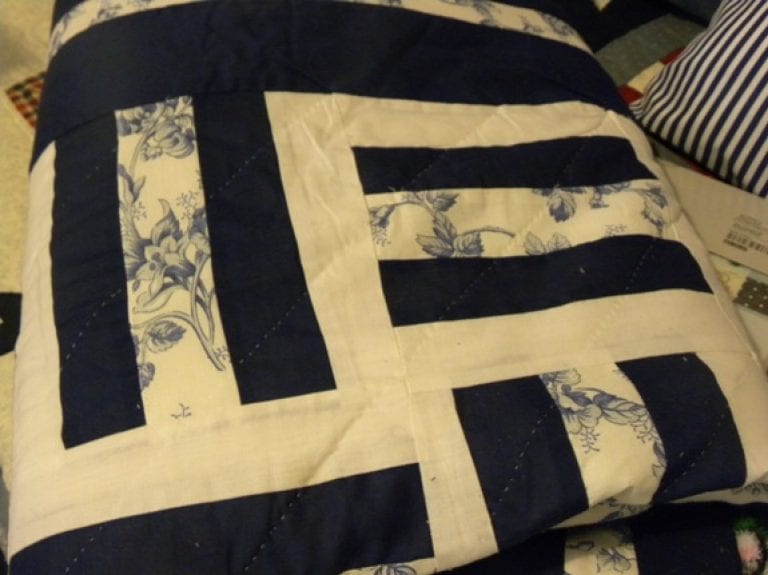
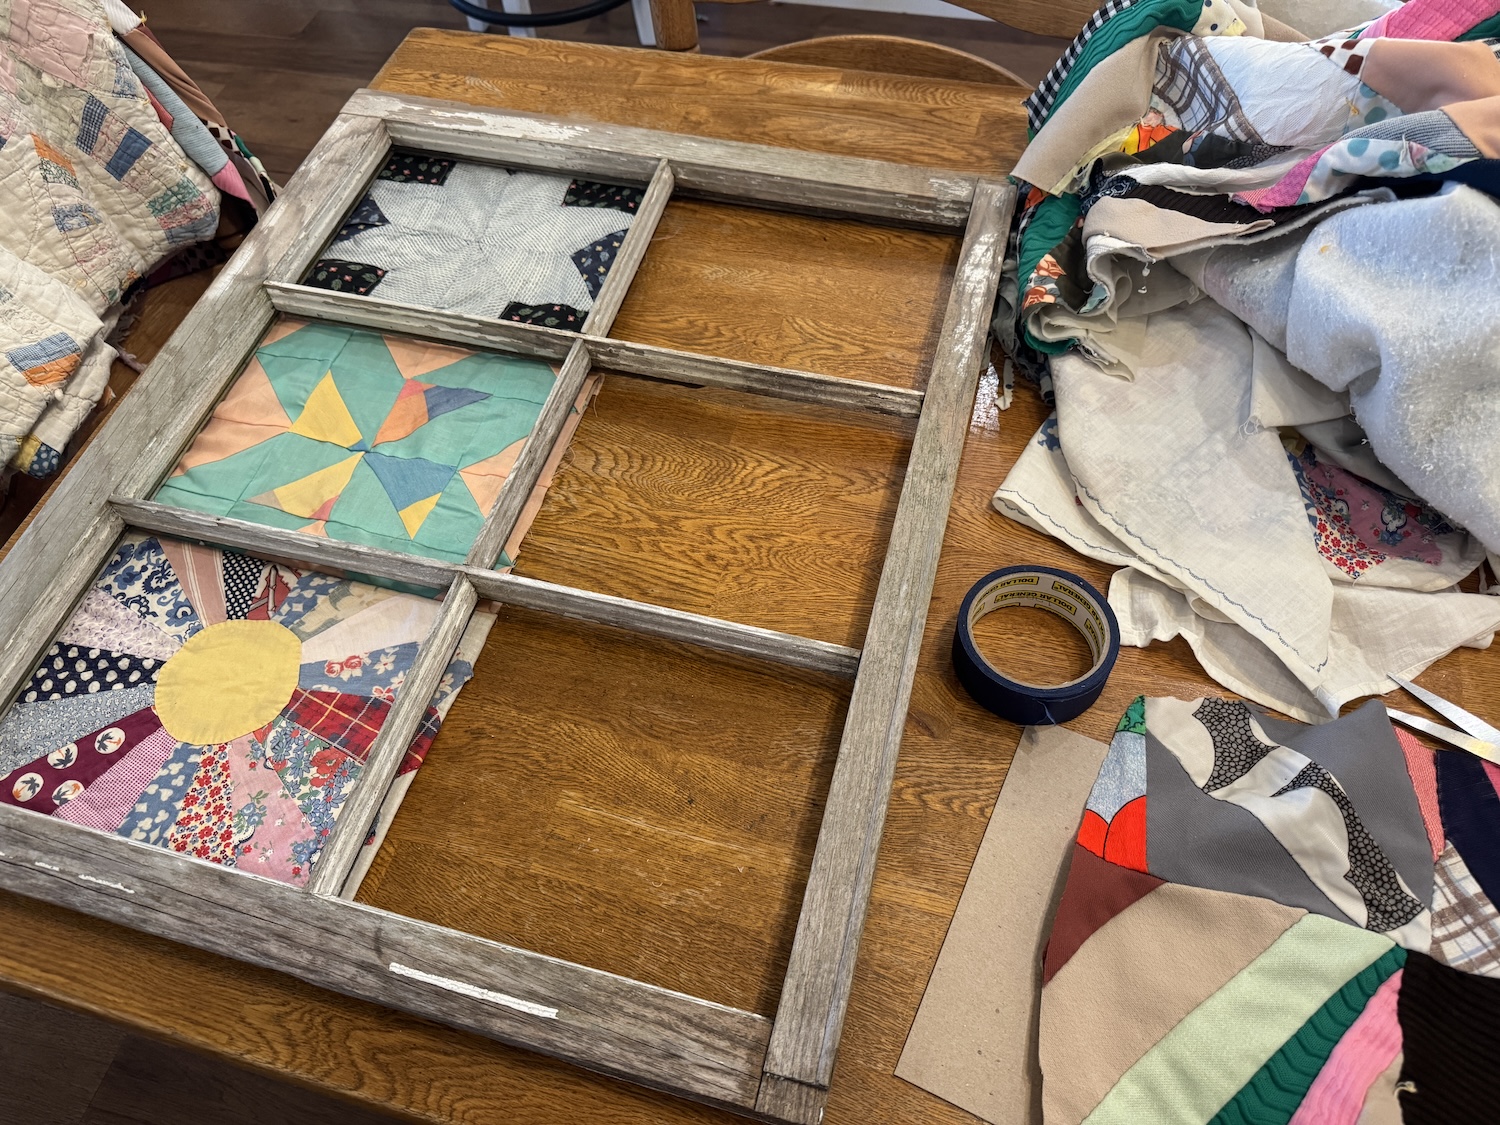
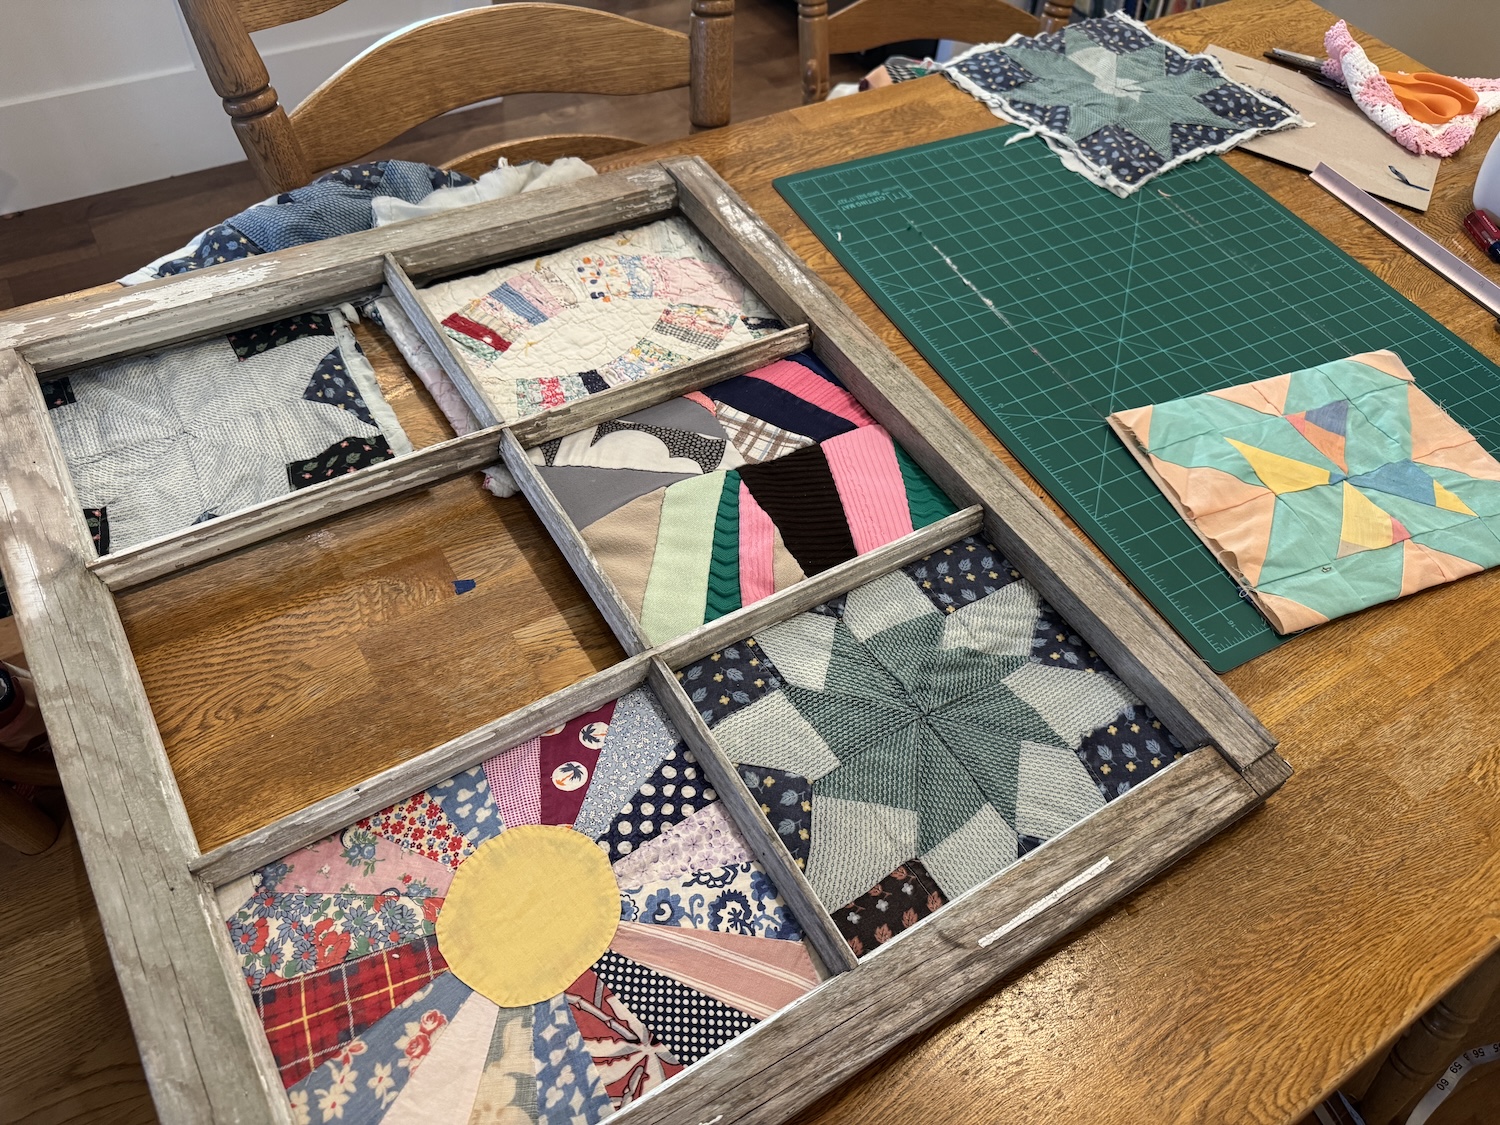
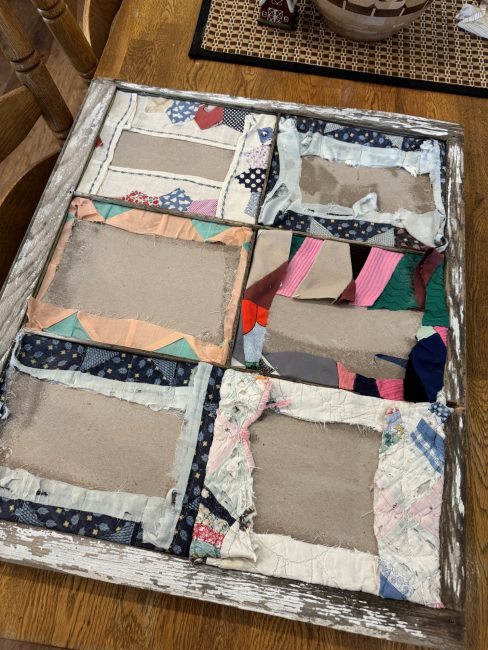
The hardest part (but one of the most fun parts) is deciding which quilt panels belong in your frame. I had several old, tattered family quilts that had great memories but were no longer usable, so I gathered them all in a pile and started arranging them till I found the pattern I liked.
This is not the time to start cutting. I just folded up pieces to ‘kind of’ fit the frames.
Once I decided which quilt blocks I wanted to use, I used painter’s tape to start creating puzzle pieces for the window panels.
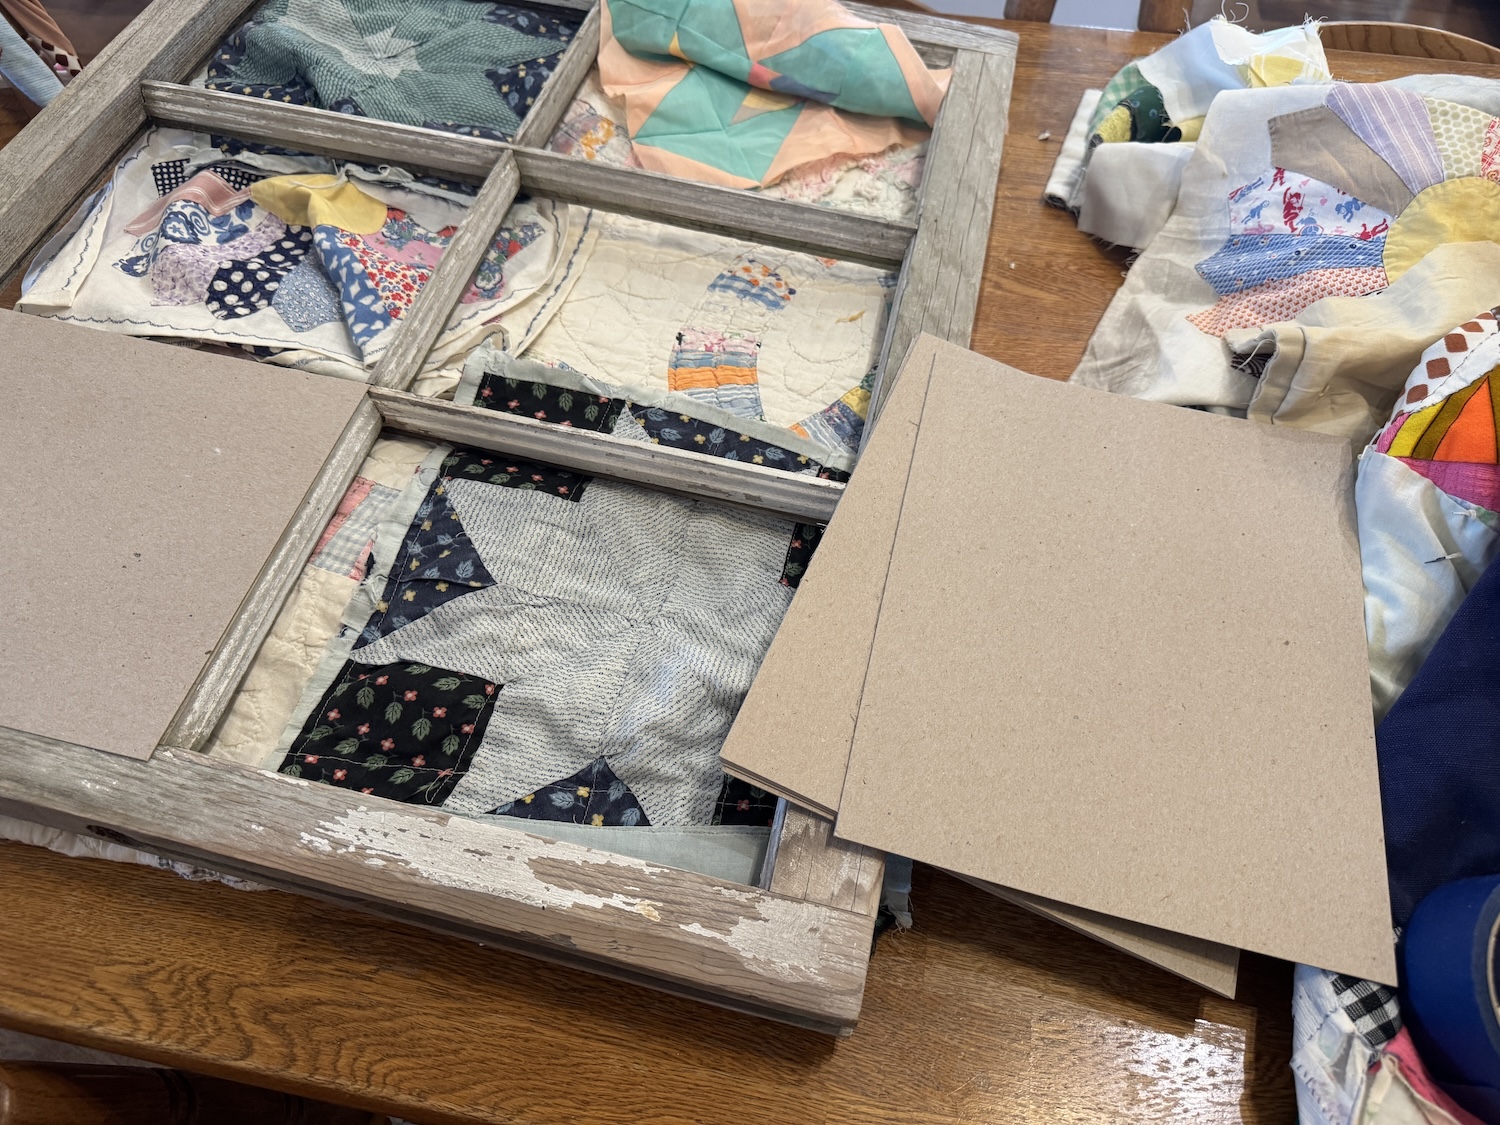
I quickly realized that I wanted the panels to be ‘in the frame,‘ not just lying on the back. I trimmed each of the cardboard pieces to fit exactly inside the panes. Now, I was on the right track and seeing it come together.
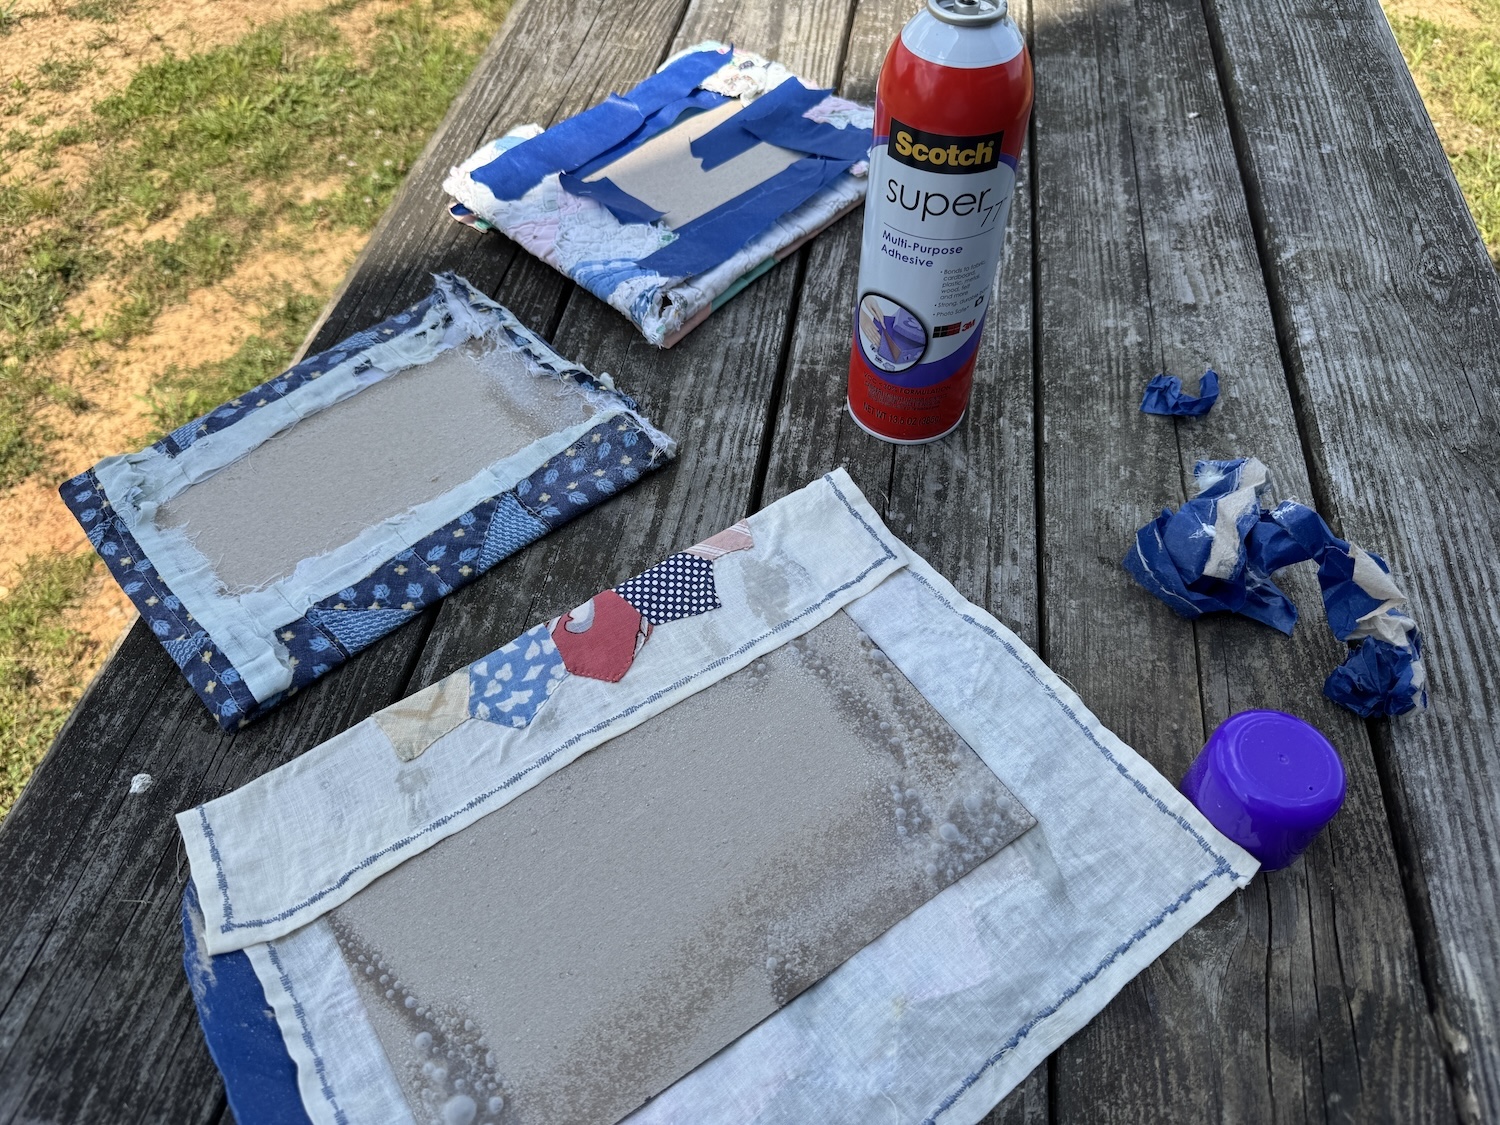
I soon realized that painter’s tape wasn’t going to work. Not only did it look ugly, but it was not sticking. That’s when I pulled out my can of Scotch super multi-purpose adhesive. This was much cleaner than the tape.
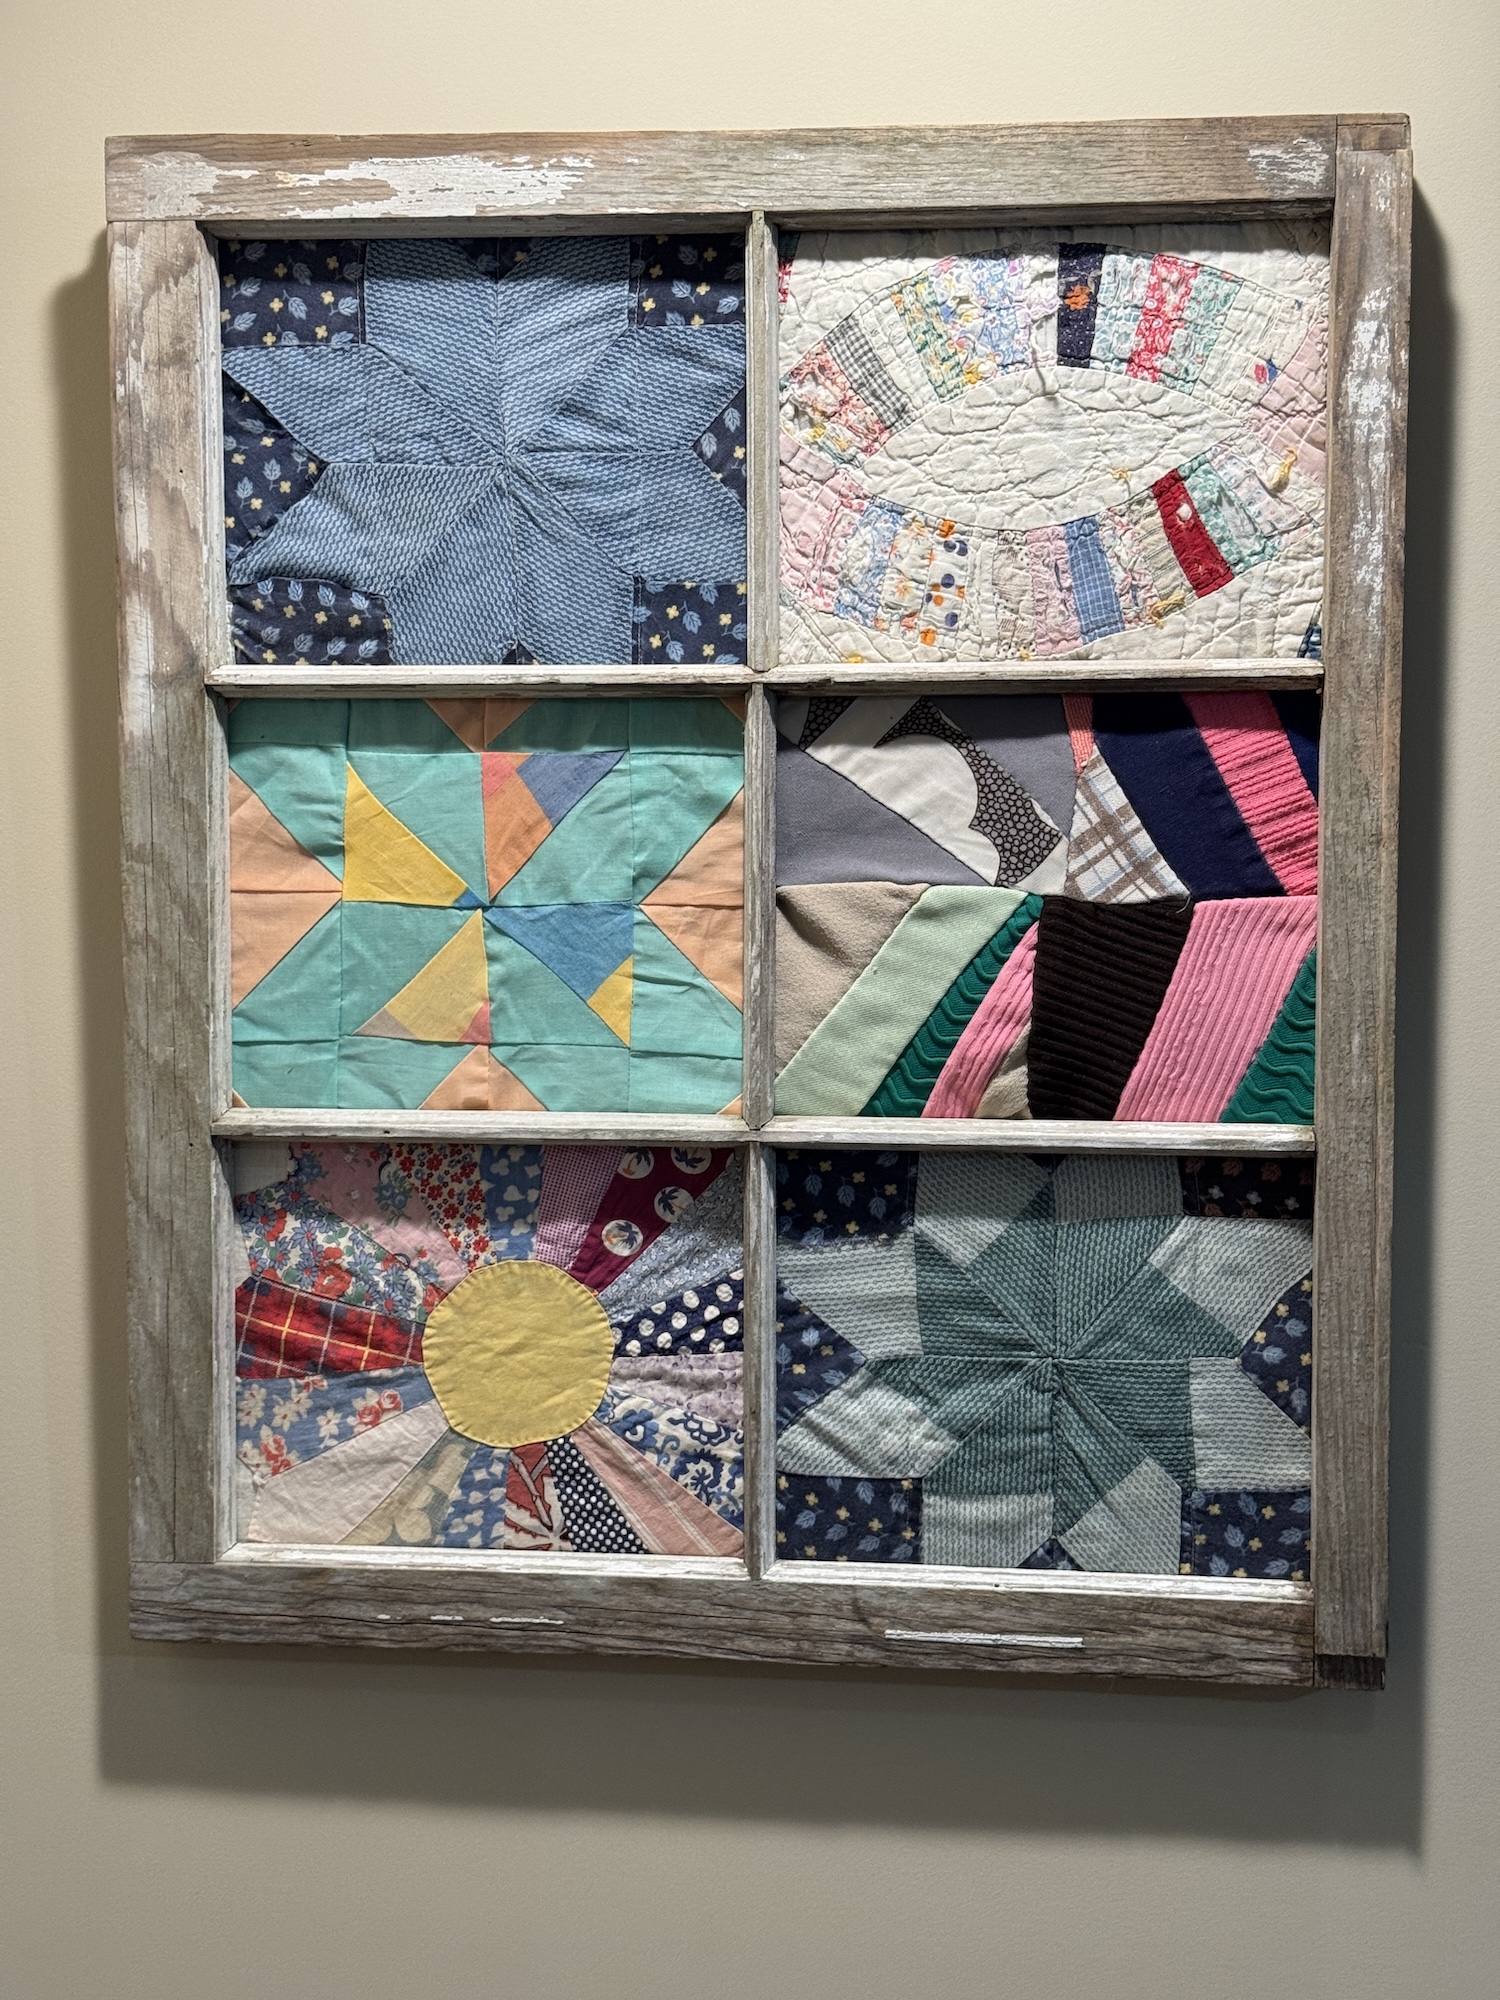
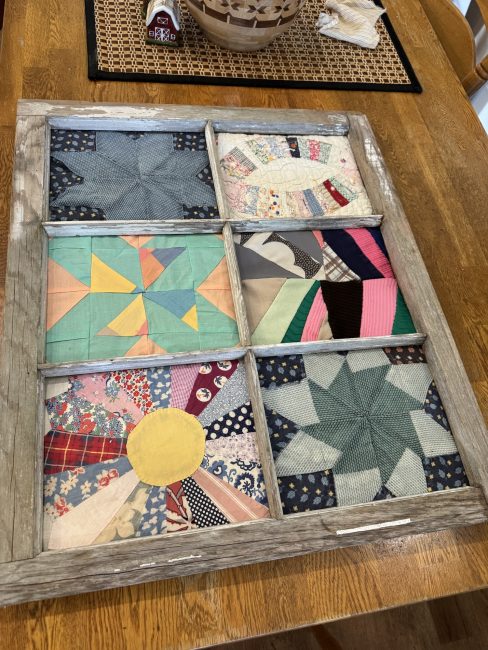
Once the panels dried thoroughly, it was simply a matter of popping them into the frame and checking one last time that everything looked perfect.
We used the D-ring and wire backing so we could hang it up on the wall at the bottom of the stairs.
I’m super pleased with how it turned out. What do you think? Have you thought of putting quilt blocks in a wooden frame? I’d love to see how you are displaying your favorite quilt memories.