Easiest T-Shirt Memory Quilt Ever Made
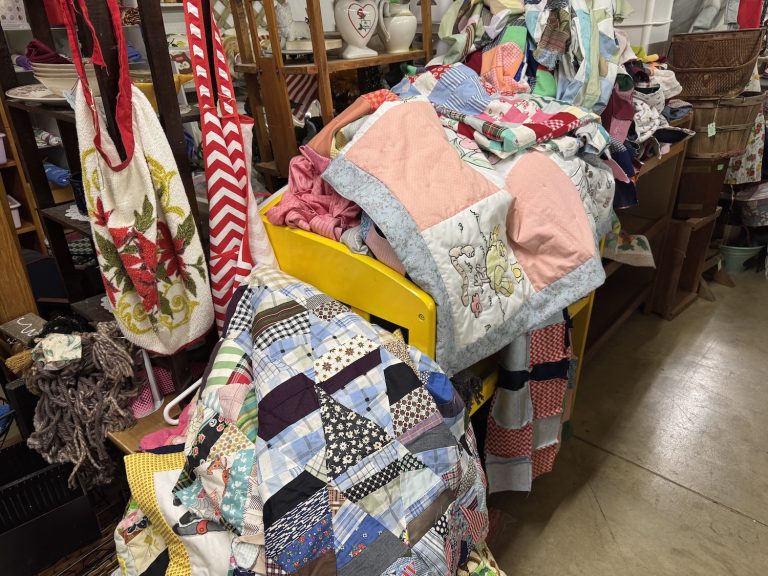
For over 15 years, I’ve been saving my kid’s tshirts from special events. The character t-shirts from kindergarten and first grade? Got them! The t-shirt my daughter wore in her 3rd-grade play? Got it! The reward t-shirt from all the Accelerated Reader competitions? Yep, it’s been stored in the tote with all the rest. I’ve always thought I would make a t-shirt memory quilt for each of the kids and even started a traditional one years ago, but it’s a big project, and my life is full of other, more pressing things.
So this past weekend, I pulled out all the t-shirts and had an amazing realization. This t-shirt memory quilt is not for the kids – it’s for me! I’m the one who remembers them wearing all these shirts, so why not make the t-shirt memory quilt the easiest way possible so I can get these memories out of a box and onto the basement couch.
Is this a perfect quilt? Absolutely! But not in the exact definition of perfection. The corners aren’t all perfect. I haven’t quilted or even tacked the two sides together. I didn’t use quilt batting and totally skipped the iron-on process that is required for most t-shirt quilts. But it meets all of my goals.
- The t-shirts are no longer stored in a tote.
- I didn’t have to buy any extra supplies.
- I finished it in one day.
I’ll call that a win any day!
How to make the Easiest T-shirt Memory Quilt
Materials Needed
- T-shirts (of course)
- Scissors or rotary cutter (preferred)
- Safe cutting surface
- Straight Edge (or something to give you a guide if you use a rotary cutter)
- Sewing Machine
- Straight Pins (magnetic pin cushion optional)
- Blanket or sheet for backing (I used an extra fuzzy blanket from the closet)
- Cardboard Template for a consistent size
Directions
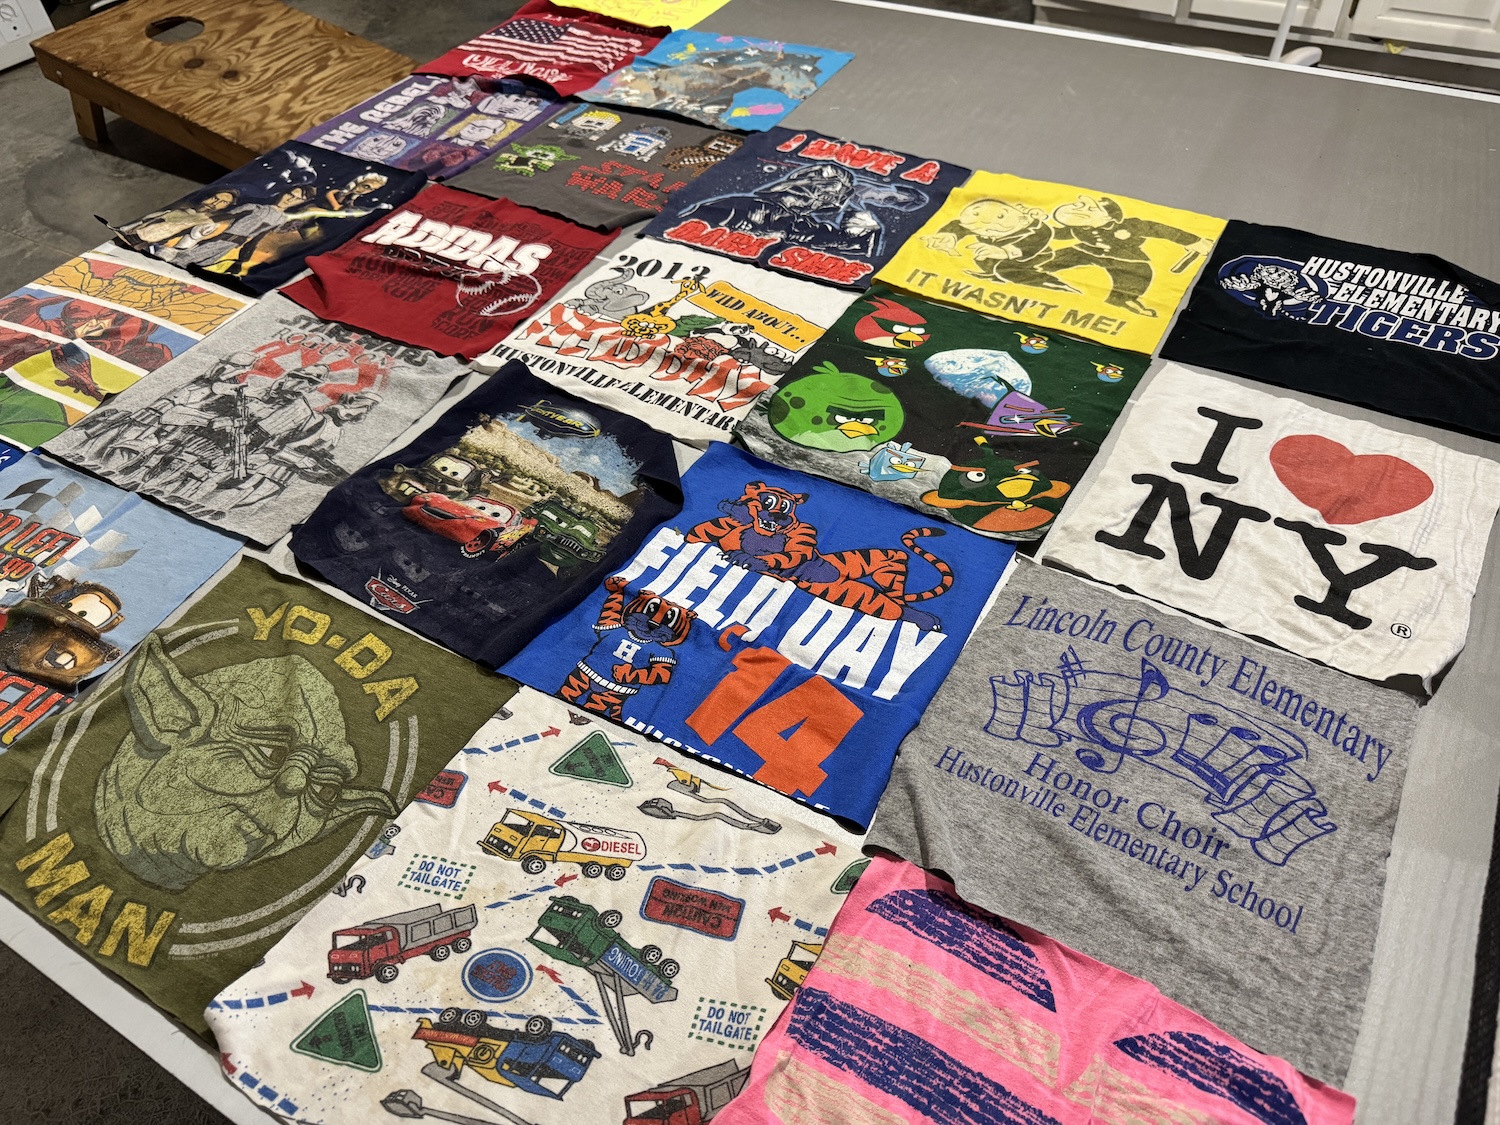
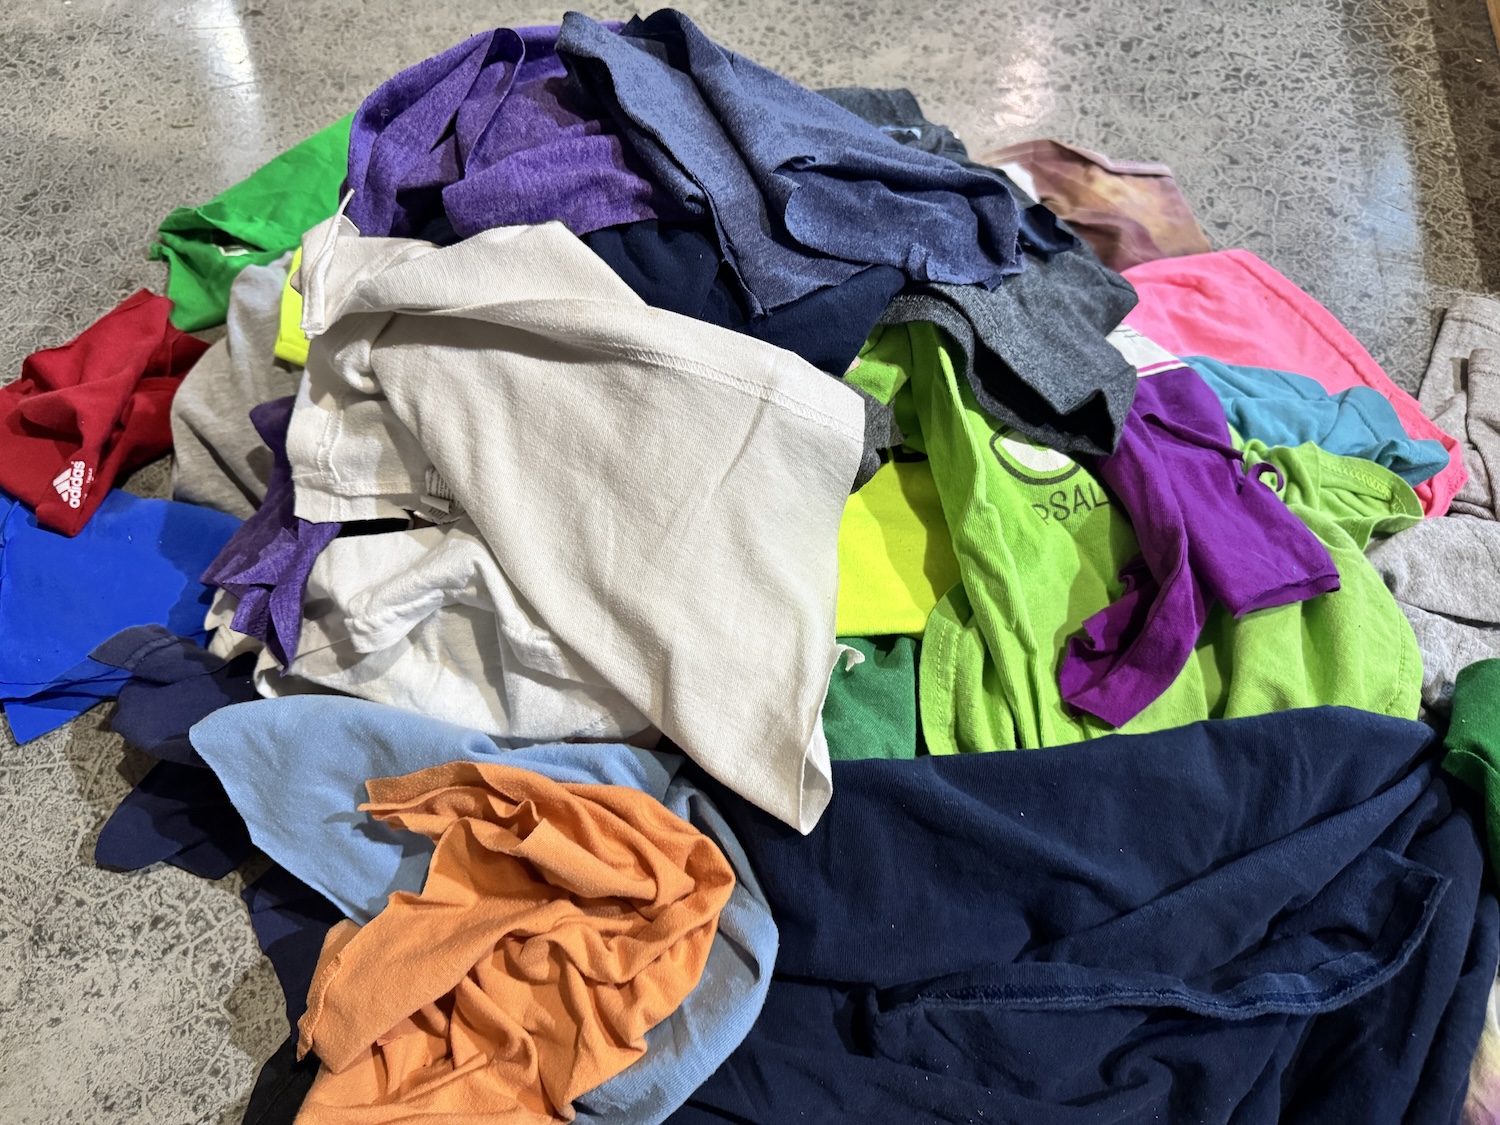
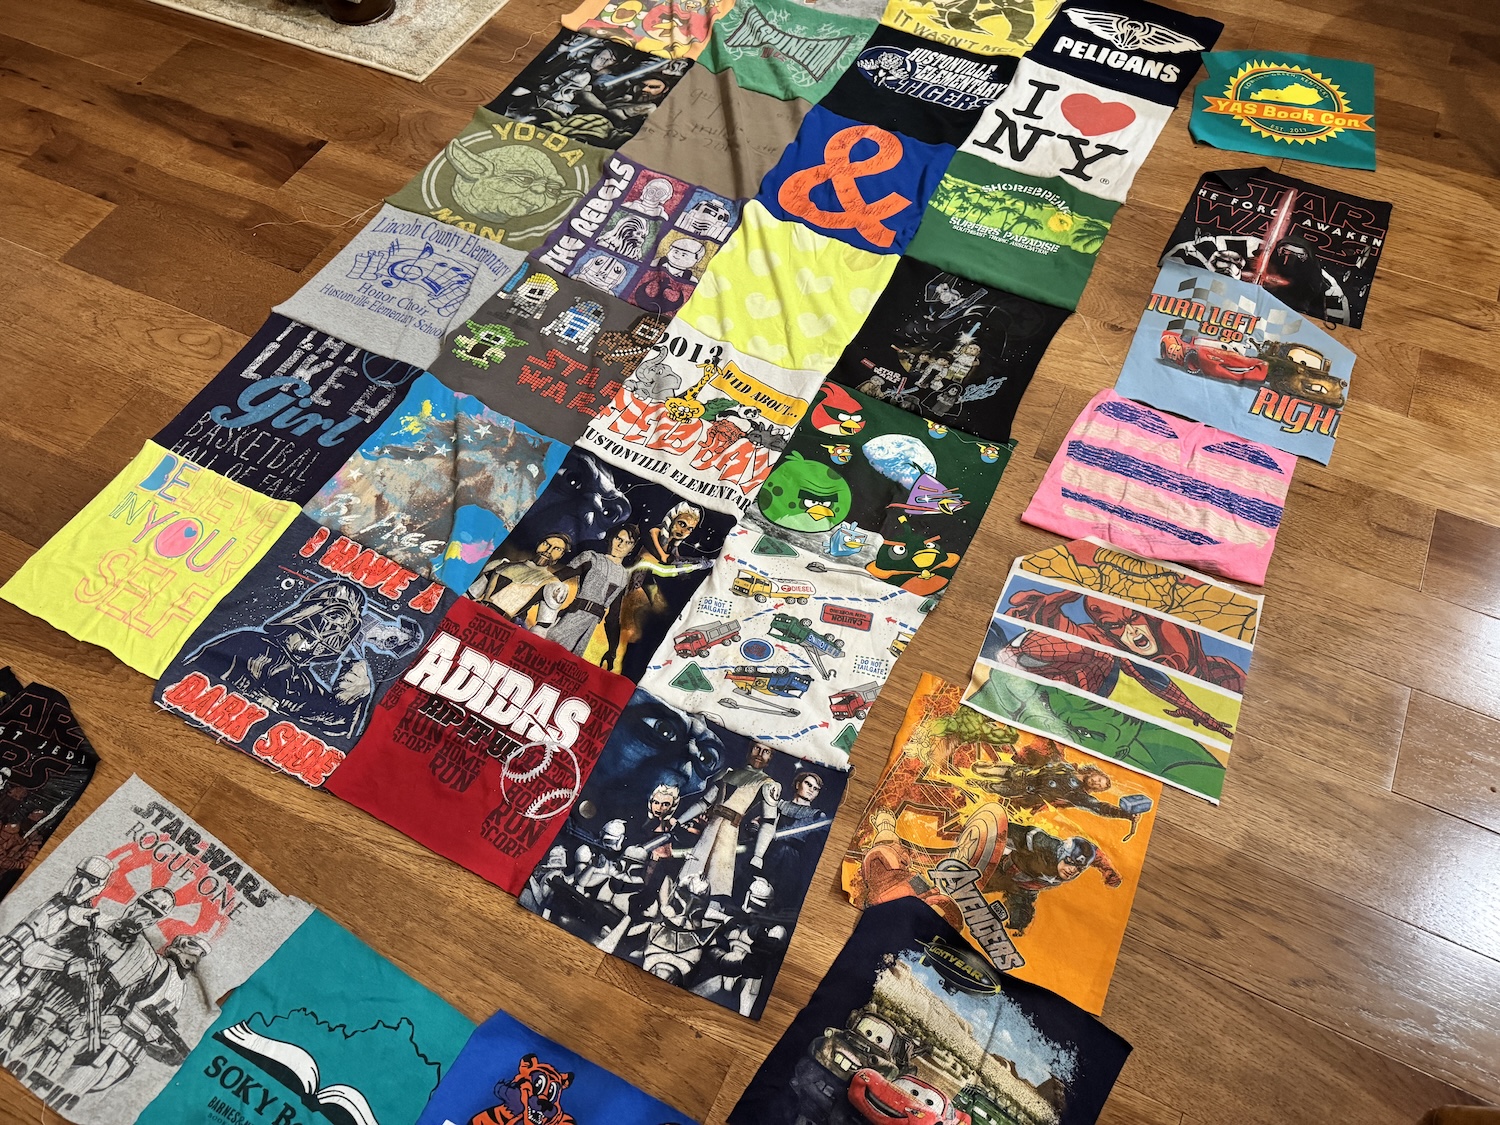
Lay out all your t-shirts and get a general idea of your pattern and size.

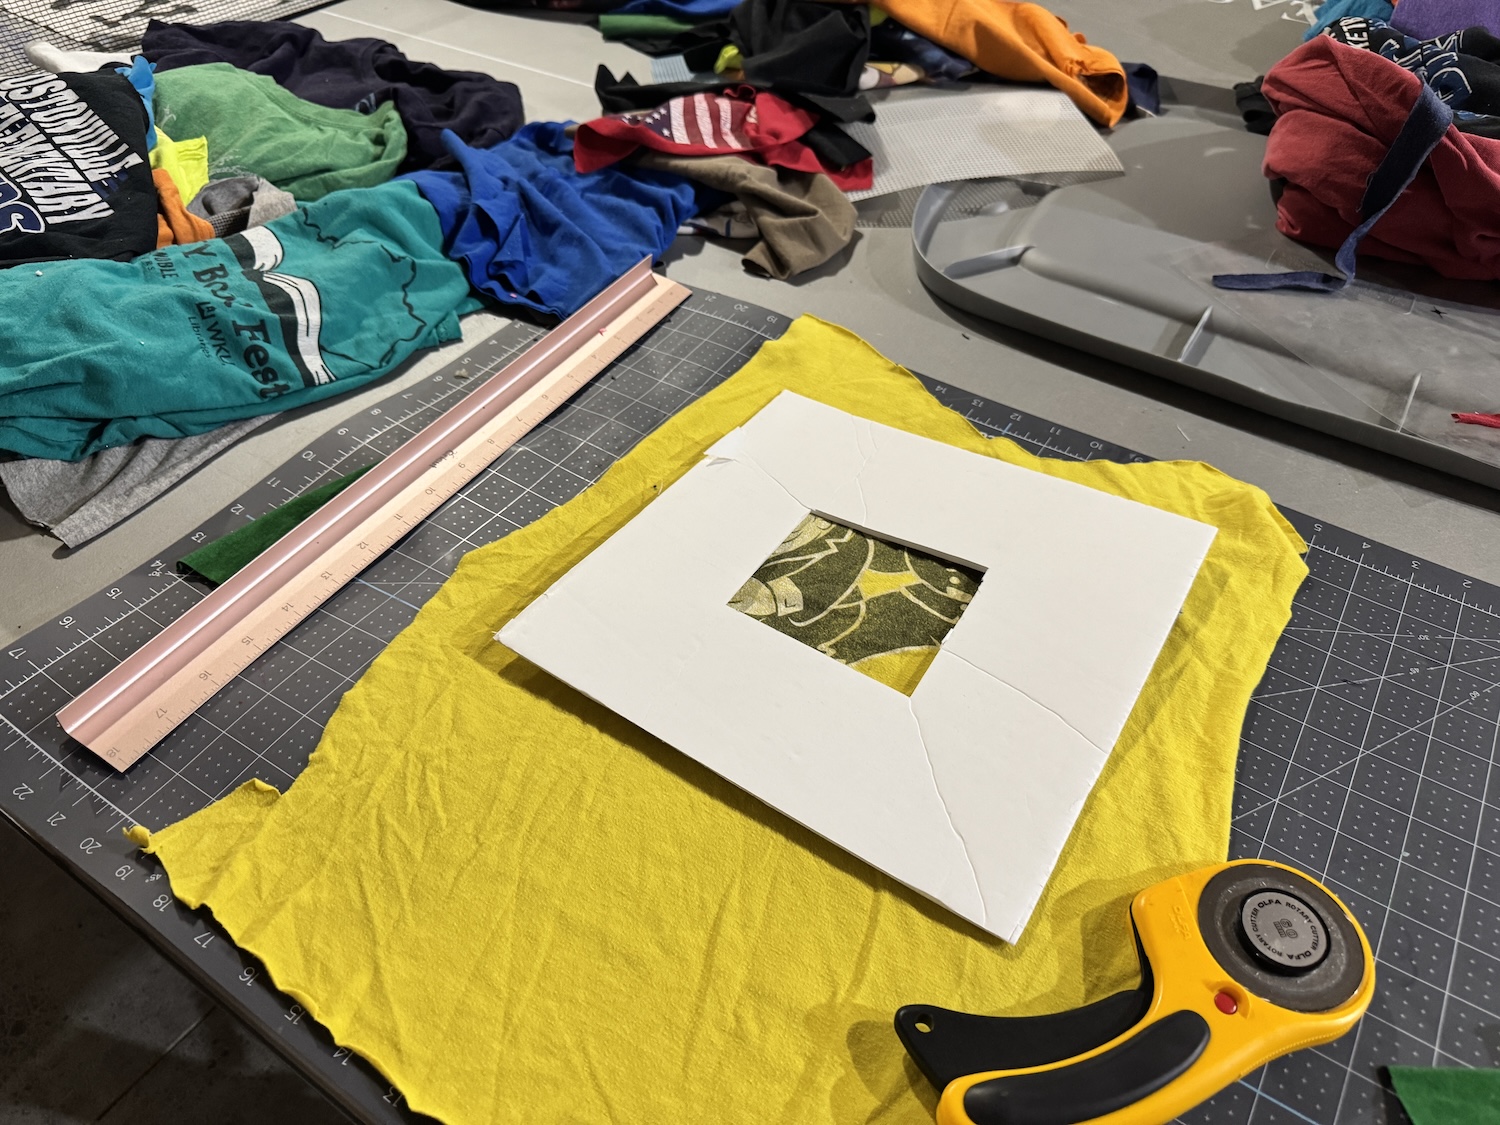
Cut a template out of cardboard the size you want each square to be. 10 or 12 inches is probably going to allow you to capture each of the t-shirt patterns.
Layout your finished squares and make sure you have enough to fill your entire planned quilt size.
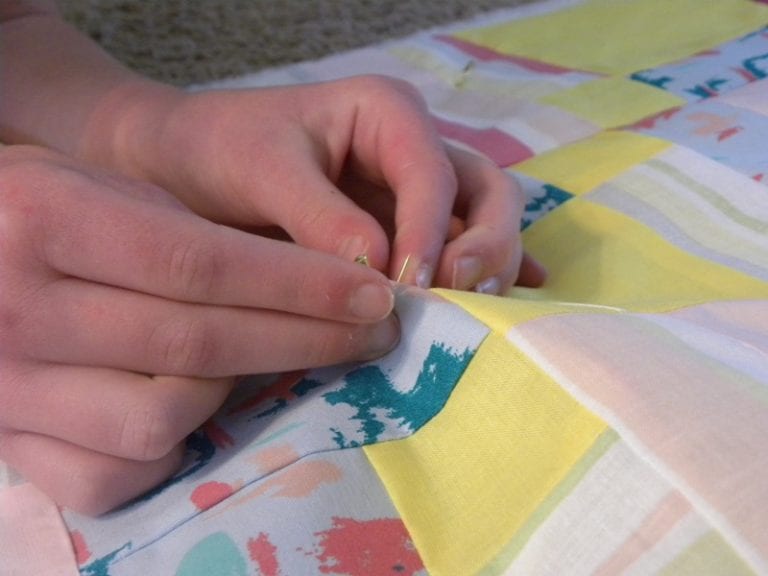
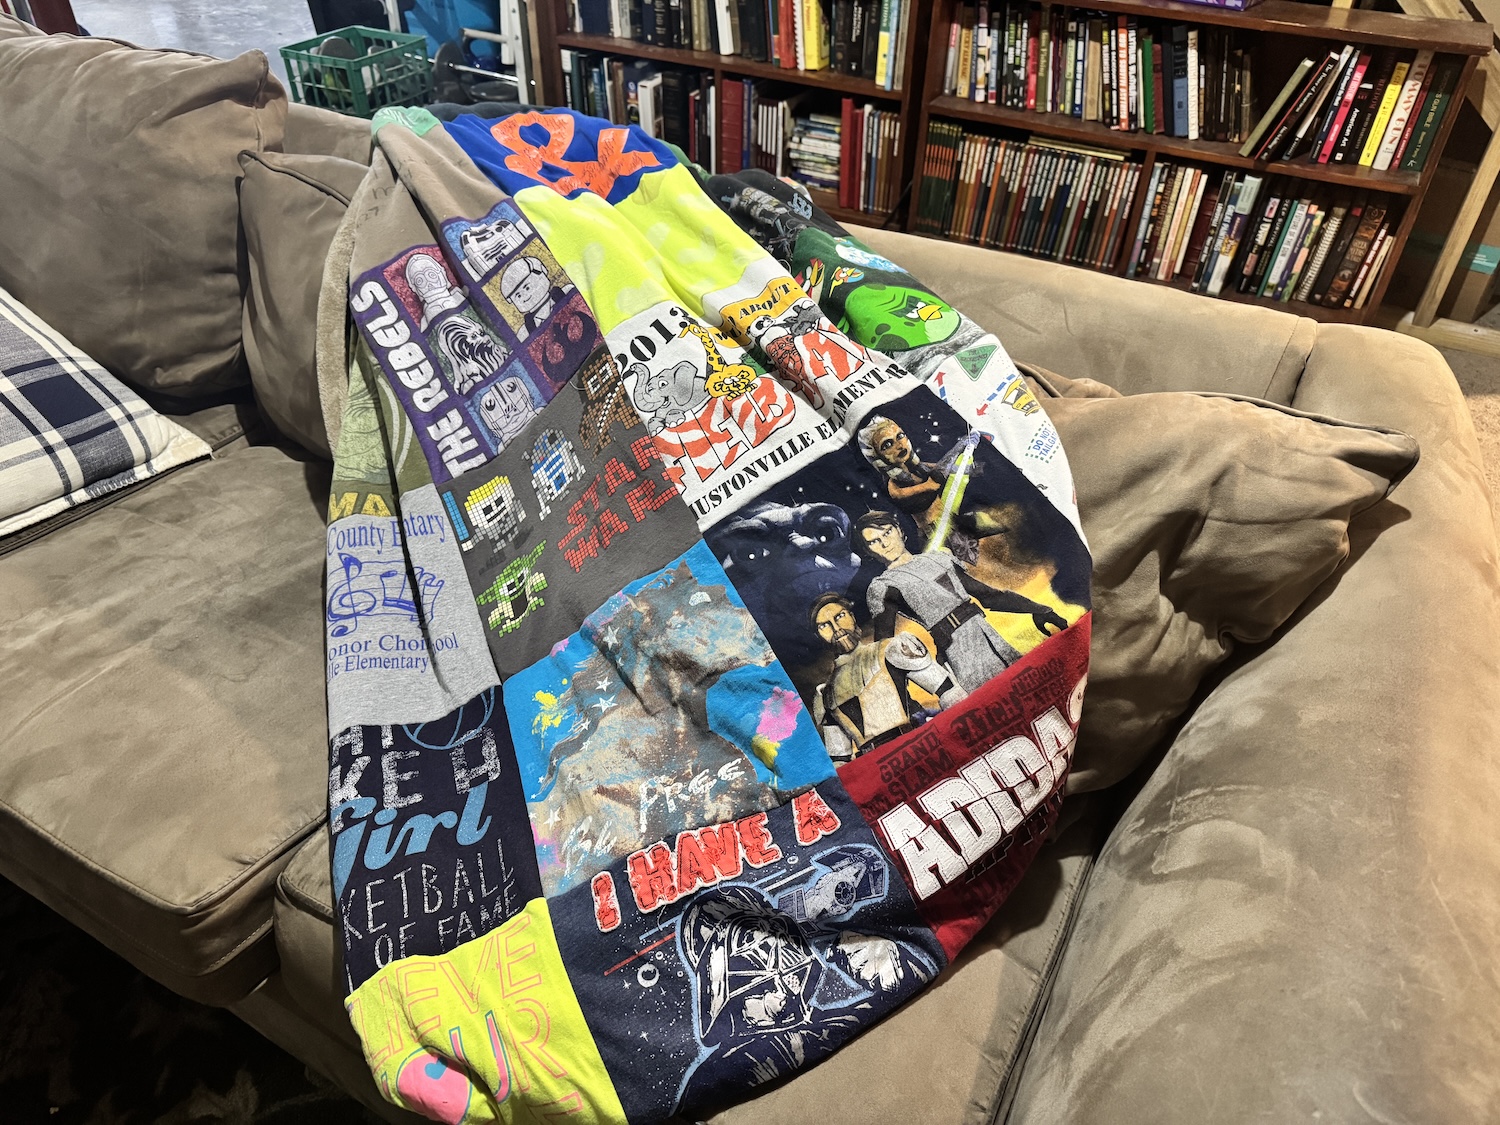
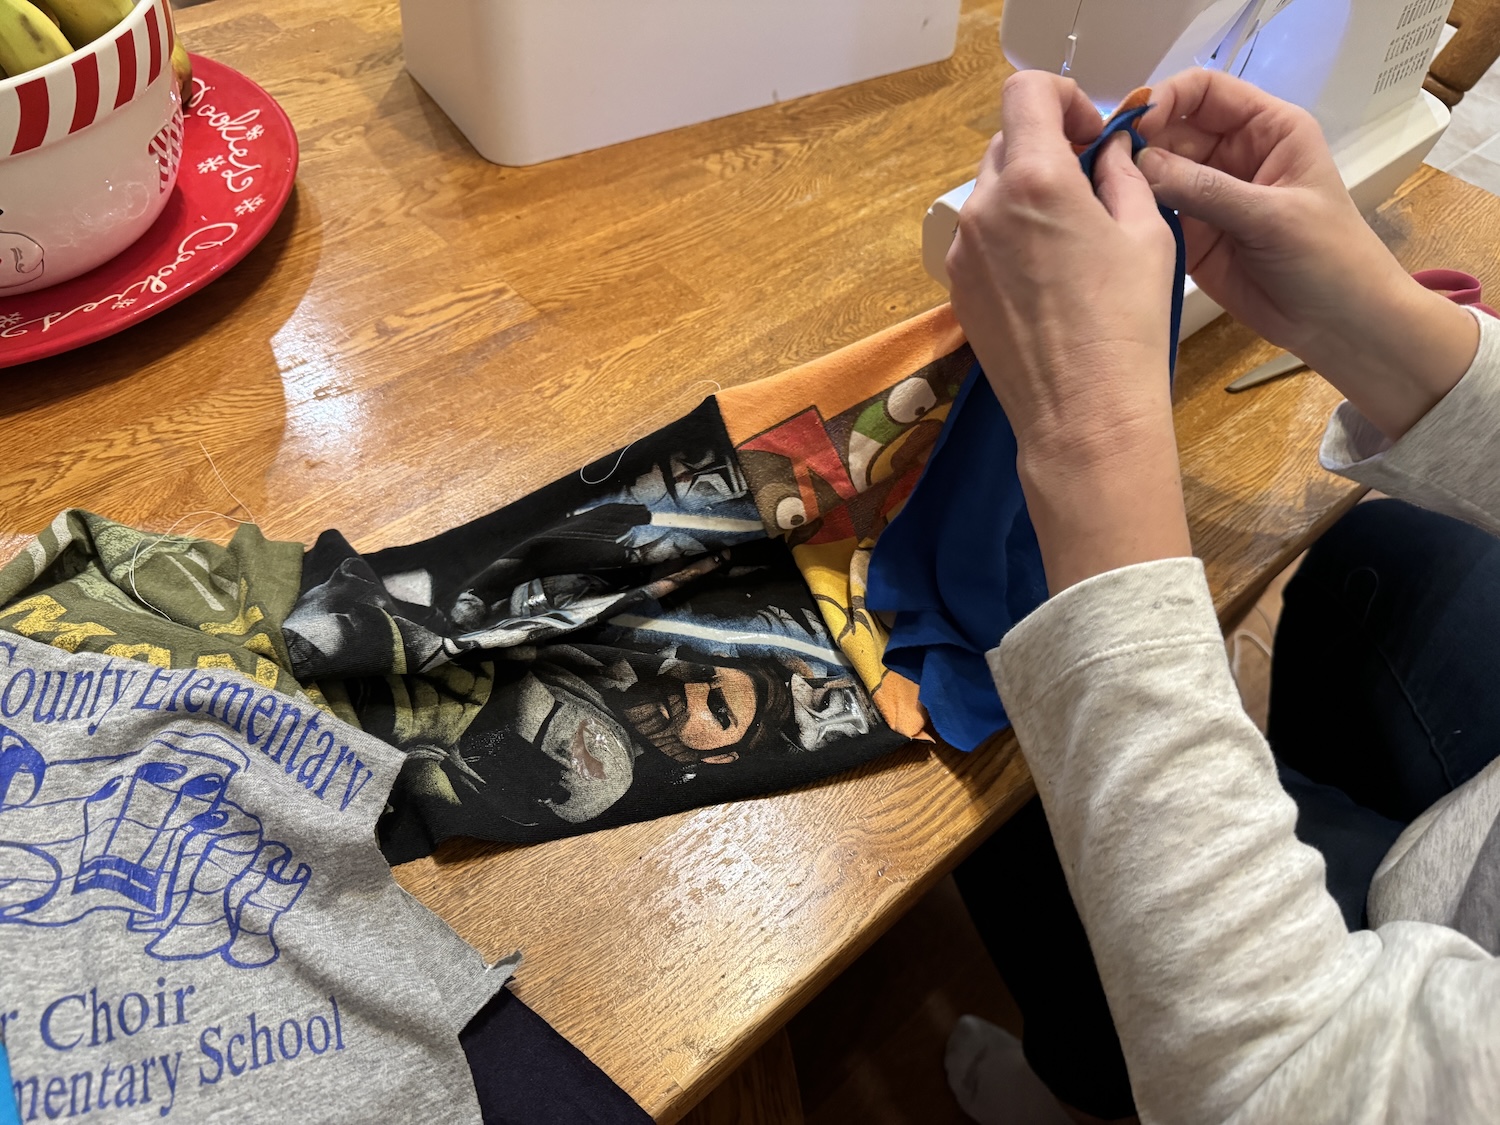
Sew each row one at a time. Make sure you check that your patterns aren’t upside down when you are sewing. I find it easiest to sew in long columns and then attach them together as one long stitch.
Once you have your full topper complete, it’s time to start your backing.
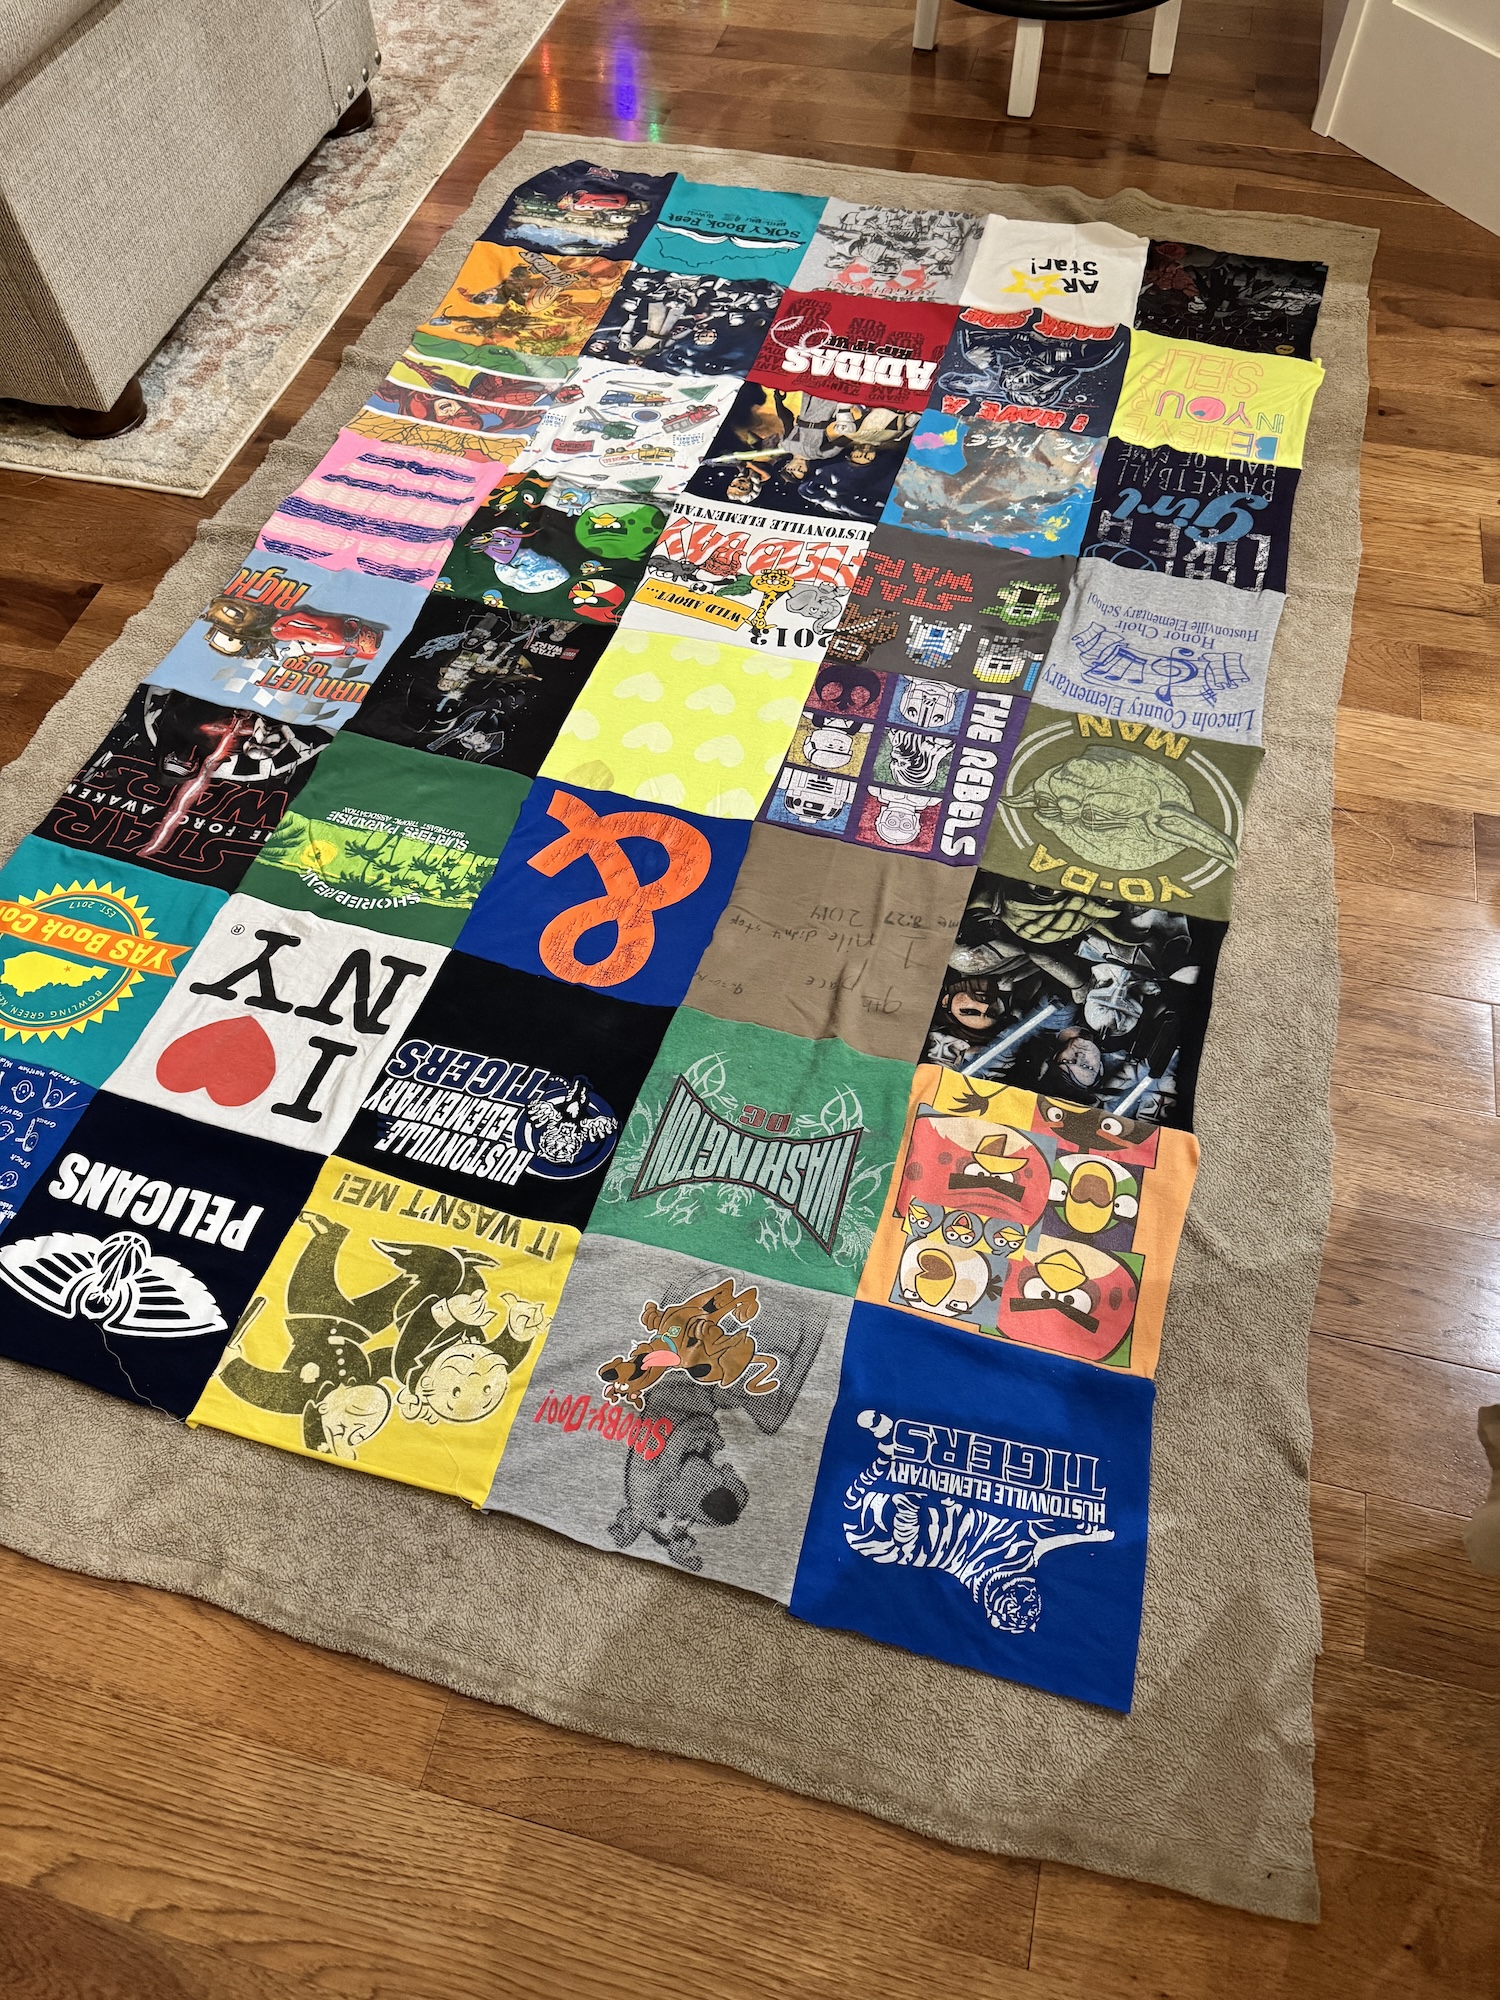
Lay the fuzzy blanket or sheet on the floor and place your t-shirt toppe on top. Make sure you have enough blanket showing on each side so you can fold it up and make a border.
Pin one side at a time and sew the border in place. (I love my magnetic pin cushion!)

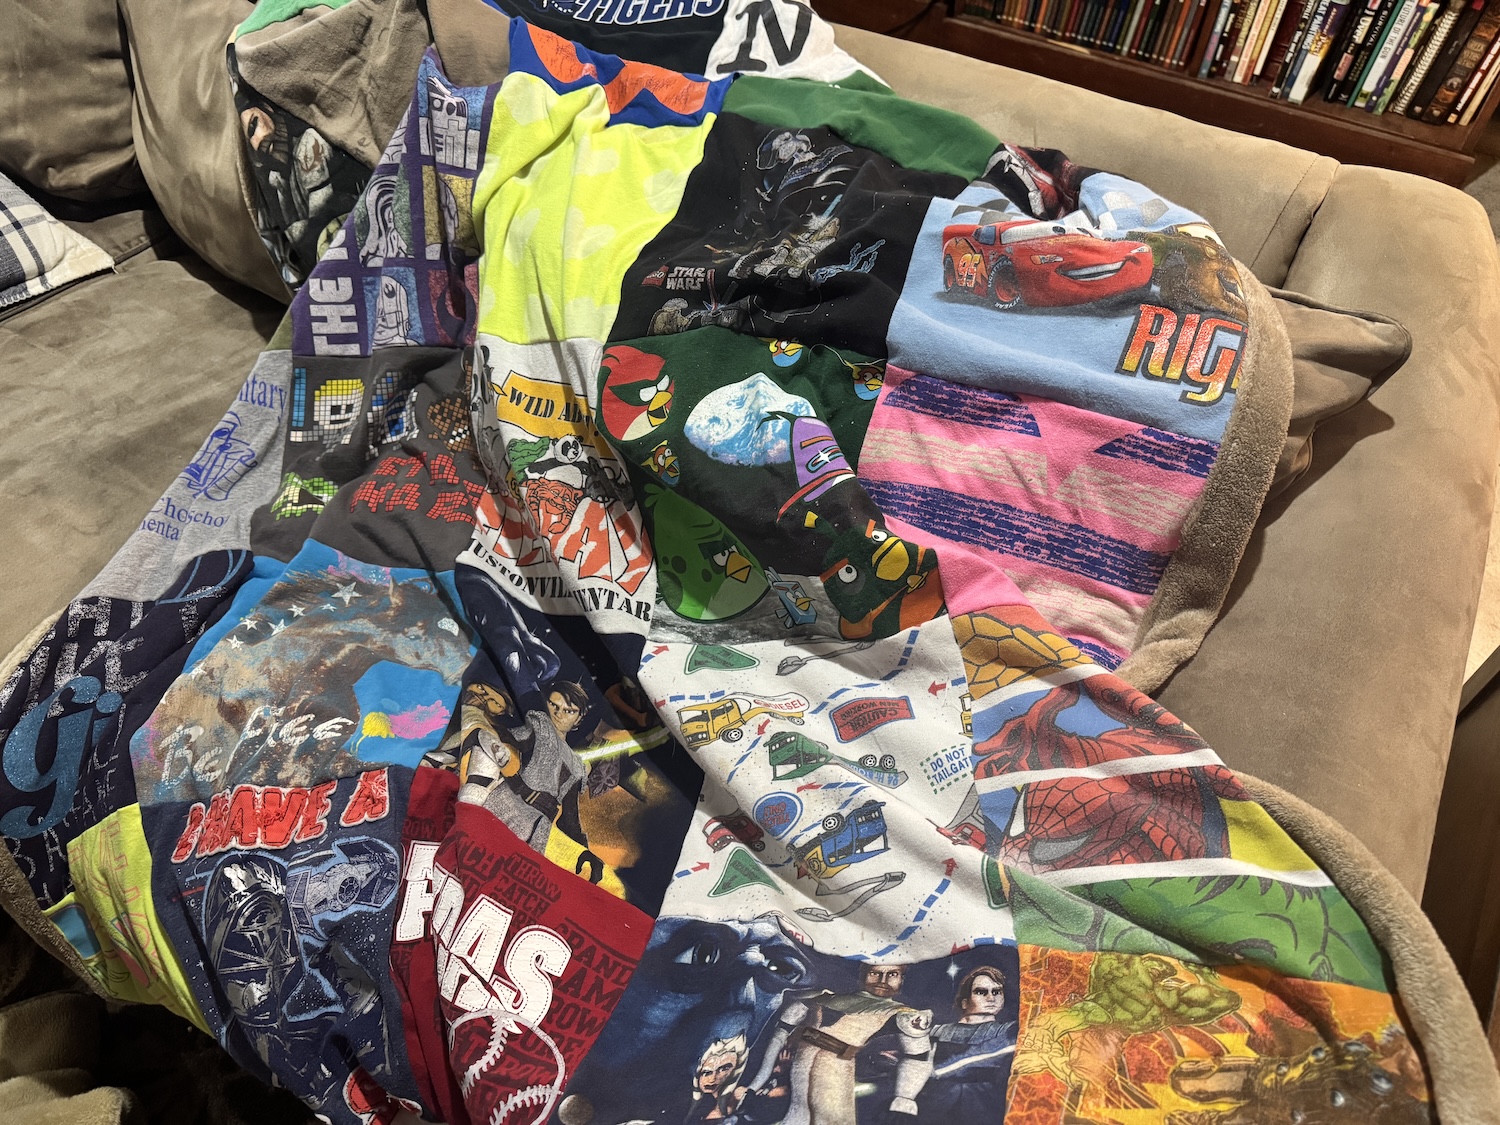
For the finish, you can tack with yarn, hand quilt, or, if you have access to a long-arm sewing machine, you can quilt it easily. I decided not to do any of these finishing touches. I don’t have a long-arm sewing machine, and the needle and yarn didn’t easily go through the blanket and T-shirt layers.
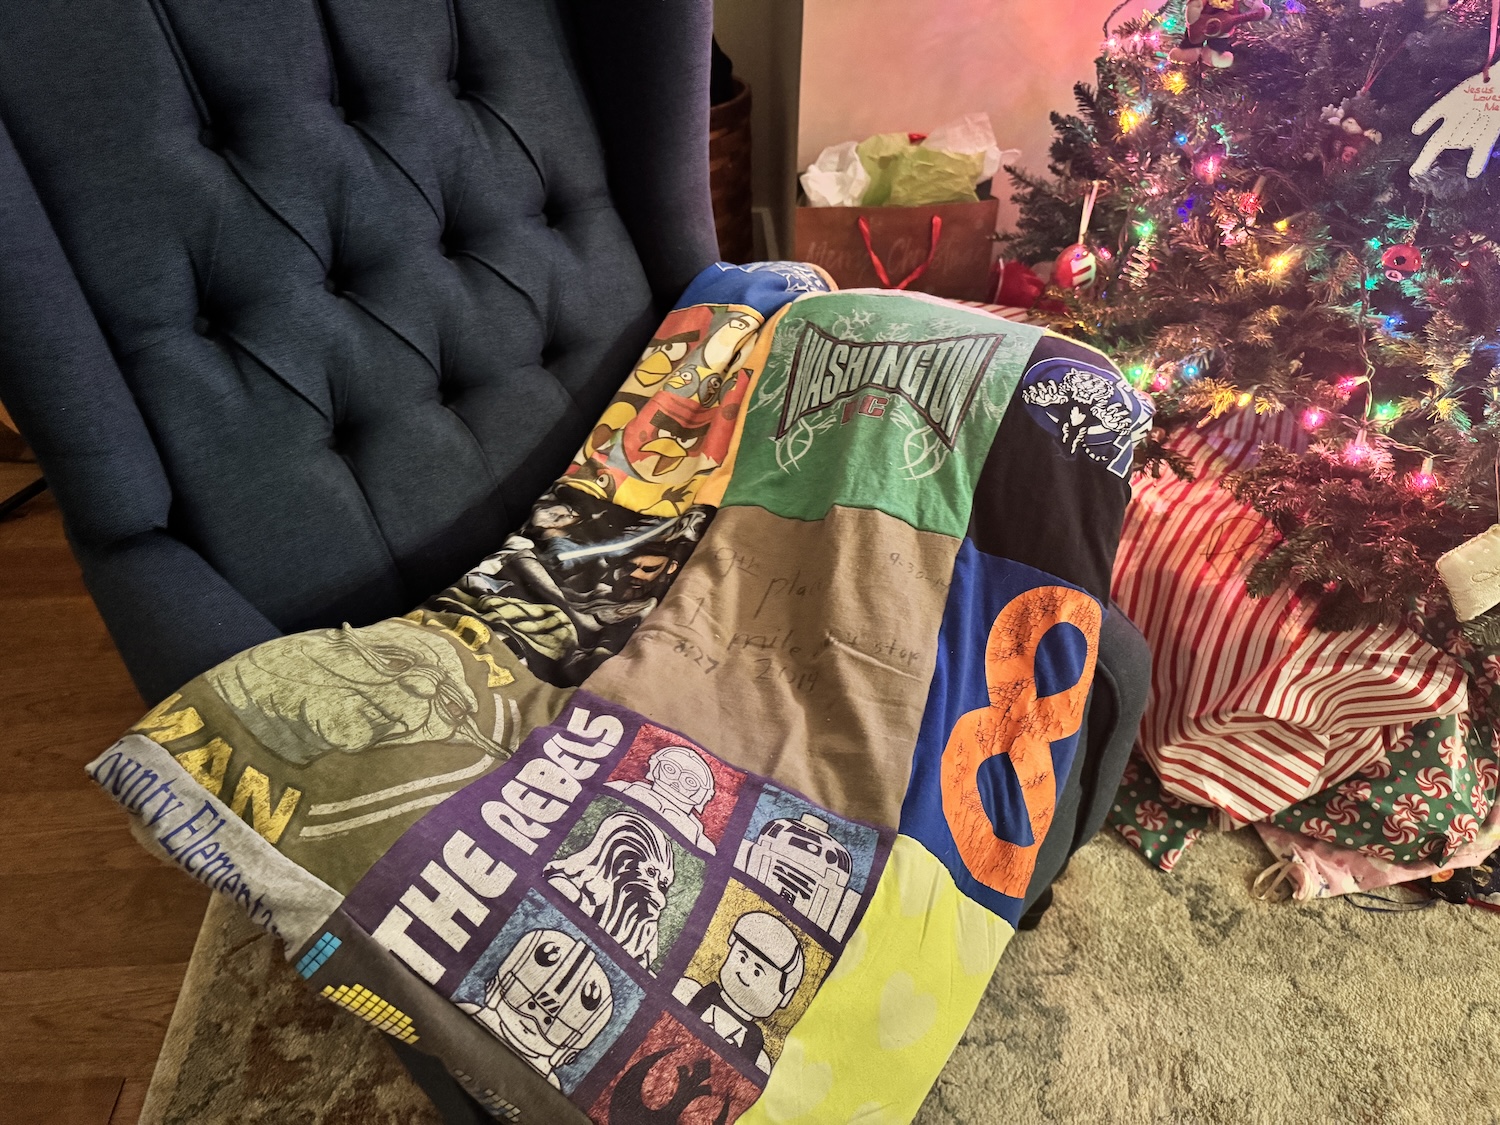
Will it bunch up? Probably. Do I really care today? Nope. I’m thrilled with how it turned out. Now, instead of having these memory t-shirts stuffed in a tote, we can enjoy them on the couch until the t-shirt quilt gets too twisted or crumpled.
What about you? Are you able to enjoy something that is less than perfect or do you prefer to take your time and work out every detail?
Have you ever made a t-shirt memory quilt? I’d love to see your beautiful (or not so beautiful) finished products!
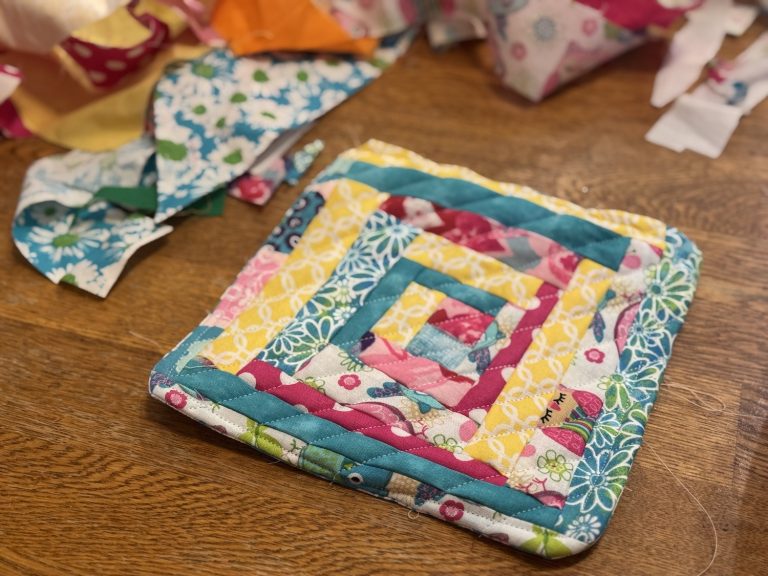
For a more traditional approach to making a t-shirt quilt, read my post about how I started making a memory quilt several years ago.