My first Rag Quilt
I have had some flannel fabric sitting in a box for over a year that I wasn’t sure what to do with. But one of the entries in the 2013 Online Quilt Show inspired me to make a rag quilt. It took me one weekend to go from start to finish. My daughter and I had a great time cutting the squares, making the sandwiches and putting it together. Cutting the fringe on my first rag quilt was another story.
My First Rag Quilt
I had plenty of flannel fabric so I just cut them into 8 inch squares. I cut the quilt batting into 6 inch squares. Then my daughter started assembling the ‘sandwiches’. She would put a piece of flannel face down with the batting as the filling. Then a second piece of flannel on top. This kind of sewing goes against traditional practice of ‘right sides together’. With this kind of quilt you want the seam to show. This took quite a bit of getting used to.

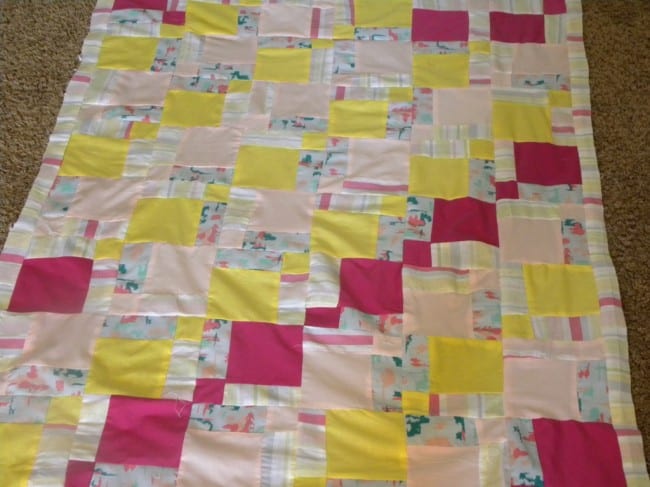
Once you have all your individual squares ready, you just sew all the way around each block. You keep adding the blocks until you have your full size. I actually ran out of the squares and decided the quilt wasn’t large enough. So we then just started making random rectangles and strips around the basic blocks till we used up all our flannel. Because the rag quilt isn’t dependent on a particular pattern, I think we were able to get away with the random design.

Once you have the quilt assembled, it’s an easy matter of running a straight stitch through each block. This will help the batting stay in place when the quilt is washed and dried.
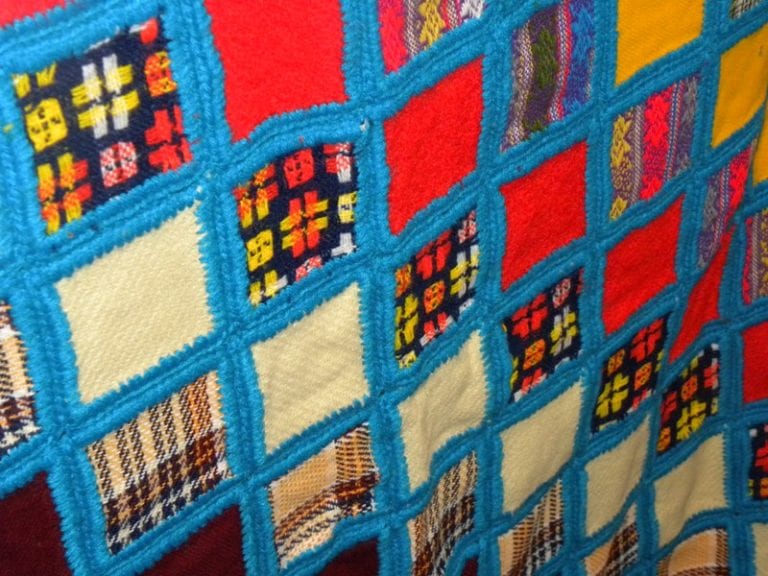
Now comes the tedious part! You have to cut little fringes in each of the seams. I chose to use a small pair of very sharp manicure scissors. Traditional scissors don’t cut a small enough piece and I was afraid I would cut through my seam. My daughter kept trading off this task. At first, all the kids thought this would be fun! They all begged for their chance. But after about 2 minutes each, they were more than happy to hand off the scissors.

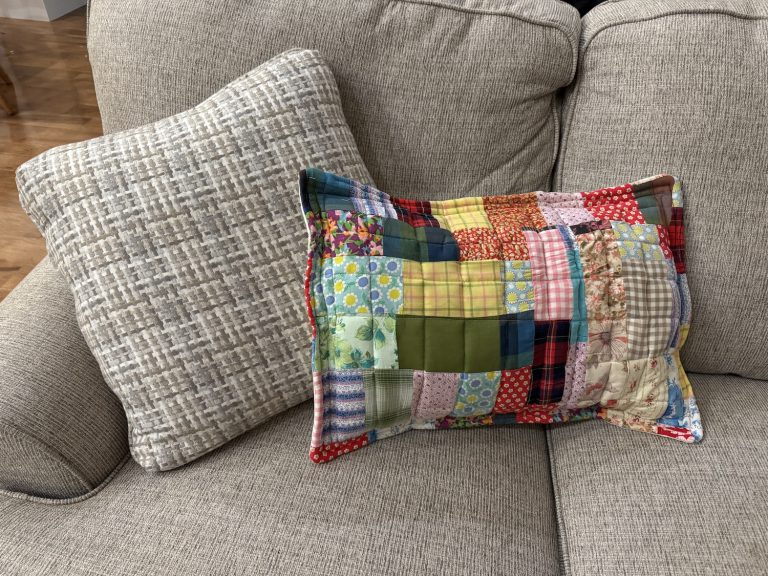
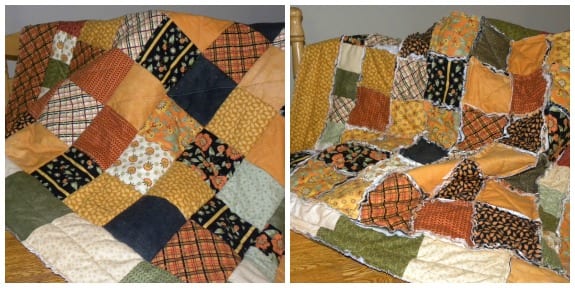
I really like the way this quilt offers two completely different looks depending on which side you place on top. I can’t wait to see how it turns out after it’s been washed. I’m guessing it will only get softer and more comfy.
Have you ever made a rag quilt? Got any tips to share in case we make another one? I’d love to hear!
Online Quilt Show