
Log Cabin Quilt Pattern
This is the second article in a series called Recycled Treasures. Each month, Phyllis Shaw – the Querky Quilter from Stanford, KY is bringing us a quilt pattern with tips and ideas. This month is the classic pattern called Log Cabin. If you are in Stanford, make sure you stop by her shop, Simple Times, on Main Street to talk quilts, stories and ideas. Did you catch last month’s article about Grandmother’s Flower Garden?
Recycled Treasures #2 Log Cabin Quilt Pattern
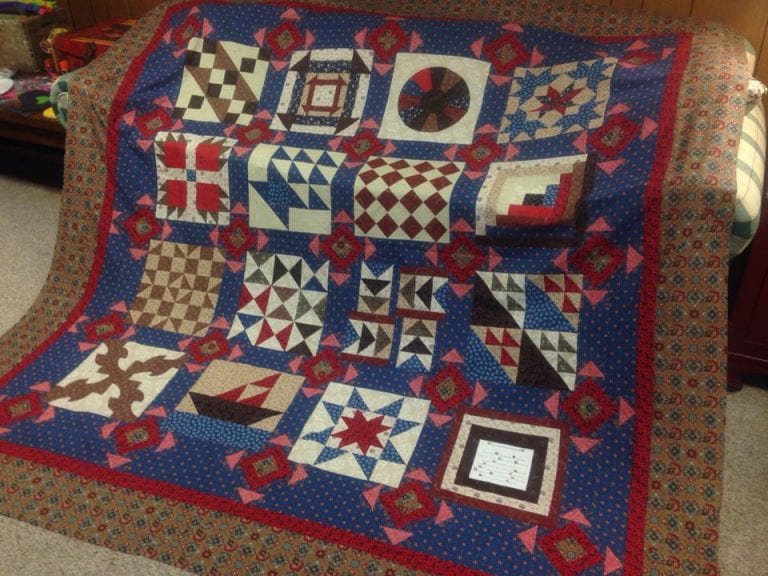
During the 1970’s one of my favorite television shows was Little House on the Prairie. The image of The Ingalls Family gathered around the huge stone fireplace in the tiny wooden home still brings a smile to my face. It is also a great representation of this month’s block, Log Cabin. Besides The Grandmother’s Flower Garden that we showcased last month, the Log Cabin is one of the most popular traditional quilt blocks and easy enough for beginners.
I encourage you to try this block because it is very beginner and scrap friendly.
-
- To begin choose 7 fabrics: 3 light, 3 dark, and a center fabric. Cut your fabrics into 2.5 X 42 inch strips or you can purchase precut strips called Jelly Rolls. You can even just use two fabrics with each side of the block being that one color.
- Next cut your center fabric strip and the first light into 2.5 inch squares. These will become the center of each block so make enough for how many blocks you want. 15 blocks make a nice size quilt. Each block will finish up at 12.5 inches.

-
- Sew these first two squares together using a ¼ inch seam. The center (red) is 1, the next strip is 2 and so on. When complete there should be 13 pieces.

-
- Add the remaining strips according to the picture. You will trim each strip to be even with the block. You will continue in this manner until all your strips have been sewed. In this photo, the sequence of the strips is: red, yellow white flowers ,orange, yellow, orange, aqua, and blue.

* Once you have all of your blocks made cut each to the same size. Then sew your blocks together in rows. Experiment with your blocks this one block can make many different patterns depending on the way you turn them.


I never heard the story behind the log cabin quilt block. Thanks for sharing…very interesting.
I made your block and I was wondering if it actually makes a 14.5 block? Mine came out that way. I have been making quilts for a few years. I would like to think I can read a pattern 🙂 but now a days I am not so sure. IF you are trimming after each row how much do you trim off?
Thank you so nuch for all the kind words. Believe me ladies where there is a will there is a way. I was a nonsewer until I began making quilts, I know you can do it. A GREAT Starter book is Pat Sloan’s I Can’t Believe I’m Quilting. You will be amazed at what this book can help you do.