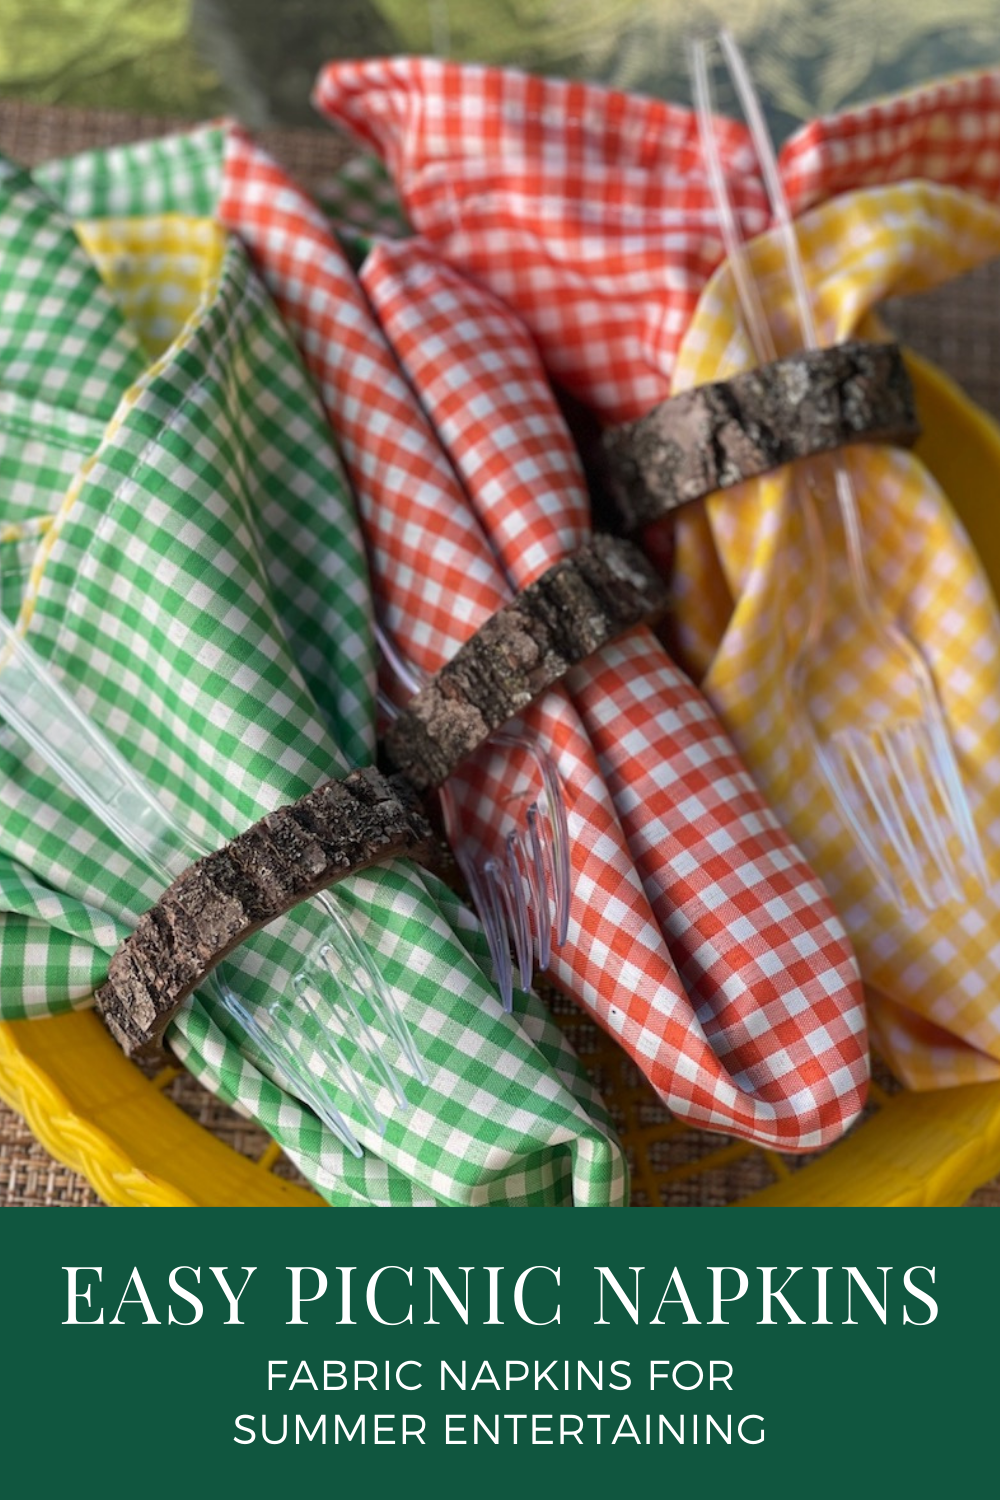
Easy DIY Picnic Napkins
It’s almost time for summer picnics and barbecues out in the backyard. That means that now is the time to get all the picnic supplies ready. This year I decided that I want to use cloth picnic napkins and I wanted to make them myself. I orderd some gingham cotton fabric, pulled out my sewing machine and spent one afternoon creating these fun picnic napkins. Now I’m ready for the first picnic of the season!
This post includes affiliate links. Some products were received to facilitate this post.
Cloth Napkins Cut with Pinking Shears
Materials Needed
- Gingham Fabric
- Pinking Shears
Directions
If you do an internet search for cloth picnic napkins, you’ll find lots of different opinions. The absolute easiest way to make cloth picnic napkins is simply measure out a 15″ square of fabric and cut with pinking shears. The zig zag cut of the pinking shears will keep the fabric from unraveling and you are done. I cut out a couple like this just because I wanted to see how absolutely simple it was. They look quite summery and festive and will serve the purpose well.
The gingham fabric is a lightweight polyester/cotton blend consisting of 90% polyester and 10% cotton. This light weight fabric weighs approximately 3.3oz and is 60” wide. It is a slightly sheer fabric that is thin, breathable and has a matte finish.
Order Gingham Fabric

Hemmed Fabric Napkins
Materials Needed
- Gingham Fabric
- Sewing Machine
- Thread
- Scissors
- Iron

Directions
- Cut your fabric about 18″ square.
- Fold and iron about 1/4″ and then turn it in a second time.
- Run a simple seam with the sewing machine and you are done.
This creates a nice finished look with only one layer of fabric for each napkin.
Double Sided Picnic Napkins
Materials Needed
- Gingham Fabric
- Sewing Machine
- Thread
- Scissors

This is my favorite of the three picnic napkin styles. I love the contrasting fabric and the thicker feel of the napkins.

Directions
- Cut two squares about 16″ each
- Place them right sides together and pin them together
- Sew almost complety around the four sides leaving a small open space
- Using the open space where you didn’t sew the two sides together, reach in and pull the right sides to the front
- Iron or pin down the edges and run a seam all around the napkin with your sewing machine
- Remember to fold in the open space when you sew the top stitch

Napkin Ring Ideas
Now you are ready to fold your cloth napkins or fold them in a napkin ring and get ready for your first summer picnic. No napkin rings handy? Try these crafty ideas:
- Use a simple piece of jute twine to create an instant ring
- Jeweled Raffia & Decoupage napkin rings
- Burlap Napkin Rings
- Chalkboard Wood Slice Napkin Rings
- Americana Toilet Paper Napkin Rings
- Succulent Napkin Rings

Reusable Picnic Cup
Why not take your picnics up one more step? Along with using fabric reusable napkins, why not use reusable picnic cups? We typically keep a sharpie marker on the picnic table when we have guests over so everyone can label their cups and use the same one the whole day. But with the Pirani reusable party cup you can keep your lemonade or tea cold for 12 hours or coffee and hot chocolate hot for 6 hours.
Purchase each cup for $24.95. Consider how much you spend over the course of a picnic season on disposable cups and you may just be ready to start replacing your picnic supplies one at a time.

- Dishwasher Safe!
- The skinny walled vacuum insulated tumbler will keep your drinks ice cold 12 hours, hot up to 6 hours and does not sweat
- Rolled lip for smoothest drinking experience
- Lifetime warranty
Are you ready for warm weather barbecues and summer picnics? Ready to make your own fabric picnic napkins? I’d love to see how you make them even better!