
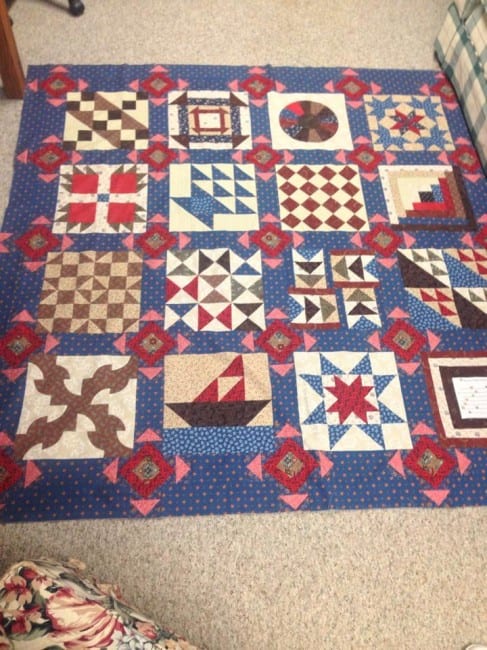
Easy $30.00 Baby Quilt
Have you ever wanted to make a super easy baby quilt but didn’t know where to start? With some basic sewing skills and less than $30.00 you can create a baby quilt that will last a lifetime.
This post includes affiliate links.

Easy $30.00 Baby Quilt
When my ‘baby’ turned 13, I finally had time for me to make him his own baby blanket. When I was expecting, I was tired all the time and could barely come up with enough energy to care for my two toddlers. There was no way I had enough time or energy to make him a baby blanket as I had for the other two. Instead, he used a store-bought blanket and it worked just fine.
But 13 years later, after much teasing, my daughter and I decided it was time to make him his very own baby blanket. He can use this for a travel blanket instead of a baby blanket because it will be a perfect size or he can enjoy it for the day and then store it back for the future.

Materials Needed
- Sewing Machine
- Quilt Material (10 fat quarters – $1.00 each)
- Solid material for backing ($5.00)
- Quilt Batting (approx $4.00)
- Quilt Binding (2 packs – $2.00 each)
- Thread (approx $3.00)
- Quilt Hoop (If you don’t have one)
- Rotary Cutter (or scissors)
Directions:
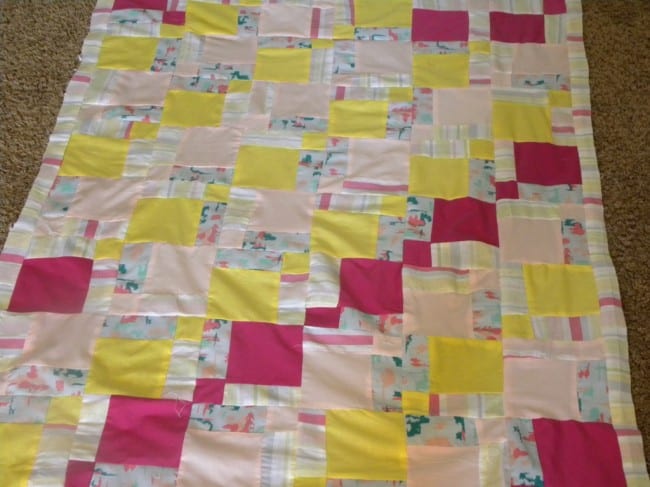
Measure and cut the fat quarters into 4 squares each, keeping the extra fabric for future projects. I like using plastic canvas as a template so I can cut each square the exact same size. I used a 7inch square template.

Use an iron or Cricut EasyPress to iron each of the squares so you will have the fabric ready to start sewing.

Lay all the squares in rows of 6 and choose your favorite design.

Sew each row together forming 6 strips and then connect each strip. Remember to sew the strips right sides together so they will lay flat when you spread the topper out.

Once you have the topper complete, it’s ready to step back and admire your work in progress and then it’s time for the quilt hoop.

My Grandma gave me this quilt hoop years ago so when I get to use it, I feel like she is working on the project with me. Yes, her stitches would be much more perfect than mine, but she would love seeing this quilt take shape using her quilt hoop, don’t you think?

Work the stitches carefully in a diagonal pattern across the quilt topper. You can use a yardstick and fabric pencil to help sketch your quilting line. If you don’t have a fabric pencil, a very light pencil marking will work just as well!

Don’t worry if your stitches aren’t perfect! We all have to start somewhere and honestly, this quilt is made for a baby blanket (or lap blanket) so it doesn’t have to be blue ribbon ready!
When you are finished quilting the whole topper, use quilt binding to finish off the edges.

Now you’ve got a family treasure that will last a lifetime and beyond! This baby quilt is special because I’m finally getting it stitched – just in time for his 13th’ birthday!


Love Luke’s “baby quilt,” Sharon. The fabrics are great and I know that your creative use of the Easy Press will be appreciated by all (including Cricut). I never would have thought of using it in sewing. Just shows you how “creative” I am. LOL