Beginner Tips for Starting Seeds
One year I planted tomato seeds in my greenhouse during the winter months that I was able to transplant directly into my garden. This year, I am planting a few more seeds under grow lights in the basement to see what will germinate and be ready for gardening season. I’m still learning the process of planning, planting, and transplanting but I wanted to share some tips with you so you can join me in this planting journey and start planting seeds now.
This post includes affiliate links. Some products were received to facilitate this post.

Beginner Tips for Starting Seeds
I listen to podcasts, read books and talk to other gardeners and one thing they all agree on. There are lots of options for starting seeds and everyone has their favorite ways to begin the season. But the most important thing to remember is that seeds need water, soil, time, and the right temperatures to grow. When you get those things right, you will be successful.
If you are just beginning the journey with seed starting, then start small and experiment. If the seeds don’t germinate this month, you still have time to start again!
Supplies Needed
- Seed packets
- Potting Mix
- Seed trays
- Wooden sticks & Sharpie marker
- Garden gloves
- Garden tool to help loosen the potting mix

Decide when to plant
I know most seeds need to be started 6-8 weeks before the last frost date. So I went to Almanac.com to get an idea of my last frost. Then I counted back 6 weeks to see when I should plant my seeds. This is not a perfect science but it gives me a good idea of timing.
Calculate your last frost date.
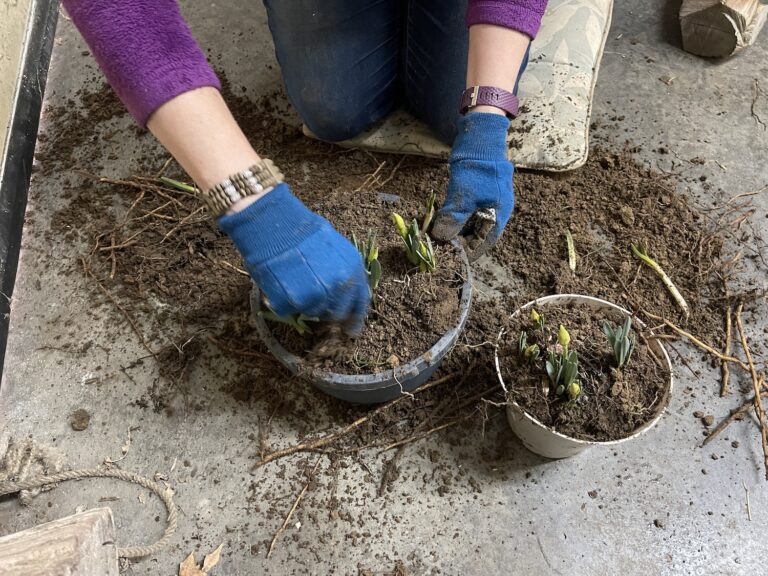
Pick your Seed Trays
I have been saving seed trays from several past planting seasons so I would be ready for this week. If you don’t have seed trays from previous years, you can make seed pots from newspapers or use small empty flower pots.


Use Seed Starting Mix
There are mixed results when you do an internet search for the best seed starting mix. I don’t have an opinion yet of whether you should use a potting mix designed for containers, soil with extra fertilizer or dirt out of your garden bed. For this year’s test, I used a bag of container gardening mix that I had bought early on during the winter for some other greenhouse plants.

Label Label Label
One thing that I often forget to do is label the seeds that I plant. I often get surprised by what I plant and then don’t know exactly what I’ve grown. This year, I decided to use a sharpie marker and some wooden sticks to label each seed tray. I also take a picture of the seed packet and requirements beside the tray so I can reference it later on when the seedlings start to grow and are ready to be planted.

Water your Seeds
I’m not an expert on how much water plants and seeds need but I do know is that it should be moist but not wet. My goal is to keep it about the same consistency as it would be if I was planting directly in the garden.

Books I’m Reading

The Cut Flower Handbook
Whether you’re cultivating fresh-cut bouquets for yourself, family, and friends or for others on a small commercial scale, you’ll go from sowing seeds to cutting armloads of colorful, long-lasting blooms with ease. Lisa’s unique approach and easy-to-follow advice on multi-season planting and harvesting uses the natural warm and cool weather cycles present in almost all growing regions to maximize cut flower production.
Order The Cut Flower Handbook on Amazon

The Layered Edible Garden
By intentionally including edible plants from 8 different layers (trees, sub-canopy trees, shrubs, vines, perennials, annuals, ground covers, and edible roots) in your home garden, you’ll be building a mini “food forest” that will produce food for years to come and require less work and fewer resources. With the insight found in The Layered Edible Garden, you’ll:
Order The Layered Edible Garden on Amazon
- Learn how to transform your home’s landscape into an edible plant community
- Meet dozens of plants in each of the 8 layers
- Discover the many perks of growing perennial food crops that return to the garden year after year
- Find design and planting advice to make your layered edible garden as attractive as it is productive
- Be introduced to intensive planting strategies to organize plant layers in a functional and beautiful way
- Acquire info on how to establish new planting areas and how to utilize the existing garden features already present